nihsok が 2023年09月04日00時49分24秒 に編集
初版
タイトルの変更
1000円弱で作るスマートスイッチ
タグの変更
IoT
ESP32
micropython
サーボモーター
スマートスイッチ
Wi-Fi
MQTT
ESP32-WROOM-32
Beebotte
REST
メイン画像の変更
記事種類の変更
製作品
ライセンスの変更
(GPL-3.0+) GNU General Public License, version 3
本文の変更
はじめに = 市販のスマートスイッチは1個数千円かかる。ESP32を使えば1000円を切る価格で実現できそうなので試してみた。 前回の記事はRaspberry Pi Pico Wを使っているため1000円を少しオーバーしている(https://elchika.com/article/319616ce-2a1f-4379-8288-e506be1f5d84/ ) また、MQTTを用いたインターネット経由での実行と、電池での動作にも挑戦した。 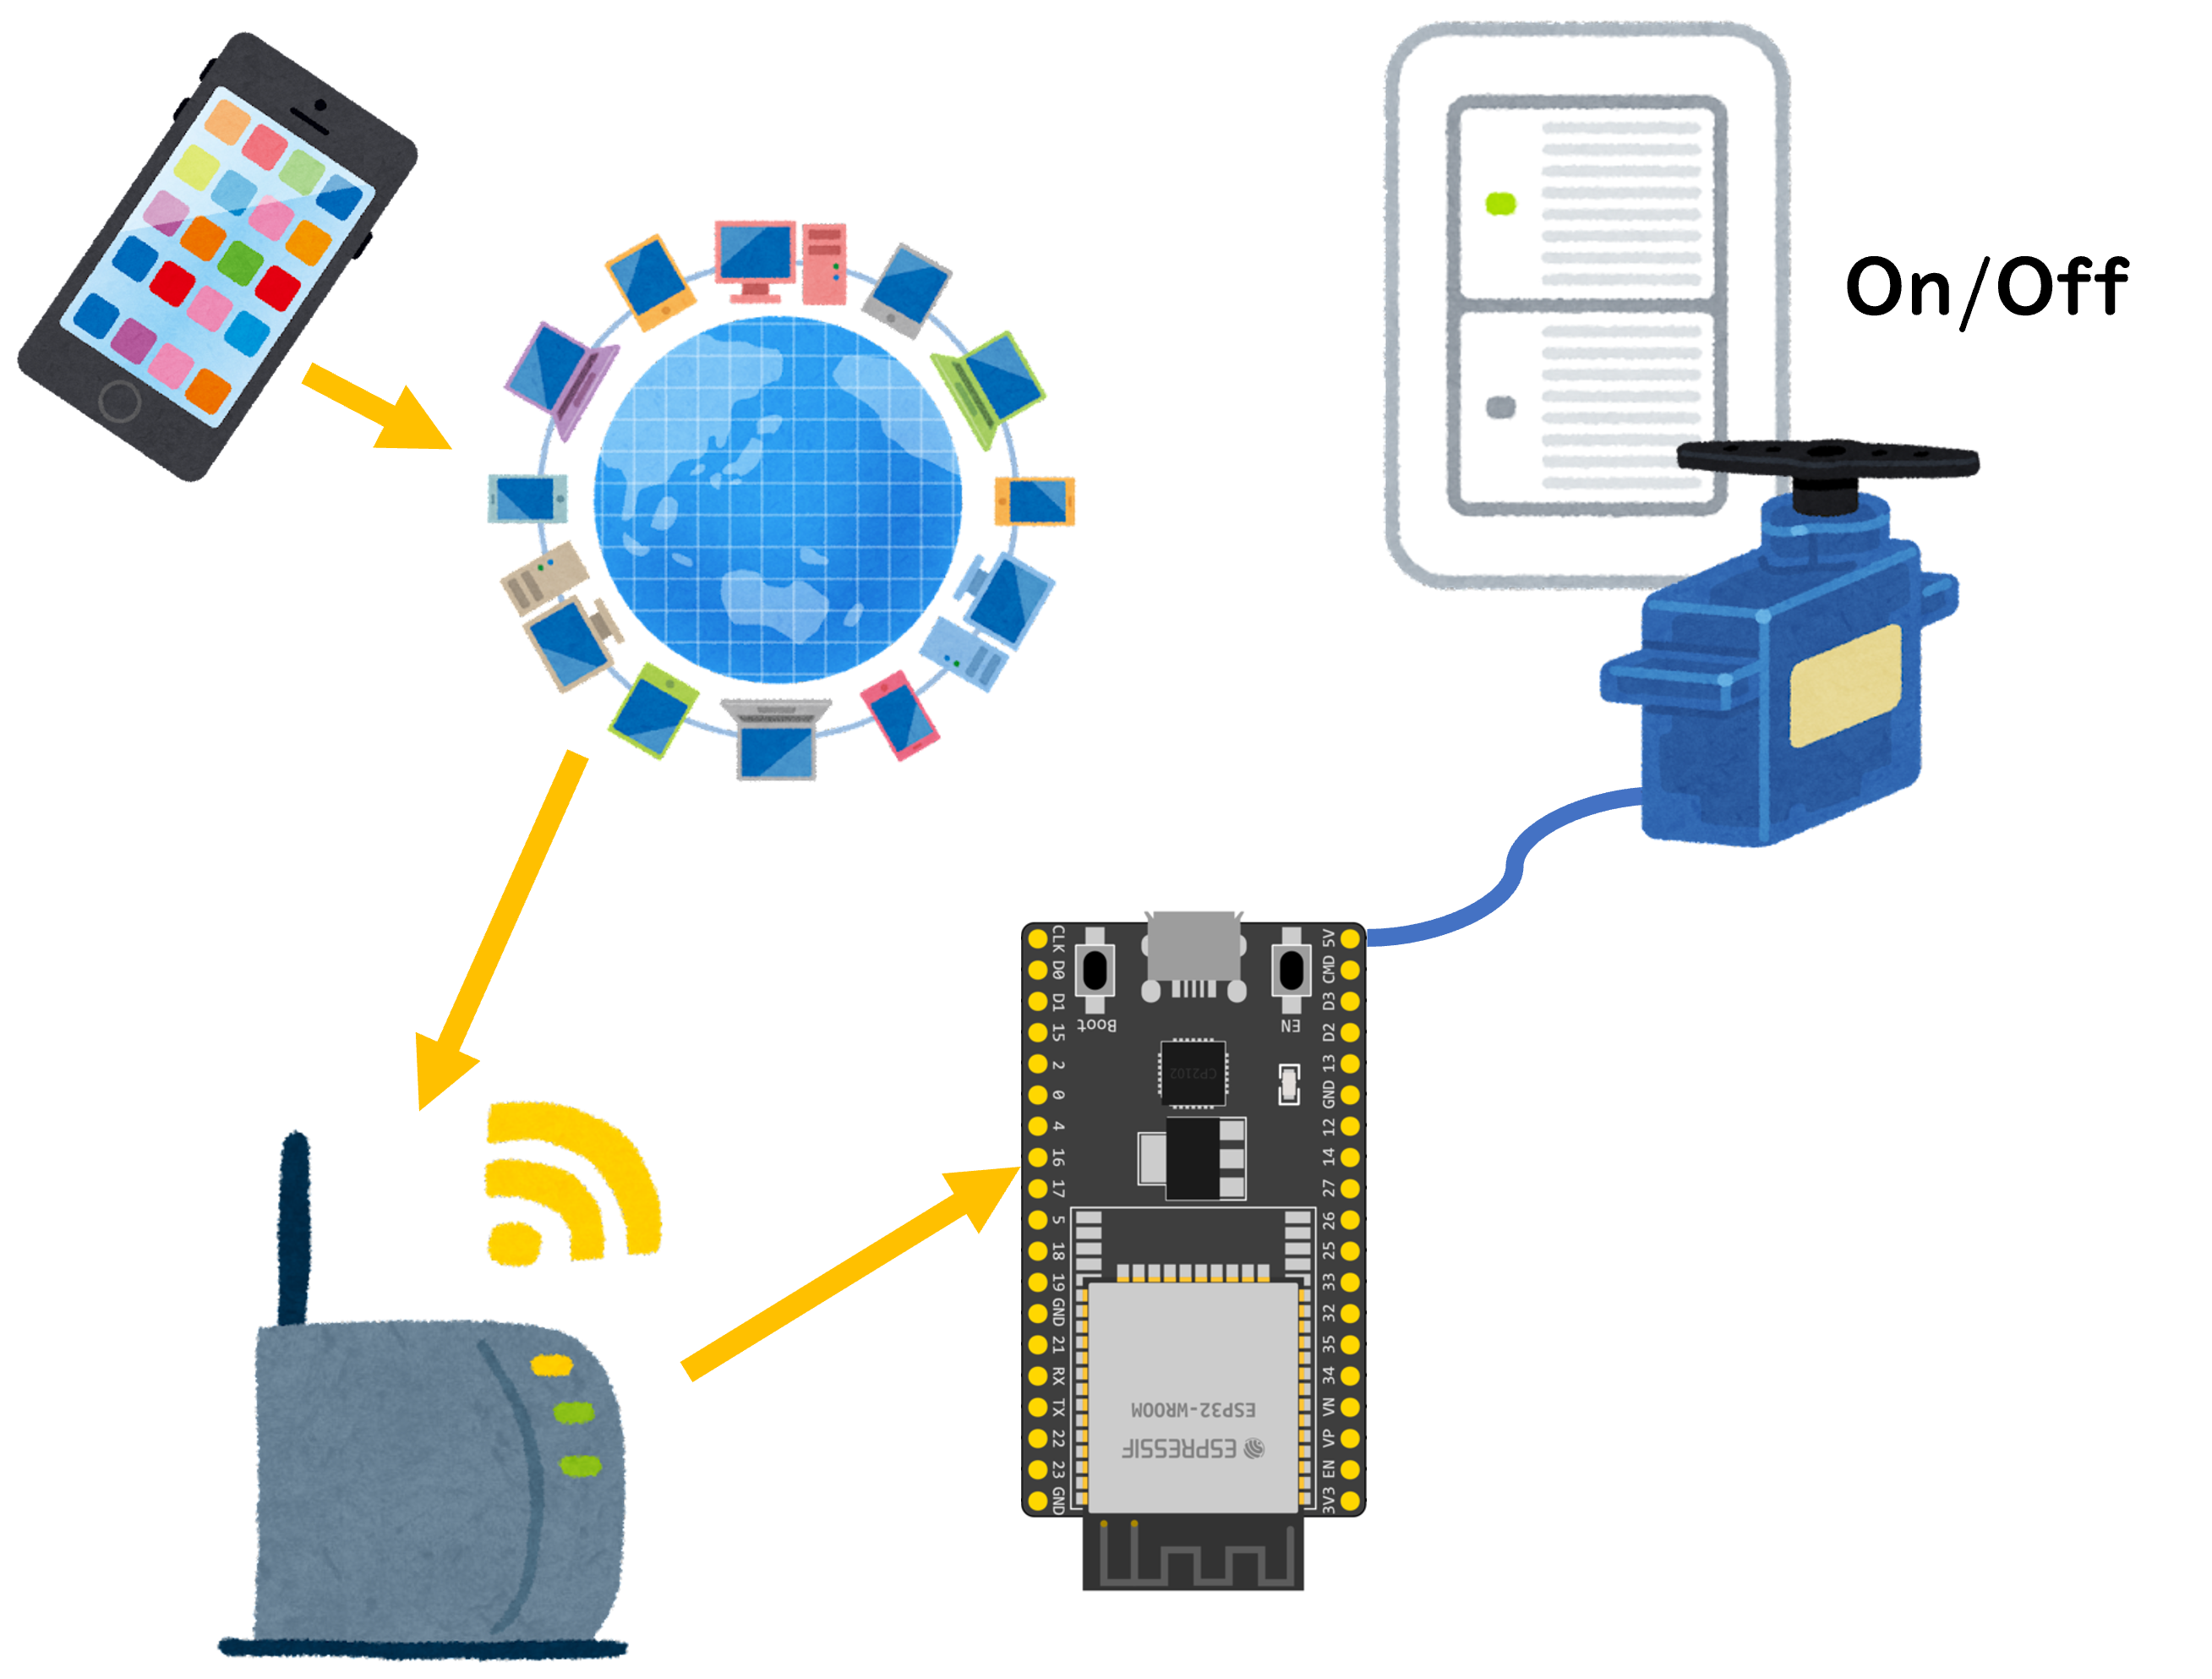 (イラストはいらすとやから、ESP32の画像はespressifのマニュアル https://docs.espressif.com/projects/esp-idf/en/latest/esp32/hw-reference/esp32/get-started-devkitc.html# から) 準備するもの = 材料 - - ESP-WROOM-32D ESP32-DevKitC V4 AliExpressで418円(送料172円。2つ以上買うと送料428円で10日配送になる) - サーボモーター:FT90B 秋月電子で500円 - 電池ボックス 秋月電子で60円 小計978円(+送料) 工具 - - ニッパー - はんだ、はんだごて - 書き込み用のPC、USBケーブル - 電池 - 設置用両面テープ:3Mのコマンドタブなど ソフトウェア - MQTTブローカーには[Beebotte](https://beebotte.com/)を採用した。サーバー側の設定については省略。 ```python:main.py import wifi import time from machine import PWM,Pin,Timer import sg90 from umqtt.simple import MQTTClient import ujson servo = PWM(Pin(14)) servo.freq(50) servo.duty_u16(sg90.set_degree(0)) wifi.connect('SSID','PASSWD') timer=Timer(0) def receive(topic, message): requests = ujson.loads(message.decode("utf-8"))["data"] degree = requests['degree'] count = requests['count'] keep = requests['keep'] def func(timer): servo.duty_u16(sg90.set_degree(int(degree))) time.sleep(int(keep)) servo.duty_u16(sg90.set_degree(0)) timer.init(mode=Timer.ONE_SHOT,period=60000*int(count),callback=func) client = MQTTClient('umqtt_client','mqtt.beebotte.com',user='token:(トークン名)',password='',keepalive=600,port=1883) client.set_callback(receive) try: client.connect() client.subscribe(b'(リソース名)') #b'test/res'等 except: print('error') print('connect done') while True: if(count>300): client.ping() count=0 client.check_msg() count+=5 time.sleep(5) ``` ```python:wifi.py import network import time def connect(ssid,passwd,retry=10): wlan = network.WLAN(network.STA_IF) wlan.active(True) wlan.connect(ssid,passwd) time.sleep(3) print(wlan.ifconfig()) ``` ```python:sg90.py def set_degree(degree): if degree < -90 : degree = -90 if degree > 90 : degree = 90 return int( ( degree * 0.0475 / 90 + 0.0725 ) * 65535 ) ``` 設置状態 = サーボモーターの赤い線を5V0 、茶色い線をGND 、オレンジの線をGPIO14に接続。電池ボックスの導線も5V0とGNDに配線。 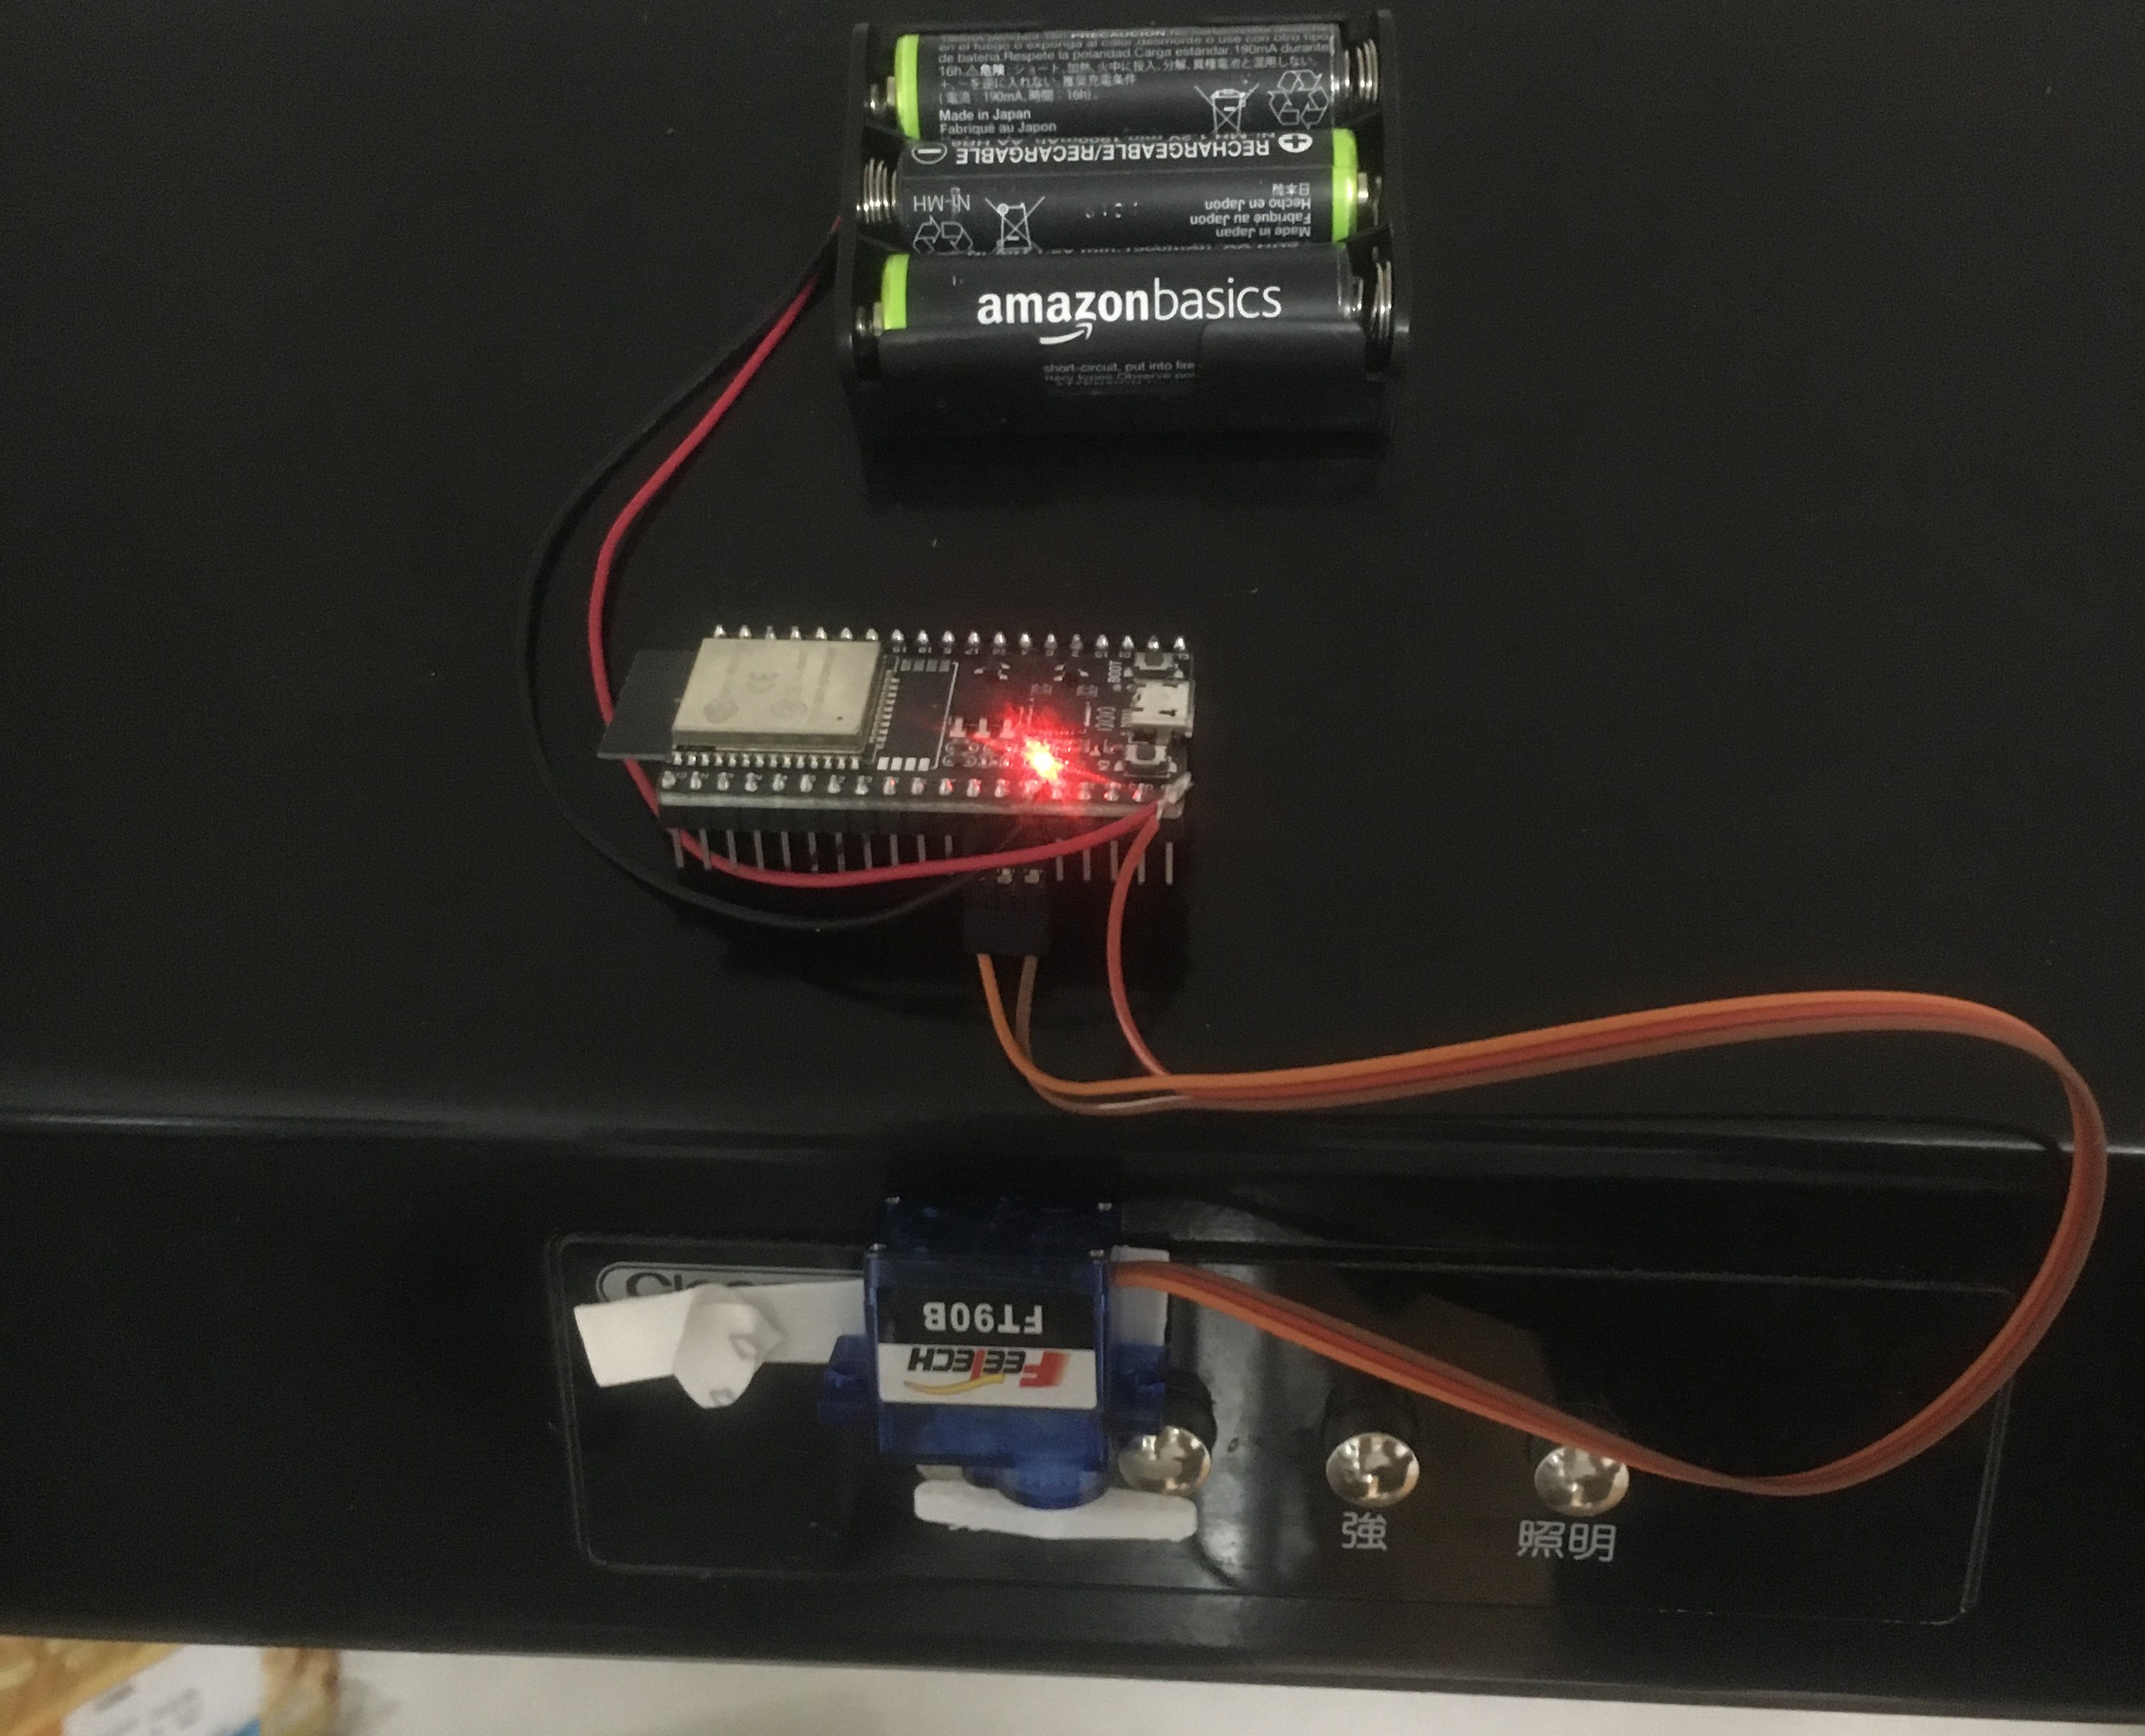 - ピンヘッダがついていたので挿すだけにしたところと、はんだ付けしたところとがある。 - 換気扇のボタンに設置。オン/オフ両方できるよう、2つのボタンの間にモーターを配置した。 - 電池ボックスもモーターと同様両面テープで固定している。 動作の方法 = REST APIを呼び出すことで指示を送る。PCからはコマンドラインで実行できる。iPhoneから制御したいので、ショートカットを設定。何分後に実行するかと、ON/OFFの機能を実装した。 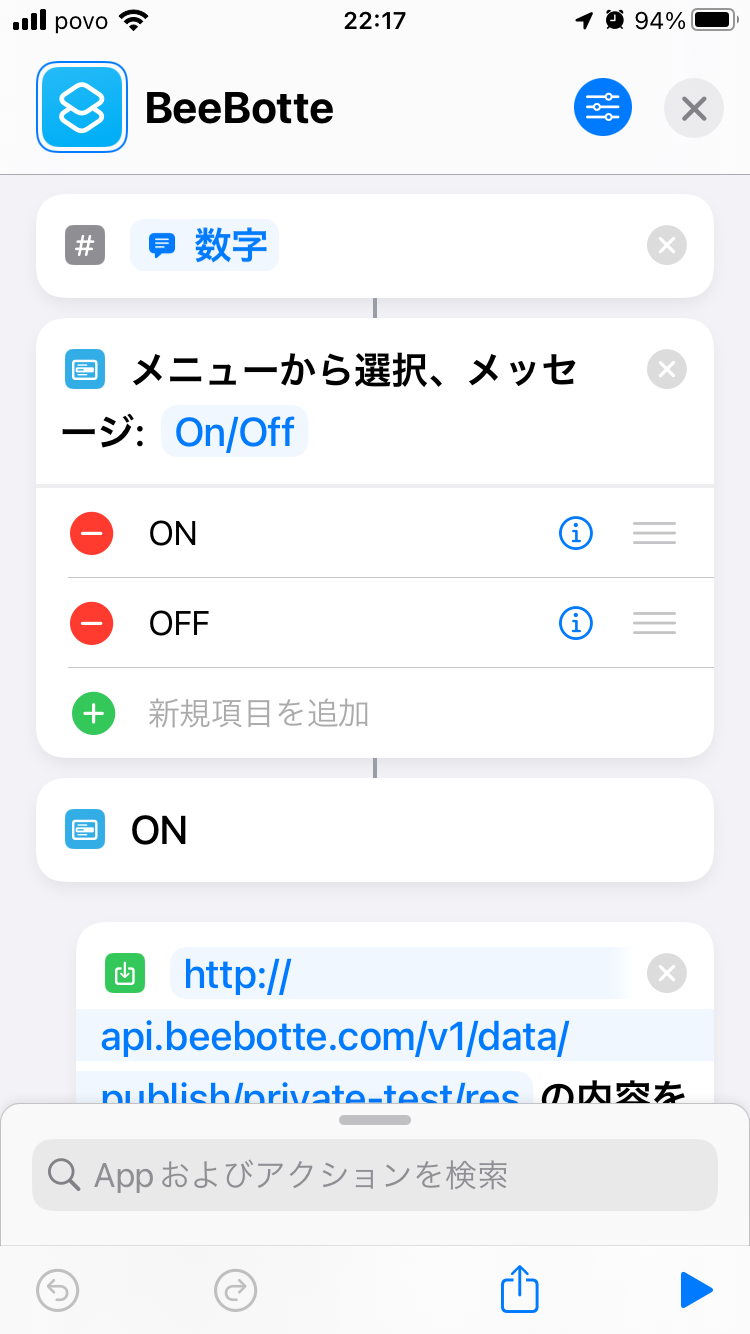 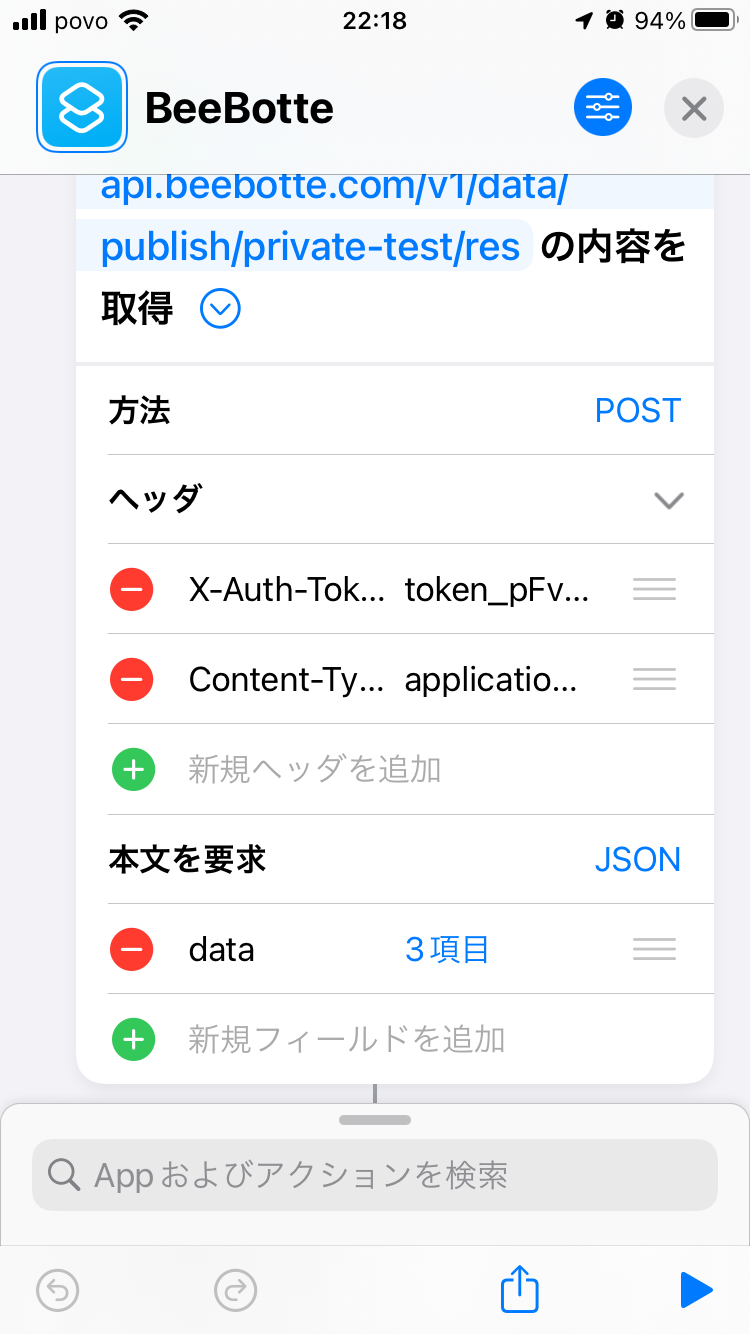 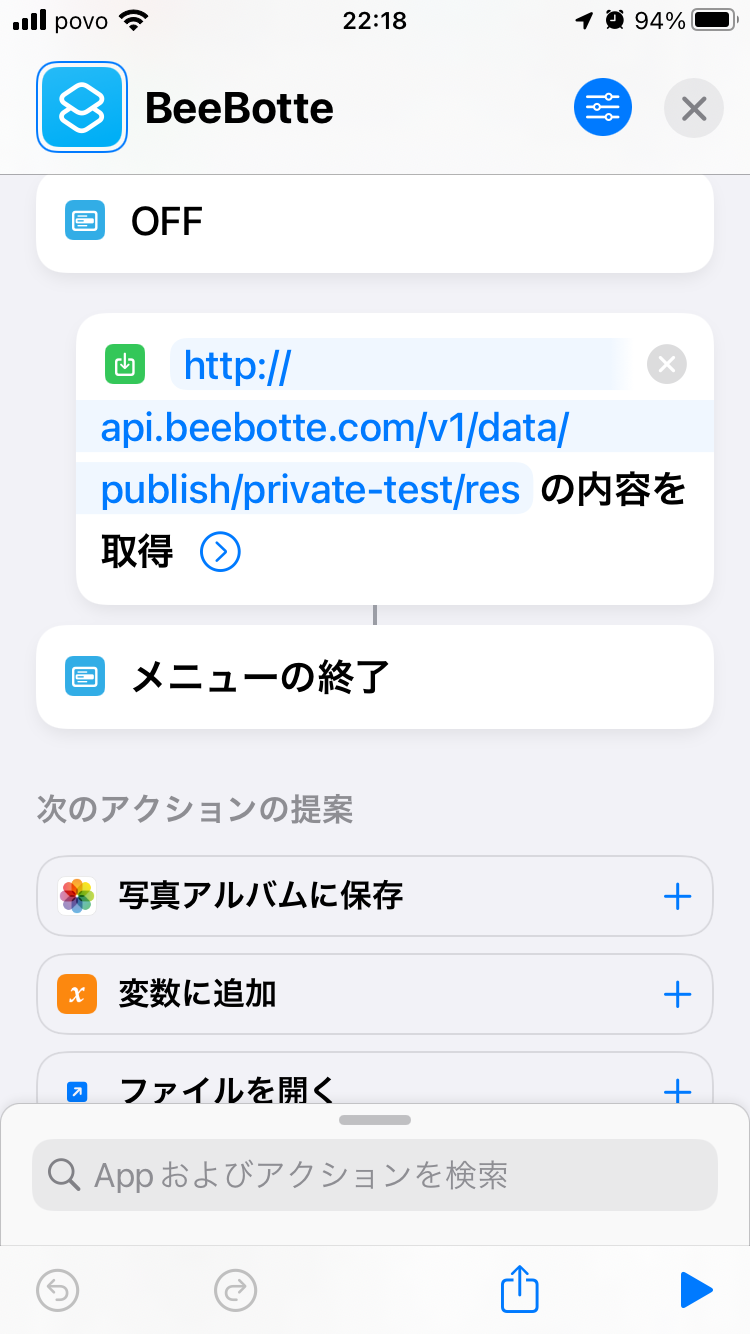 最初なのでchannel/resource名がtest/resのままになっている 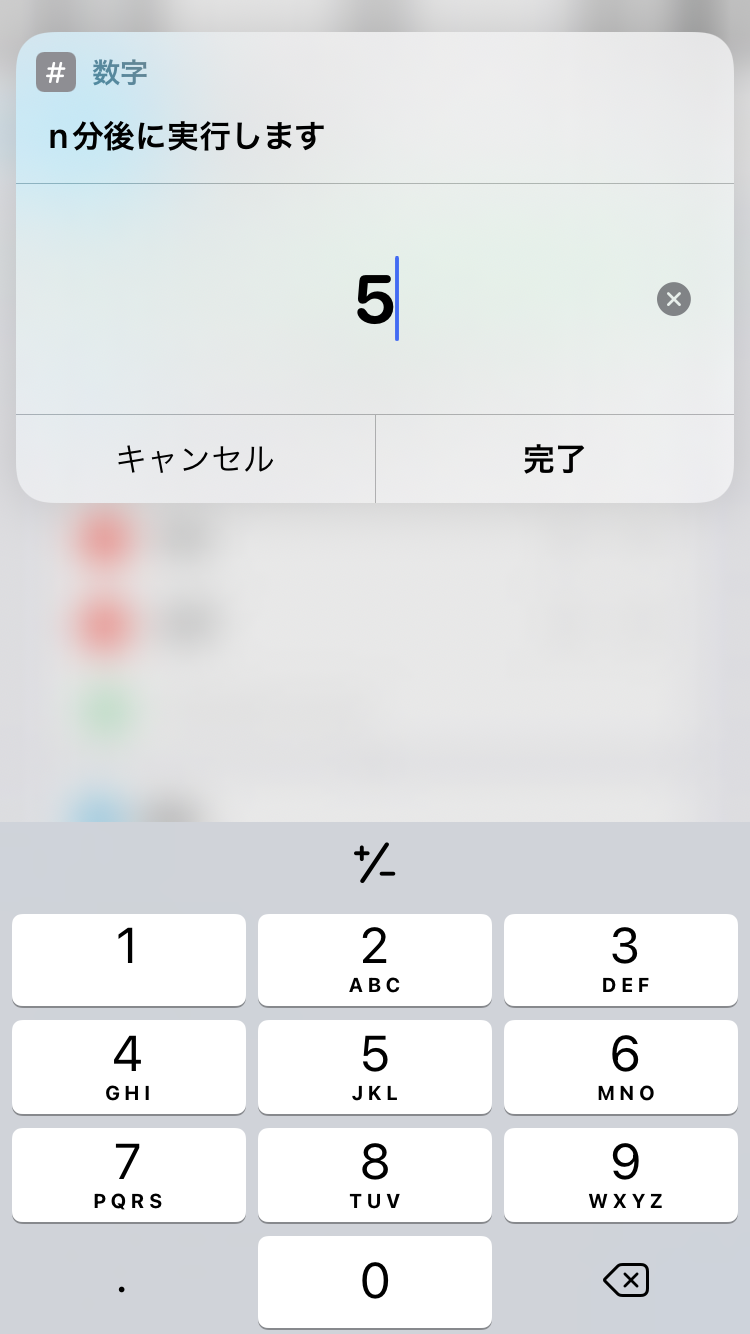 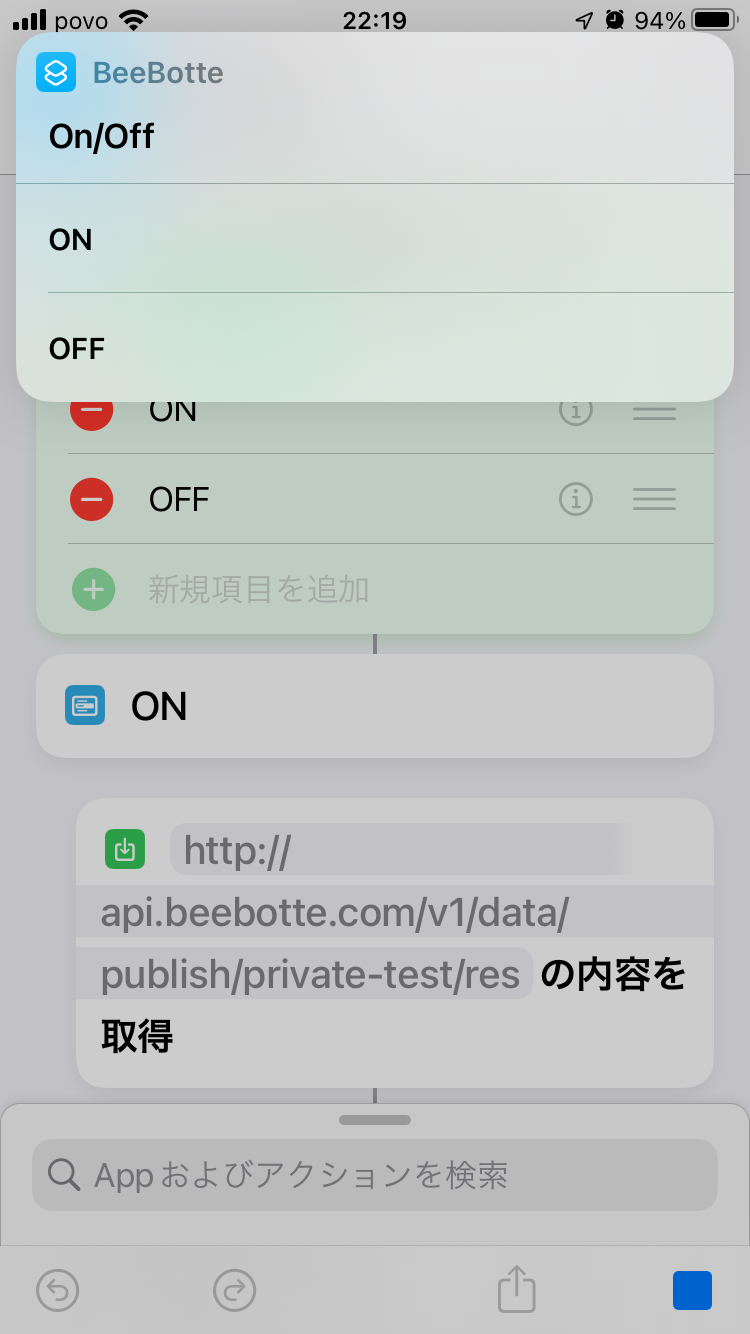 おわりに = LAN内でのsocket通信も同時に動かせるが、家にいるときもネットにつながっている=MQTTで実行できるので、必要性は低い。 電池駆動はどれだけもつかわからないので、電圧監視もできるとよさそう。