keitanak が 2024年03月16日23時51分33秒 に編集
コメント無し
本文の変更
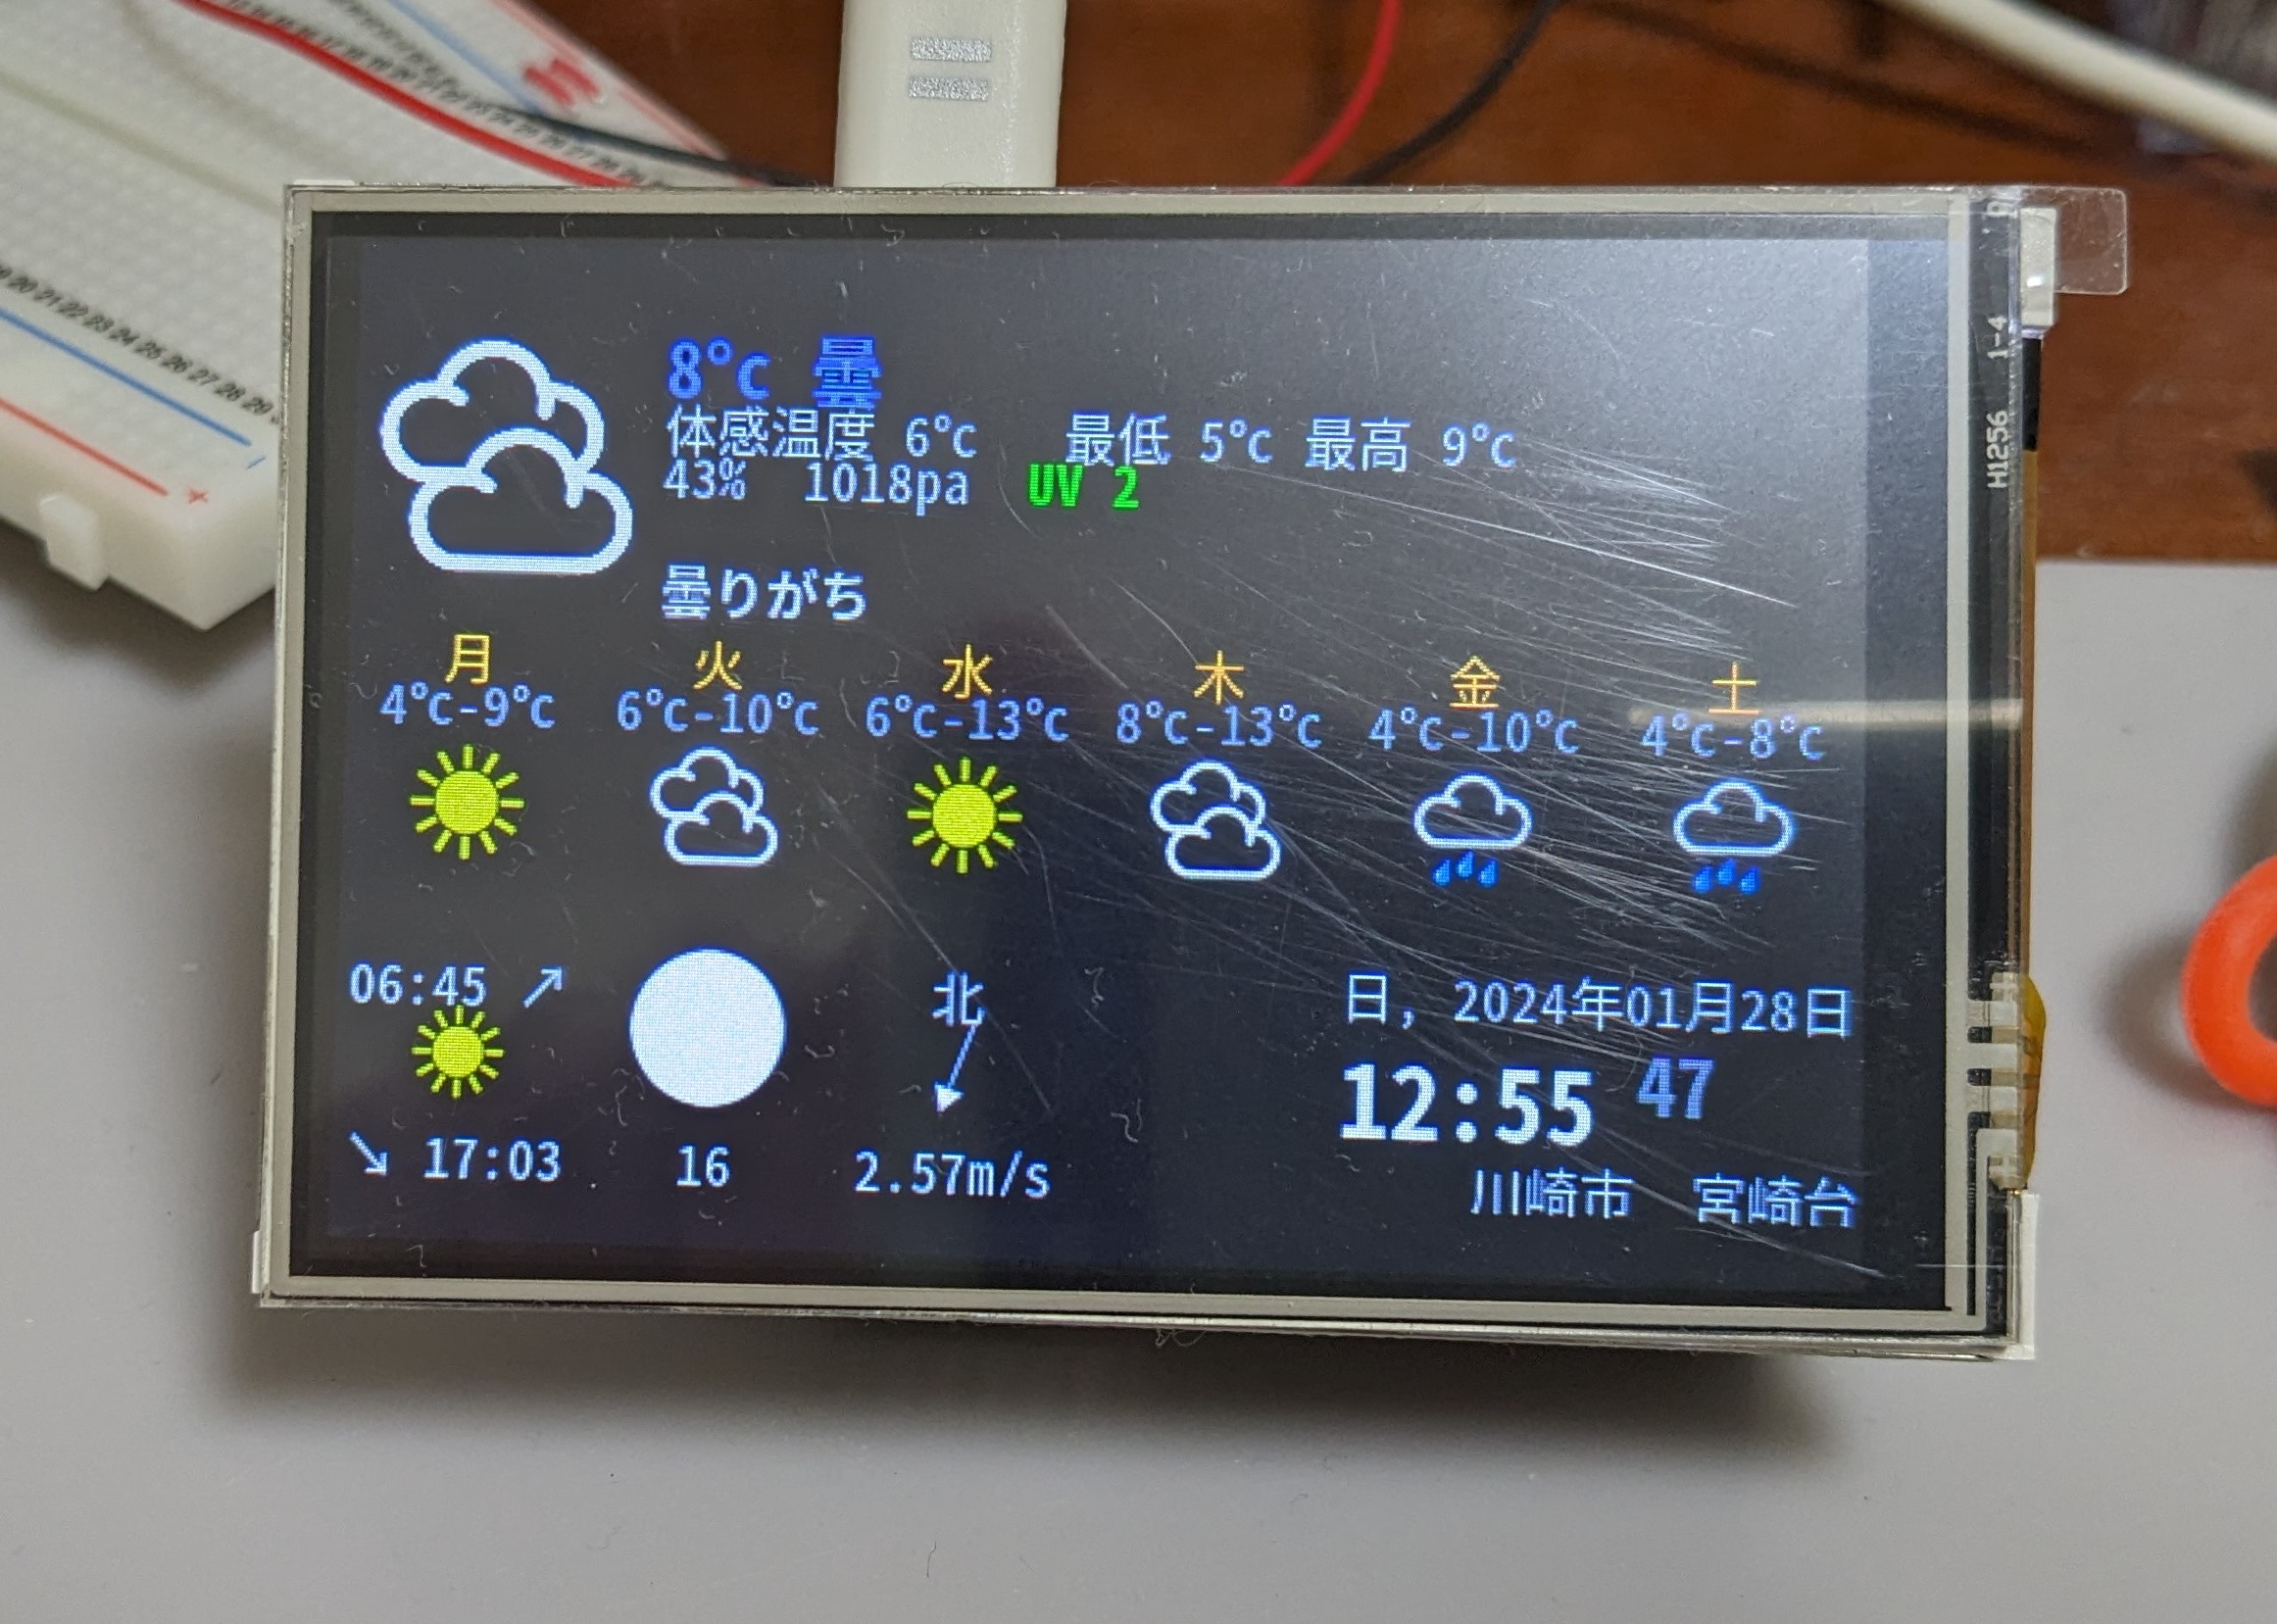
ラズパイZeroが1台余っていることから、ウエザーステーションを作ってみました。 # 機材 * ラズパイZero * 液晶モジュール * [Waveshare 3.5inch RPi LCD (A)](https://www.waveshare.com/wiki/3.5inch_RPi_LCD_(A)#Overview) * 千石電商から入手しました。 * 電源アダプタ * LCD表示の関係で、DC5V 2.5A以上のものが必要です。今回は3Aのアダプタを利用しました。 * SDカード 8GB # 構築手順 ## ラズパイOSの準備と初期設定 以下のサイトからOS imagerをダウンロードして、SDカードにOSイメージをロードします。 [Raspberry Pi OS](https://www.raspberrypi.com/software/) 機種を選択後、OS画面では、以下のLegacy 32bit版を選択します。  OSのカスタマイズでは、パスワードや、wifiやSSHの有効化などを設定しました。 HDMIやキーボードは接続せずに、ZeroとLCDを接続してからZeroの電源を入れます。 PCからTeraTermでSSH接続を行います。 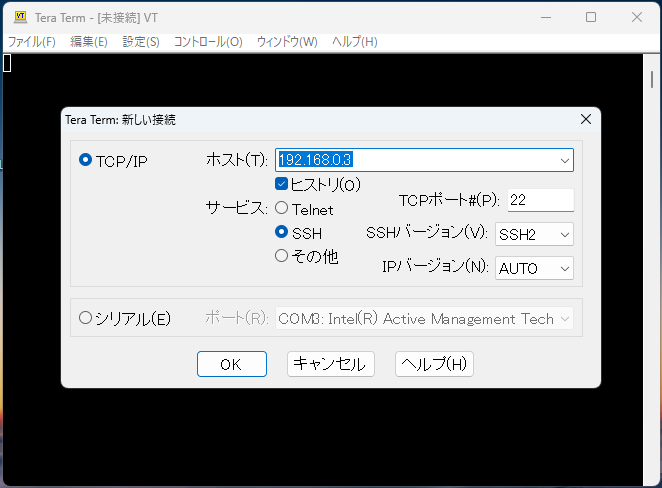 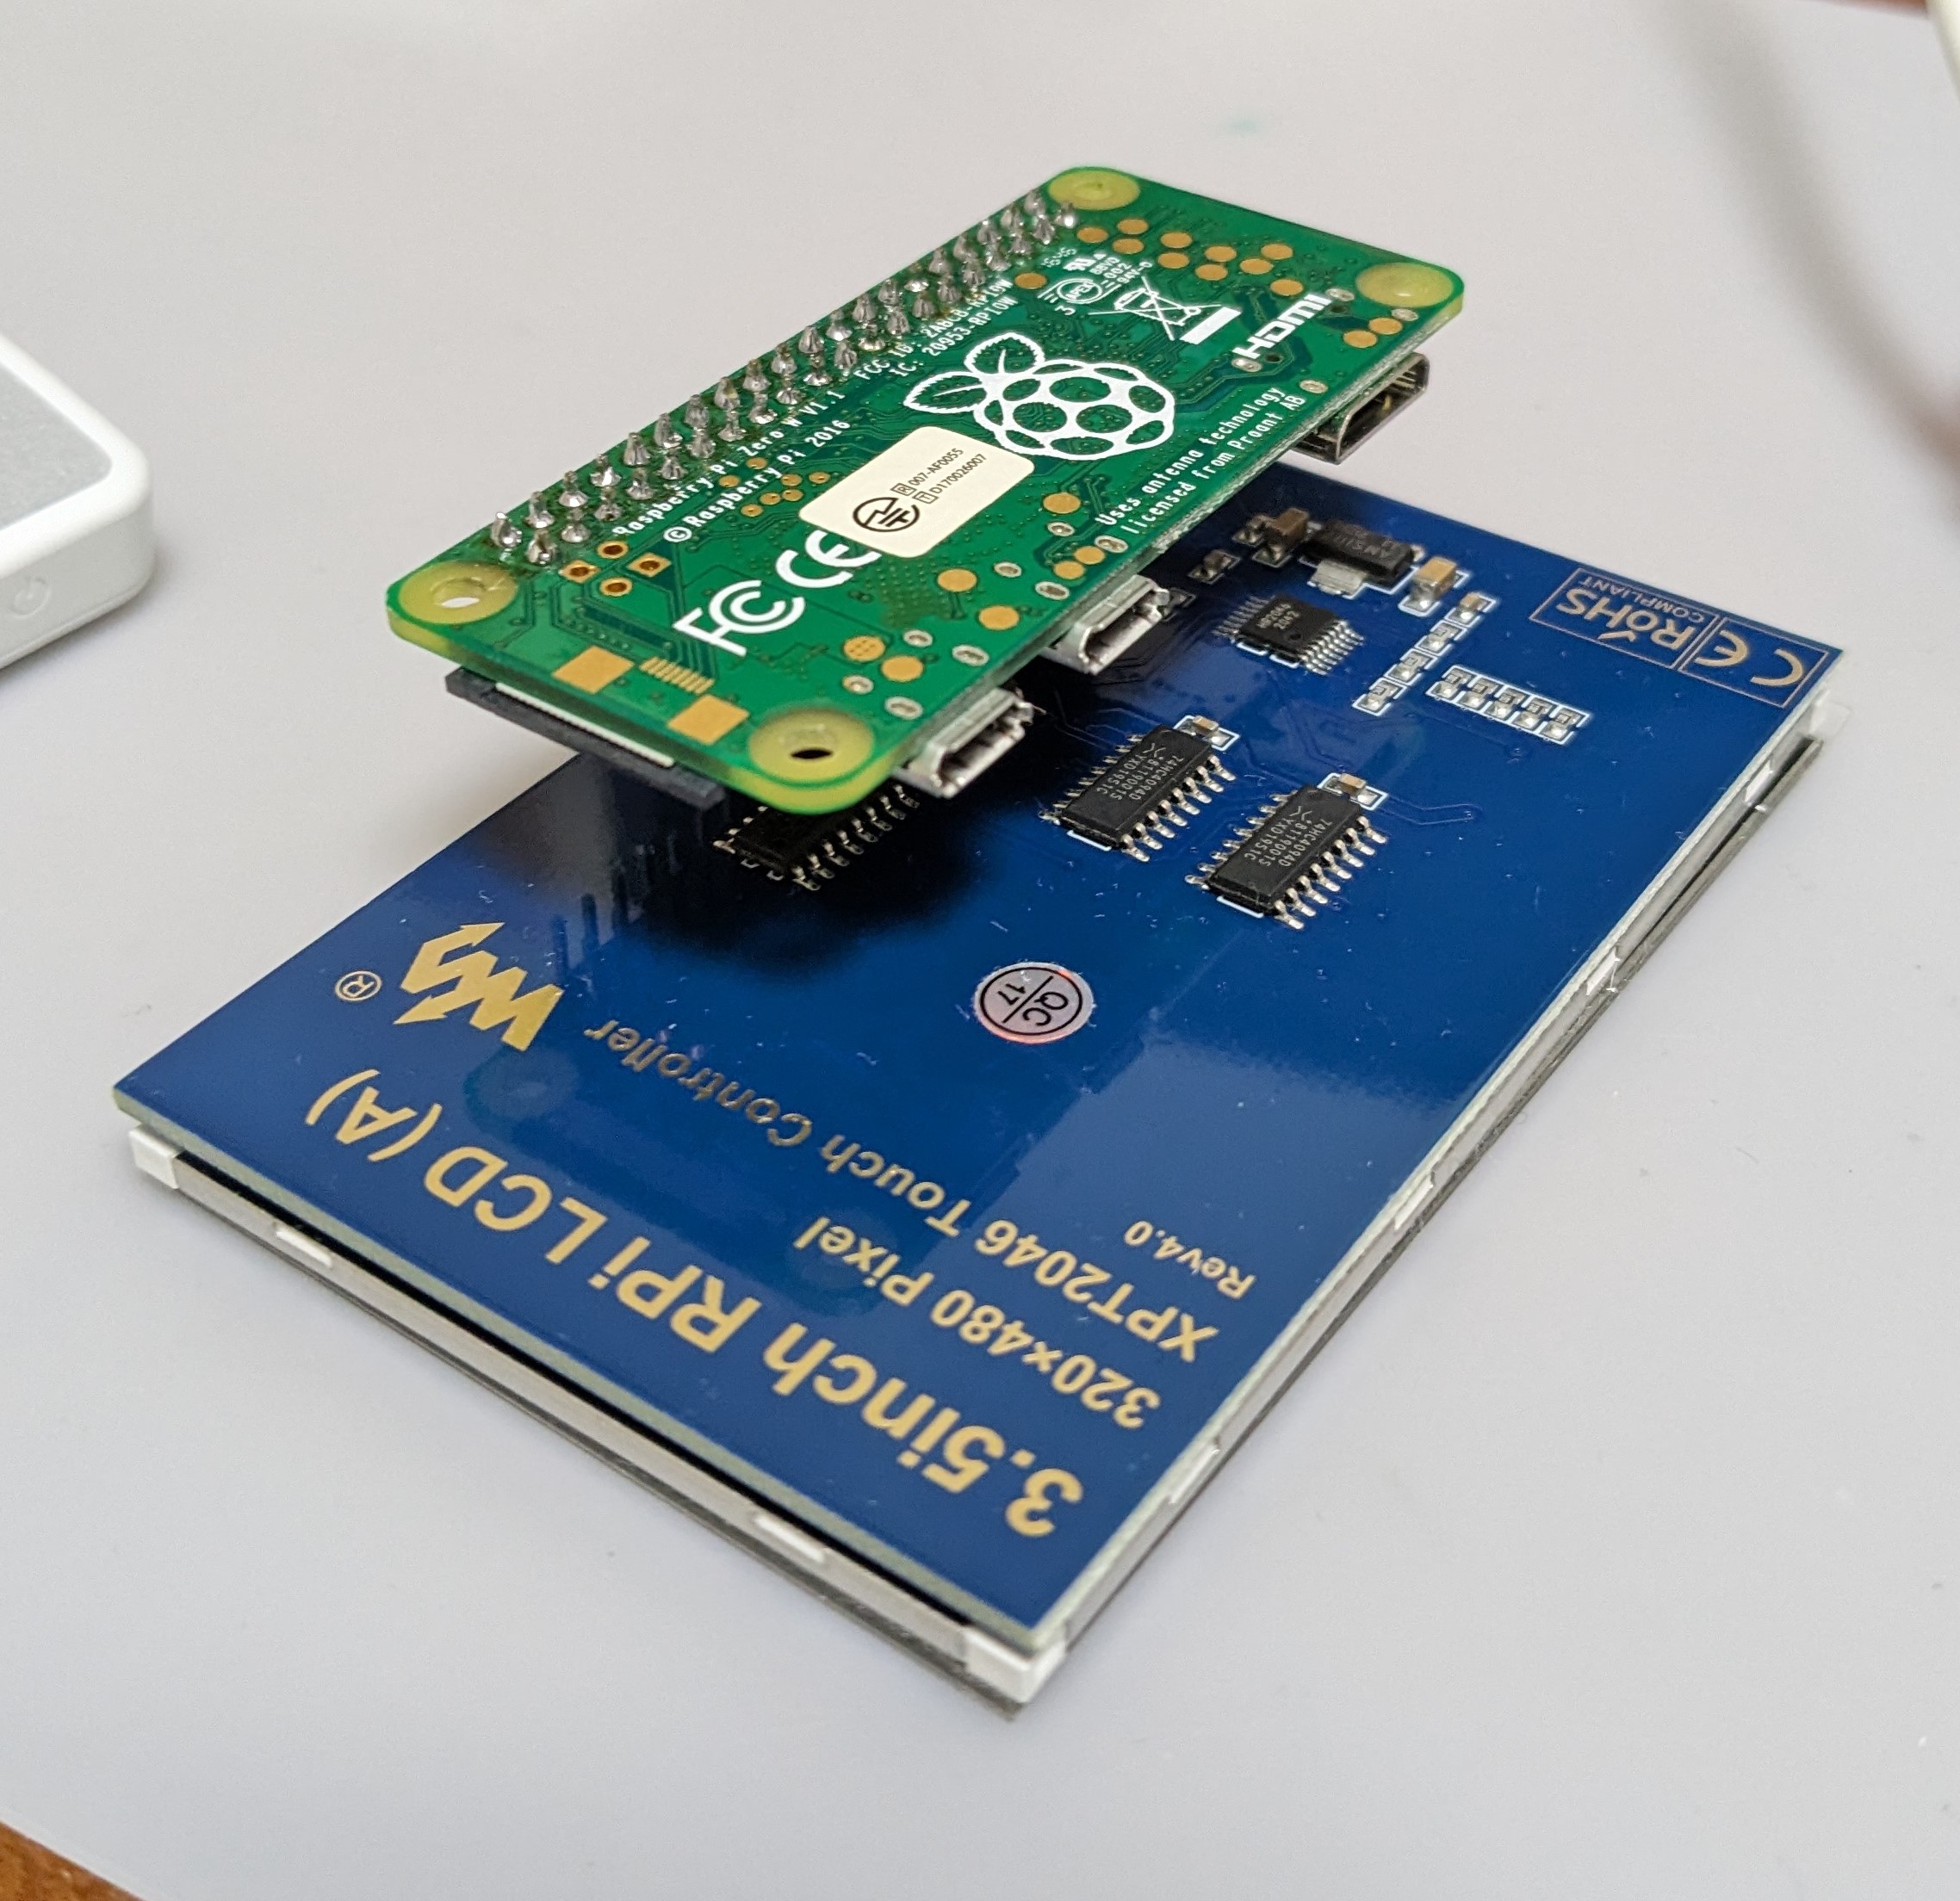 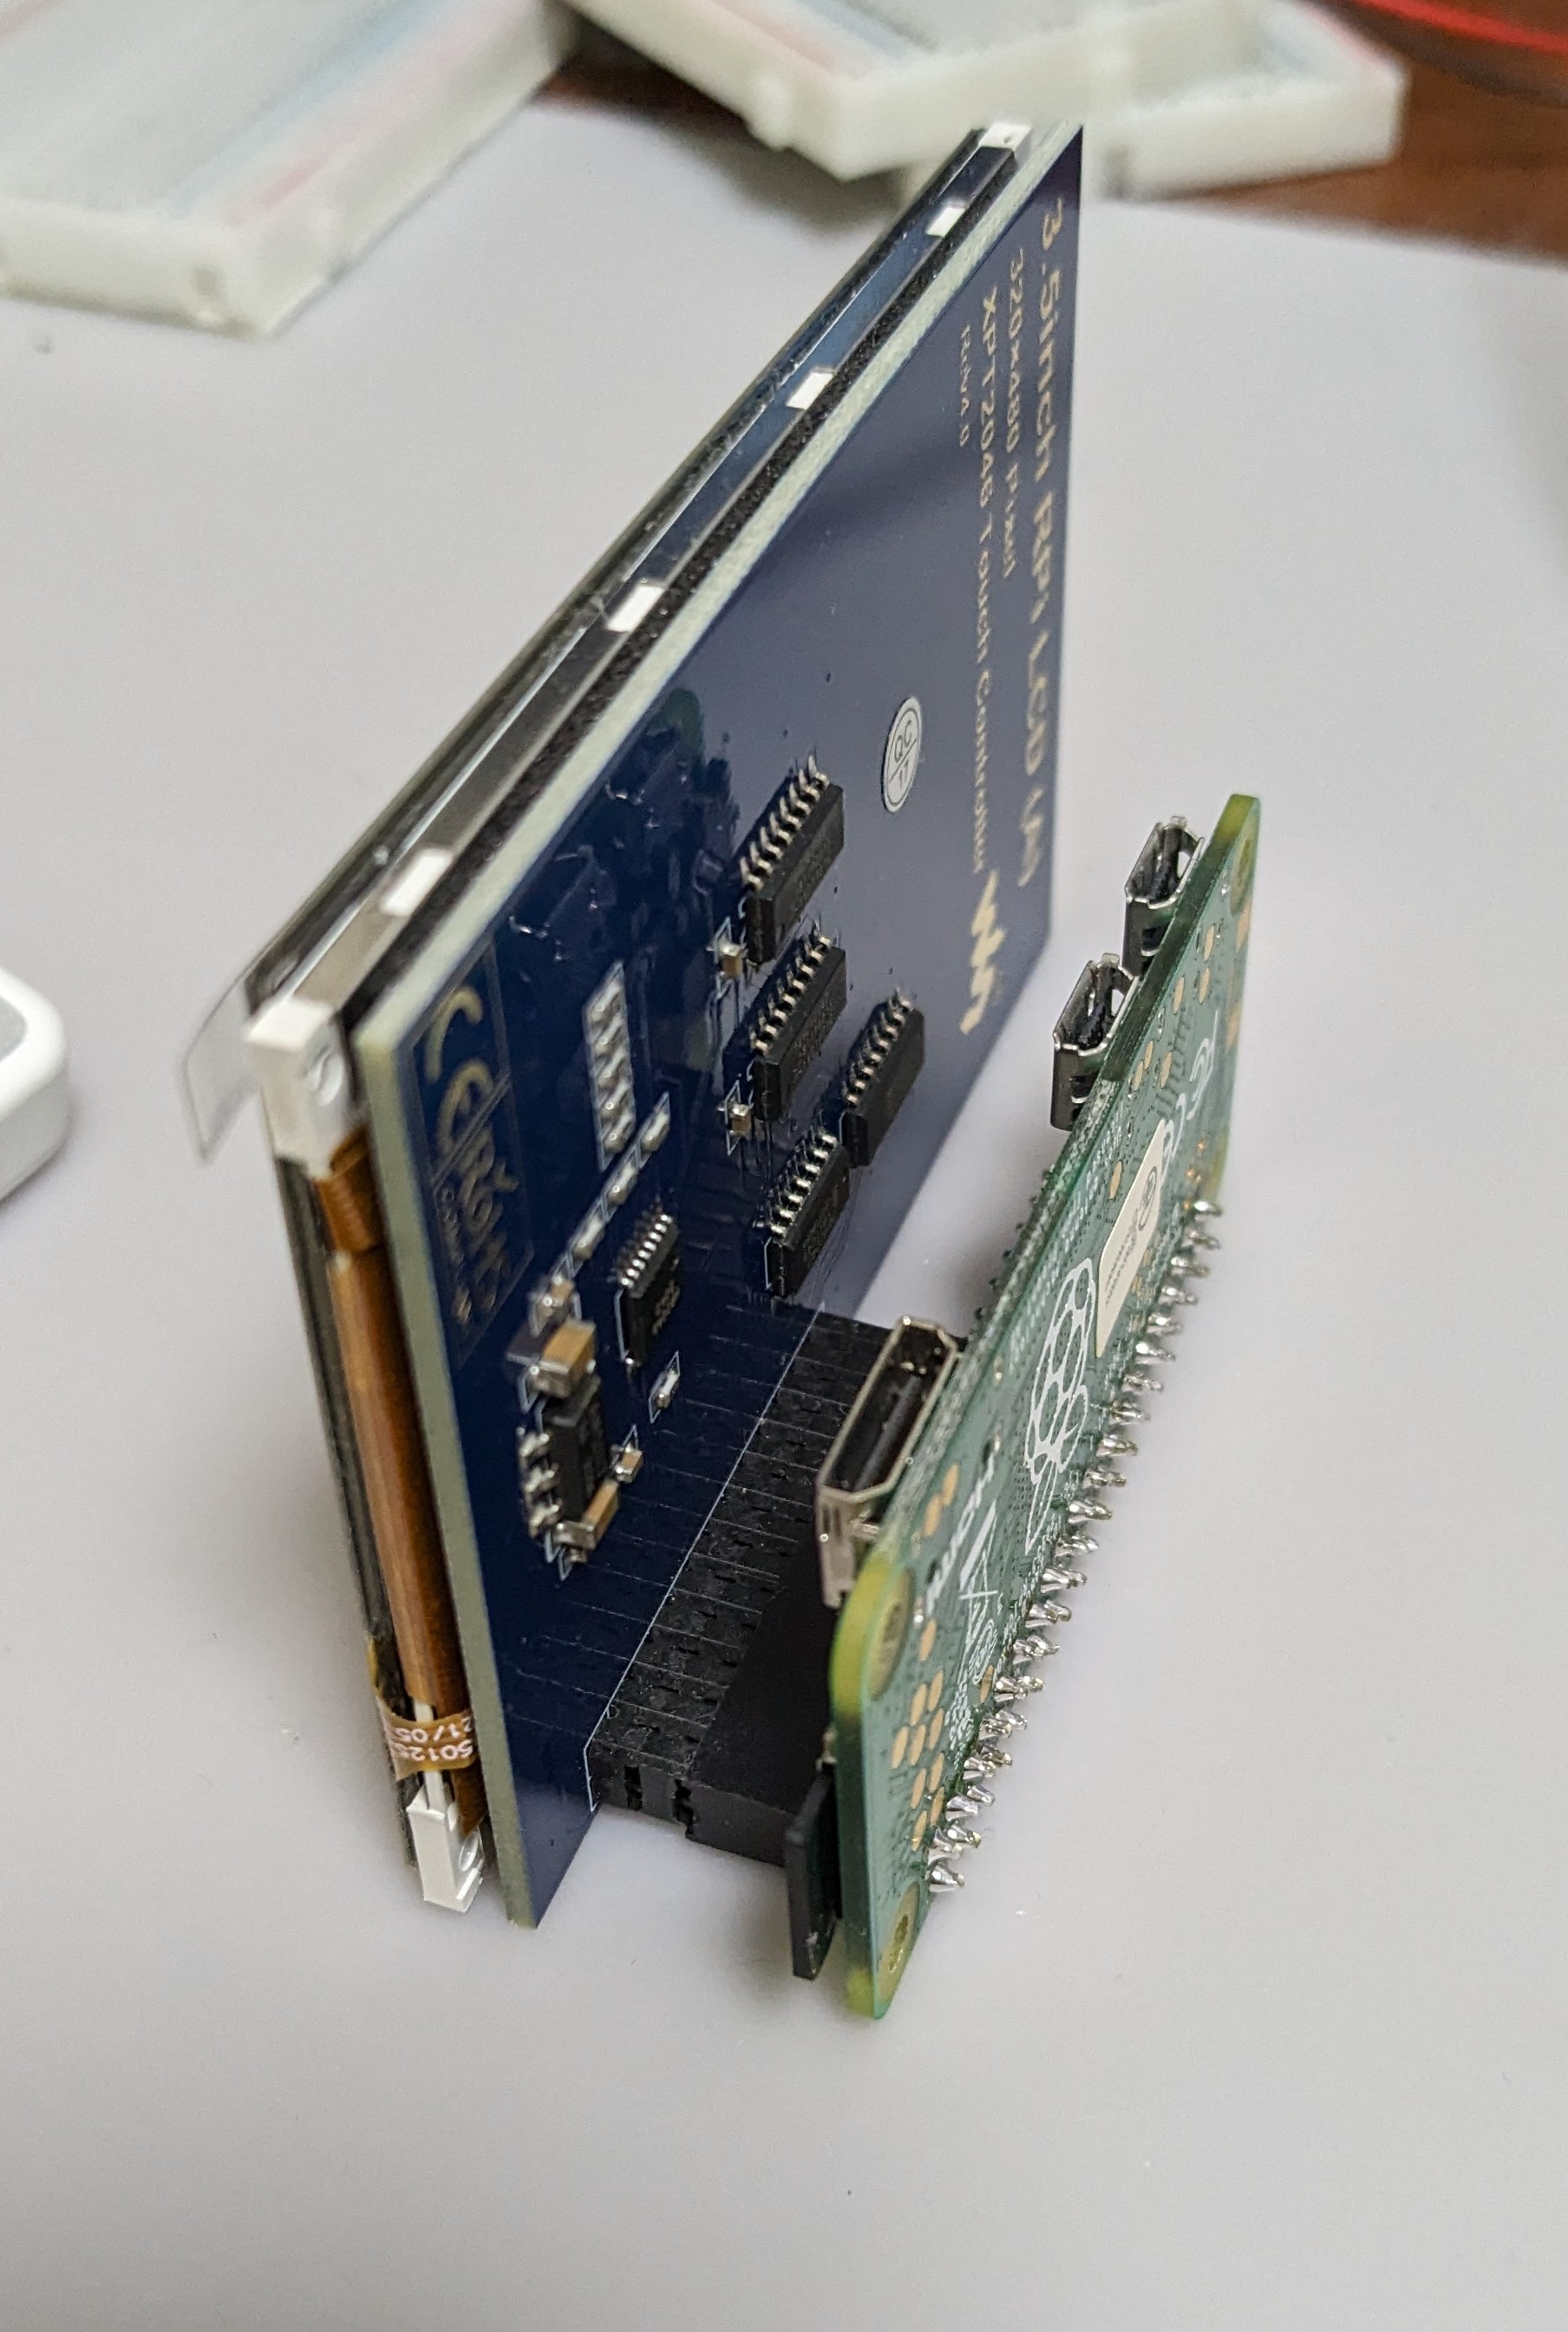 無事接続できたら、OS/LCD周りの各種初期設定を実施します。 ```bash: #まずはアップデートを行います。 sudo apt-get update -y && sudo apt-get upgrade -y # WaveshareのLCD設定です。 git clone https://github.com/waveshare/LCD-show.git cd LCD-show/ chmod +x LCD35-show ./LCD35-show # この再起動後にLCD画面表示するはずですが、なぜか表示されず。以下を実行して再起動したところ表示されました。 ./LCD35-show lite ``` 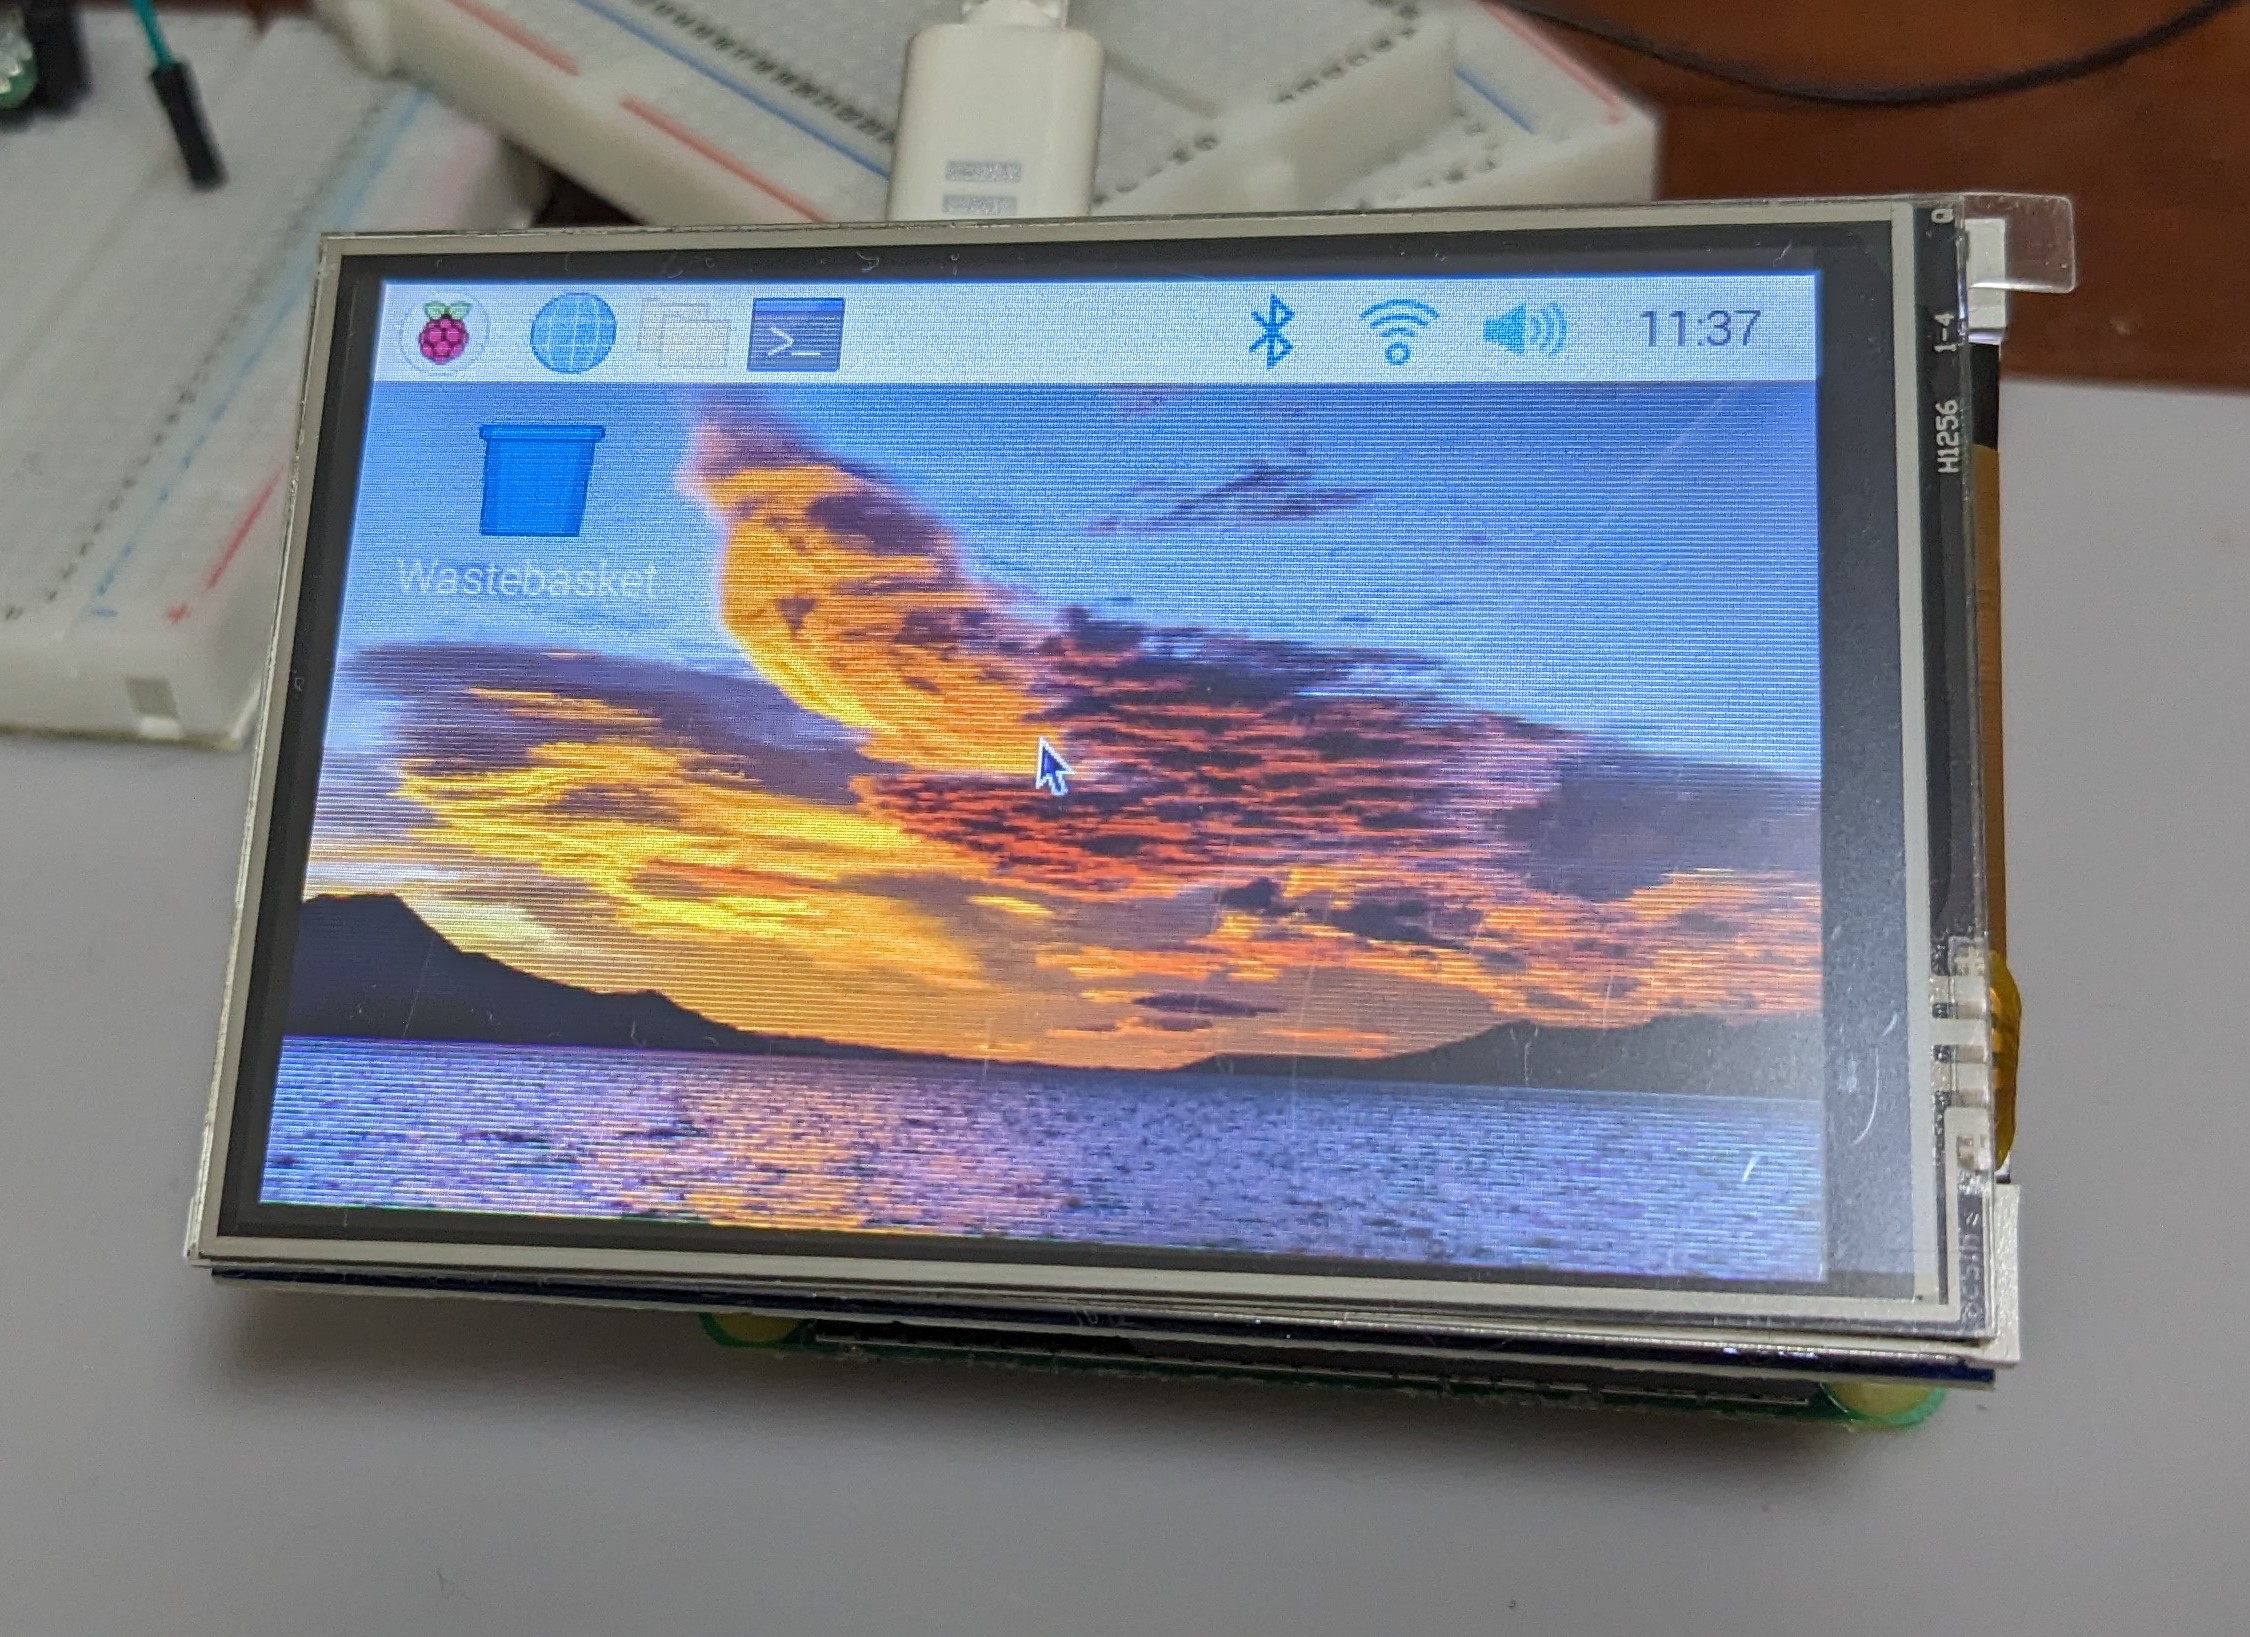 Xの画面がLCDに表示されましたが、今回はXは不要なので、起動時にXが起動しないように設定を変更します。 ``` sudo raspi-config ``` を実行して、以下の要領で設定を変更します。 1 System Optionを選択 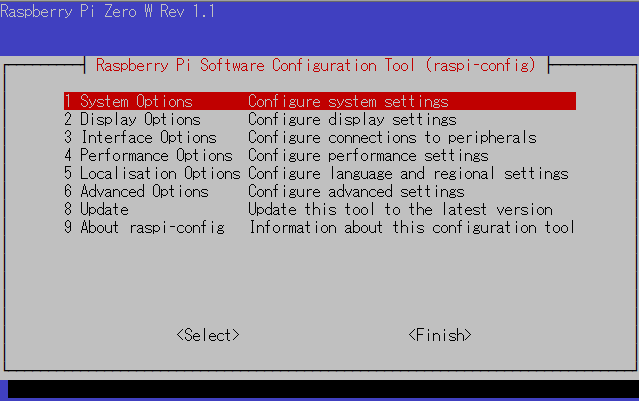 S5 Boot/Auto Loginを選択 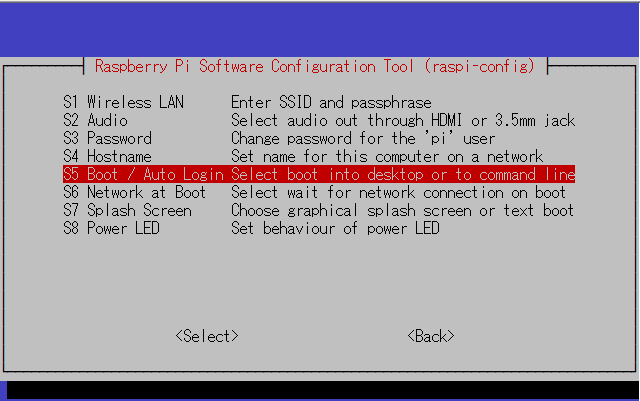 B1 Consoleを選択します。  再起動を求められるので再起動します。 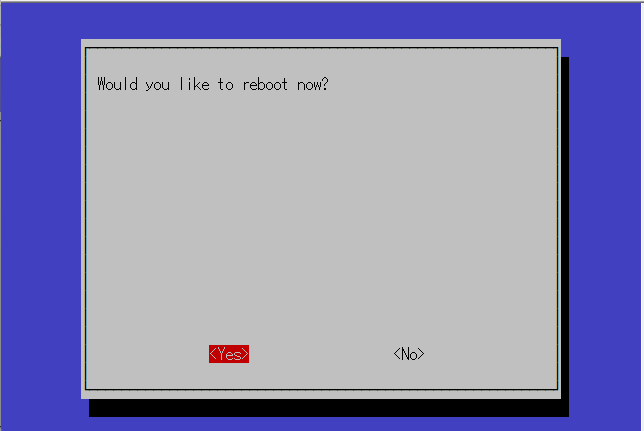 再起動後は、LCDにはコンソール画面が表示されました。 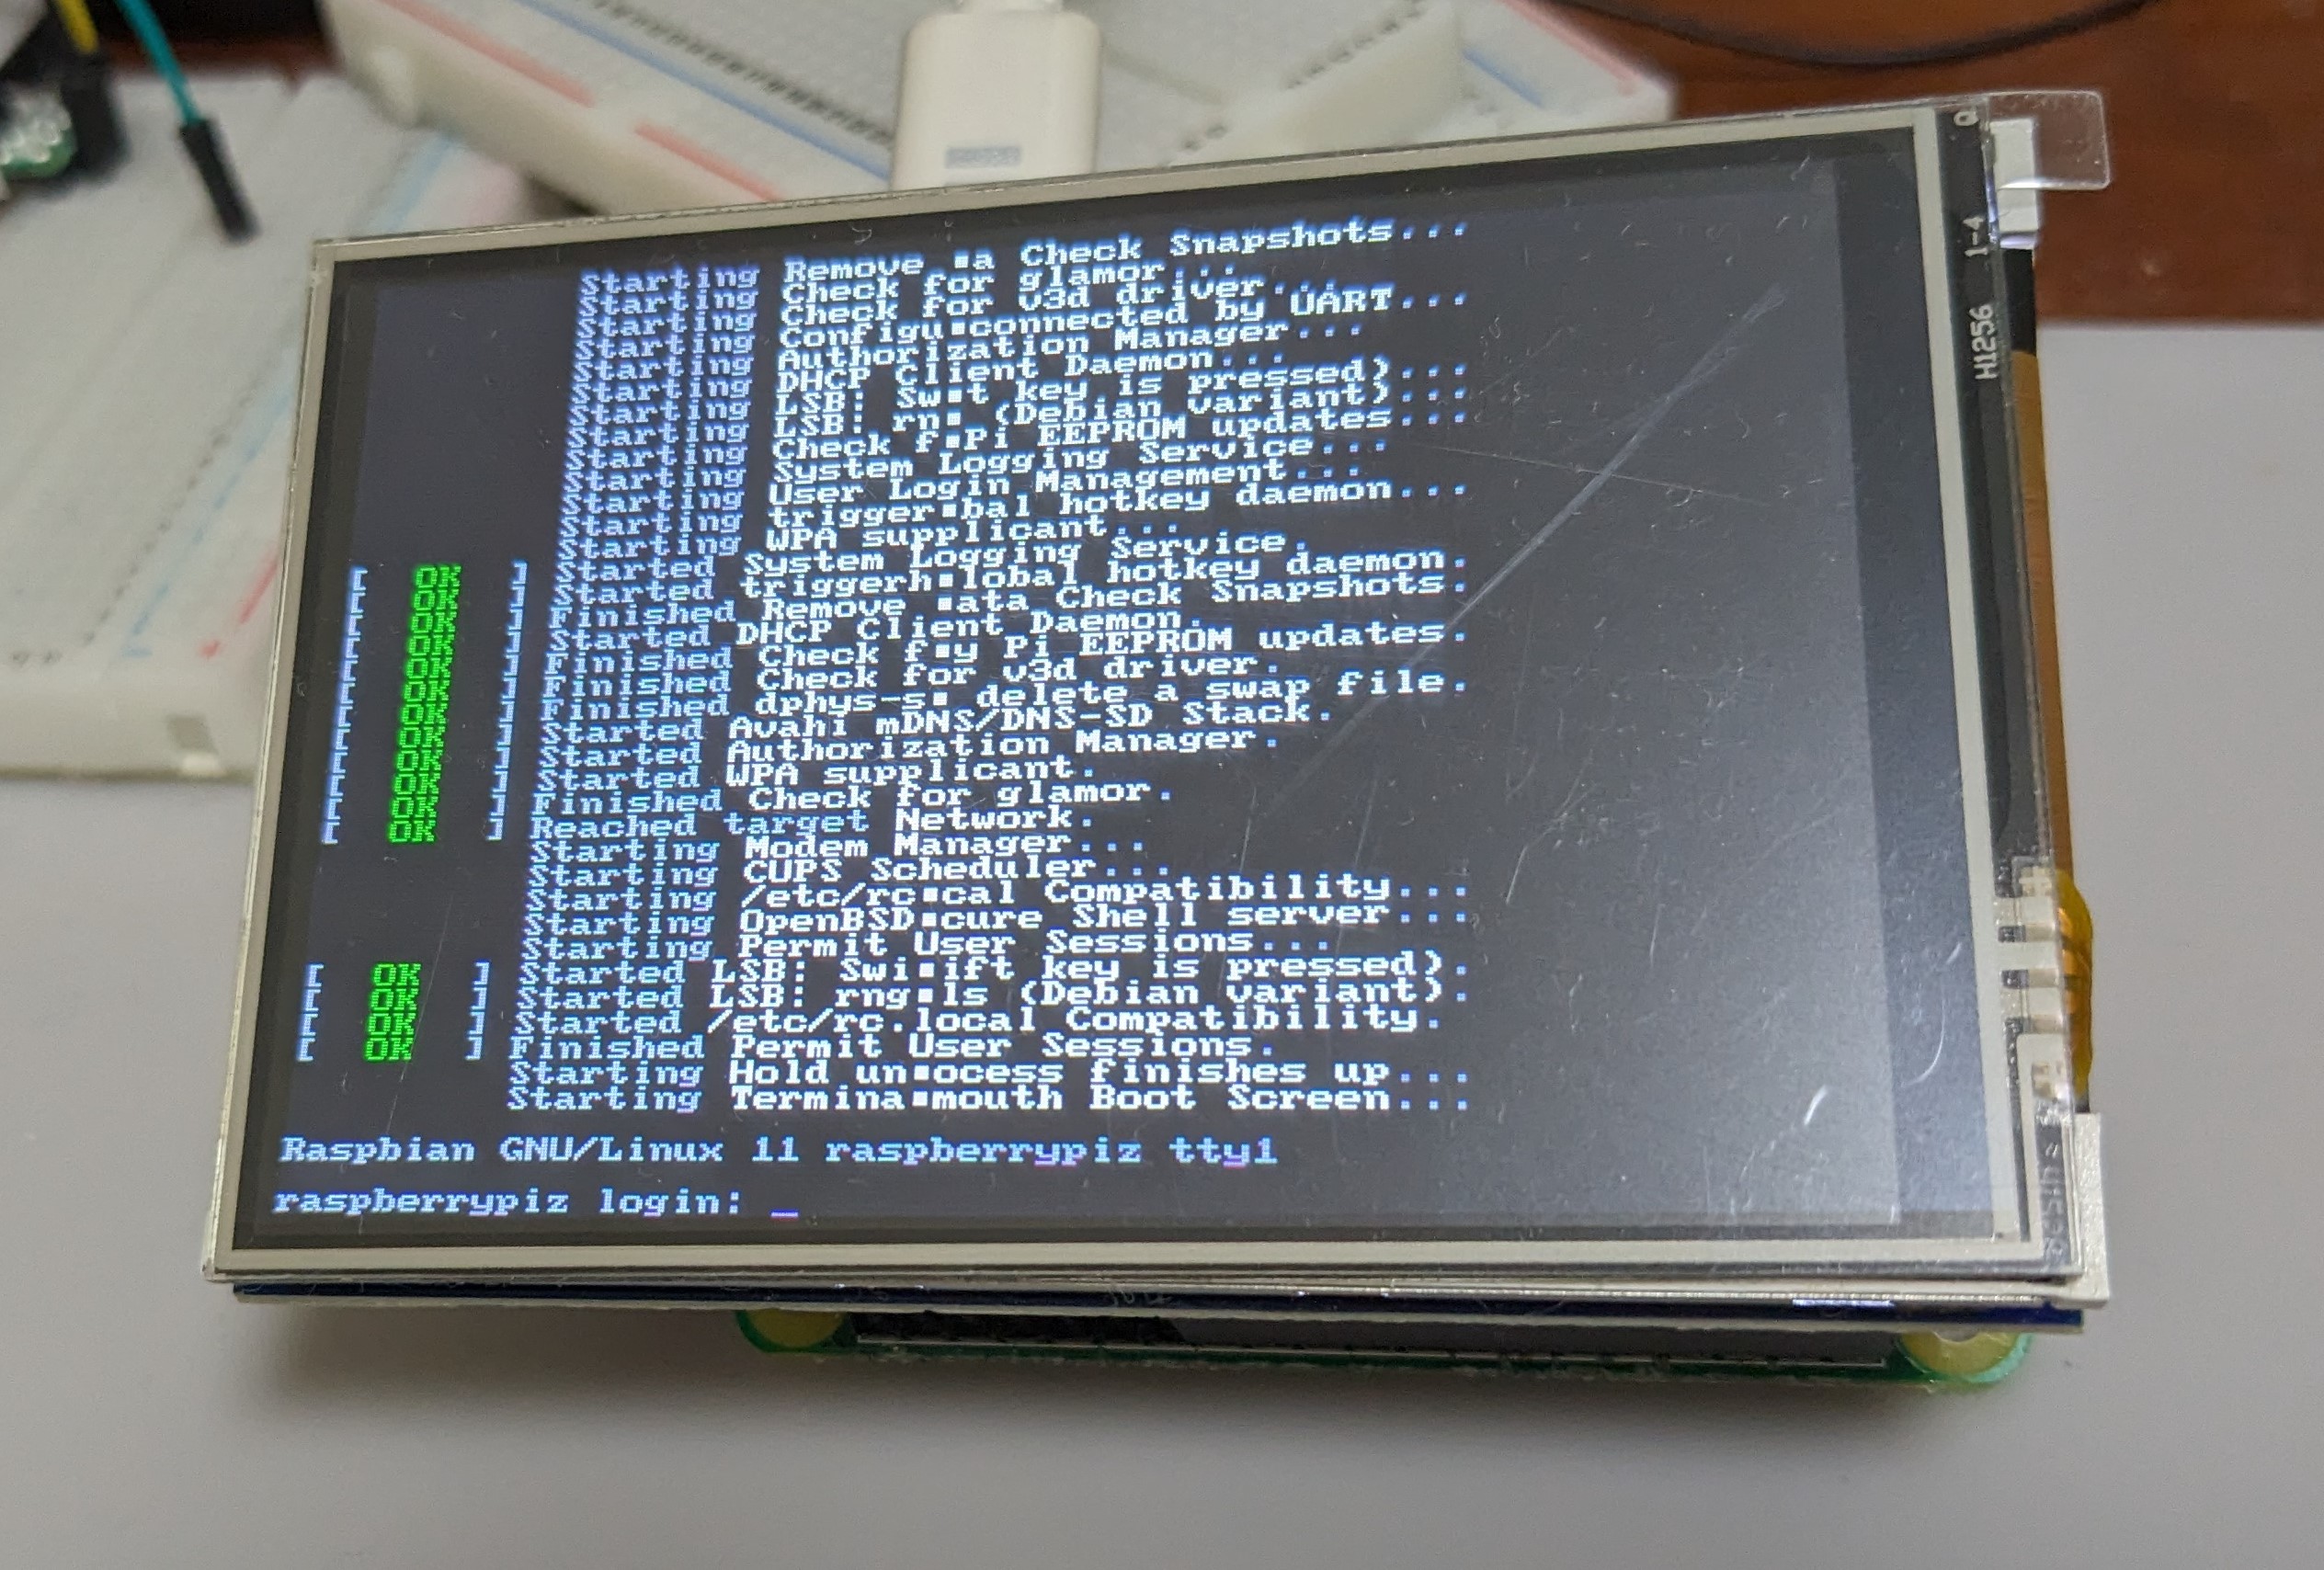 この後必要になるので、日本語ロケールの追加を行います。 ``` sudo raspi-config ``` を実行して、以下の要領で設定を変更します。 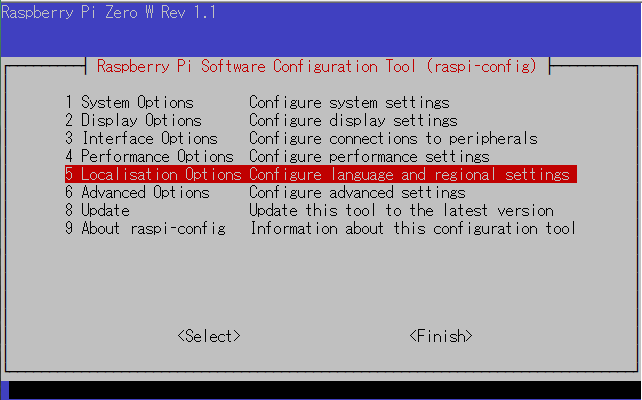 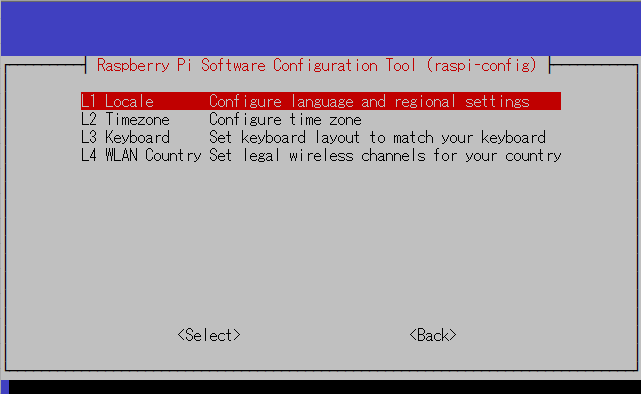 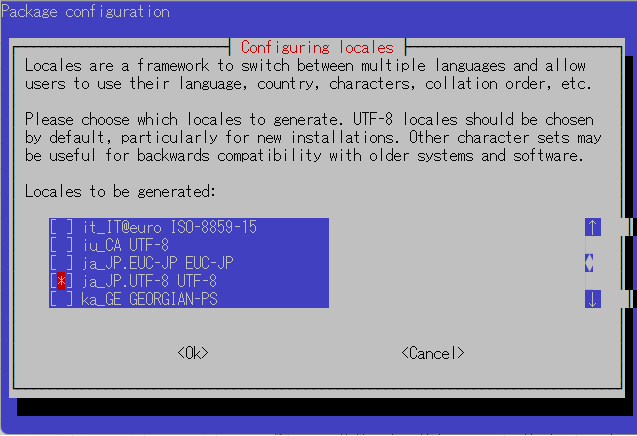 最後の選択肢は、このままでOKをおします。 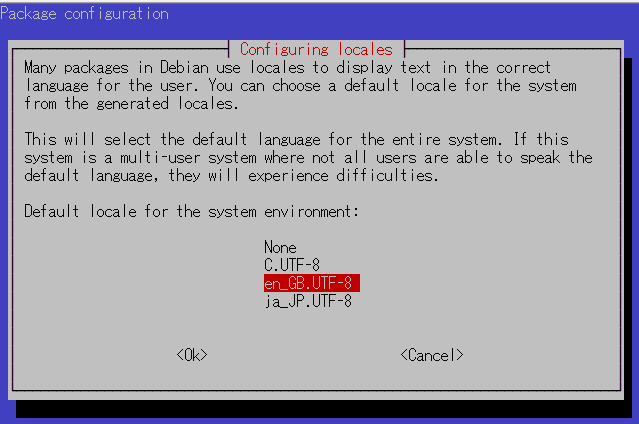 日本語フォント(GoogleのNotoSansフォント)もインストールします。 ``` wget -O NotoSansCJKjp-hinted.zip https://noto-website.storage.googleapis.com/pkgs/NotoSansCJKjp-hinted.zip unzip -d NotoSansCJKjp-hinted NotoSansCJKjp-hinted.zip sudo mkdir -p /usr/share/fonts/opentype sudo mv -fv ./NotoSansCJKjp-hinted /usr/share/fonts/opentype/note rm -rfv NotoSansCJKjp-hinted.zip wget -O NotoSerifCJKjp-hinted.zip https://noto-website.storage.googleapis.com/pkgs/NotoSerifCJKjp-hinted.zip unzip -d NotoSerifCJKjp-hinted NotoSerifCJKjp-hinted.zip sudo mv -fv ./NotoSerifCJKjp-hinted /usr/share/fonts/opentype/note rm -rfv NotoSerifCJKjp-hinted.zip sudo fc-cache -fv ``` 既定ではWifiのパワーセーブがonになっており、一定時間時間がたつと通信ができなくなるようです。パワーセーブをoffにします。 ネットの情報を元に、以下設定を行います。 以下コマンド実行 ``` sudo nano /etc/dhcpcd.exit-hook ``` こちらの内容を張り付けて保存し、終了、再起動します。 ``` [ -n ${disable_pm} ] || return 0 if [ “${interface}” = “wlan0” ]; then case ${reason} in CARRIER | NOCARRIER) iwconfig ${interface} power off ;; STOP | STOPPED) iwconfig ${interface} power on ;; esac fi ``` ## ウエザーステーションソフトの導入と設定 基本的に[WeatherPi](https://github.com/miyaichi/WeatherPi)ページに記載の通りです。 ``` # 必要なモジュールのインストール sudo apt-get install rng-tools gettext -y sudo apt-get install python3-pygame python3-pillow -y # 本体のコピーと初期設定 git clone https://github.com/miyaichi/WeatherPi.git cd WeatherPi sudo cp WeatherPi_Service.sh /etc/init.d/WeatherPi sudo chmod +x /etc/init.d/WeatherPi sudo chmod +x WeatherPi.py sudo systemctl enable WeatherPi sudo chown -v root:root /usr/bin/python3 sudo chmod -v u+s /usr/bin/python3 ``` この後config.jsonを作成します。 ``` nano config.json ``` 私のconfig.jsonは以下です。 openweather appidは事前に取得しておく必要があります。 addressと、緯度、経度はご自身の情報を入れましょう。 ``` { "openweather_appid": "入手したappidをここに張り付ける", "google_api_key": "xxxxxxxxxxxxxxxxxxxxxxxxxxxxxxxxxxxxxxx", "address": "<市区町村を記載>", "latitude": 緯度を数字で入力, "longitude": 経度を数字で入力, "locale": "ja_JP.UTF-8", "units": "metric", "SDL_FBDEV": "/dev/fb1", "display": [480, 320], "fonts": { "name": "Noto Sans Mono CJK JP", "size": { "large": 32, "medium": 24, "small": 17 } }, "modules": [ { "module": "Alerts", "config": { "rect": [0, 0, 480, 20] } }, { "module": "Weather", "config": { "rect": [0, 20, 410, 120] } }, { "module": "WeatherForecast", "config": { "rect": [0, 120, 480, 90], "forecast_days": 6 } }, { "module": "SunriseSuset", "config": { "rect": [0, 220, 80, 80] } }, { "module": "MoonPhase", "config": { "rect": [80, 220, 80, 80] } }, { "module": "Wind", "config": { "rect": [160, 220, 80, 80] } }, { "module": "Clock", "config": { "rect": [320, 220, 160, 60] } }, { "module": "Location", "config": { "rect": [320, 280, 160, 20] } } ] } ``` # 動作状況 自動でサービス起動するようになっているので、再起動を行うと起動後にこのように画面表示がされます。 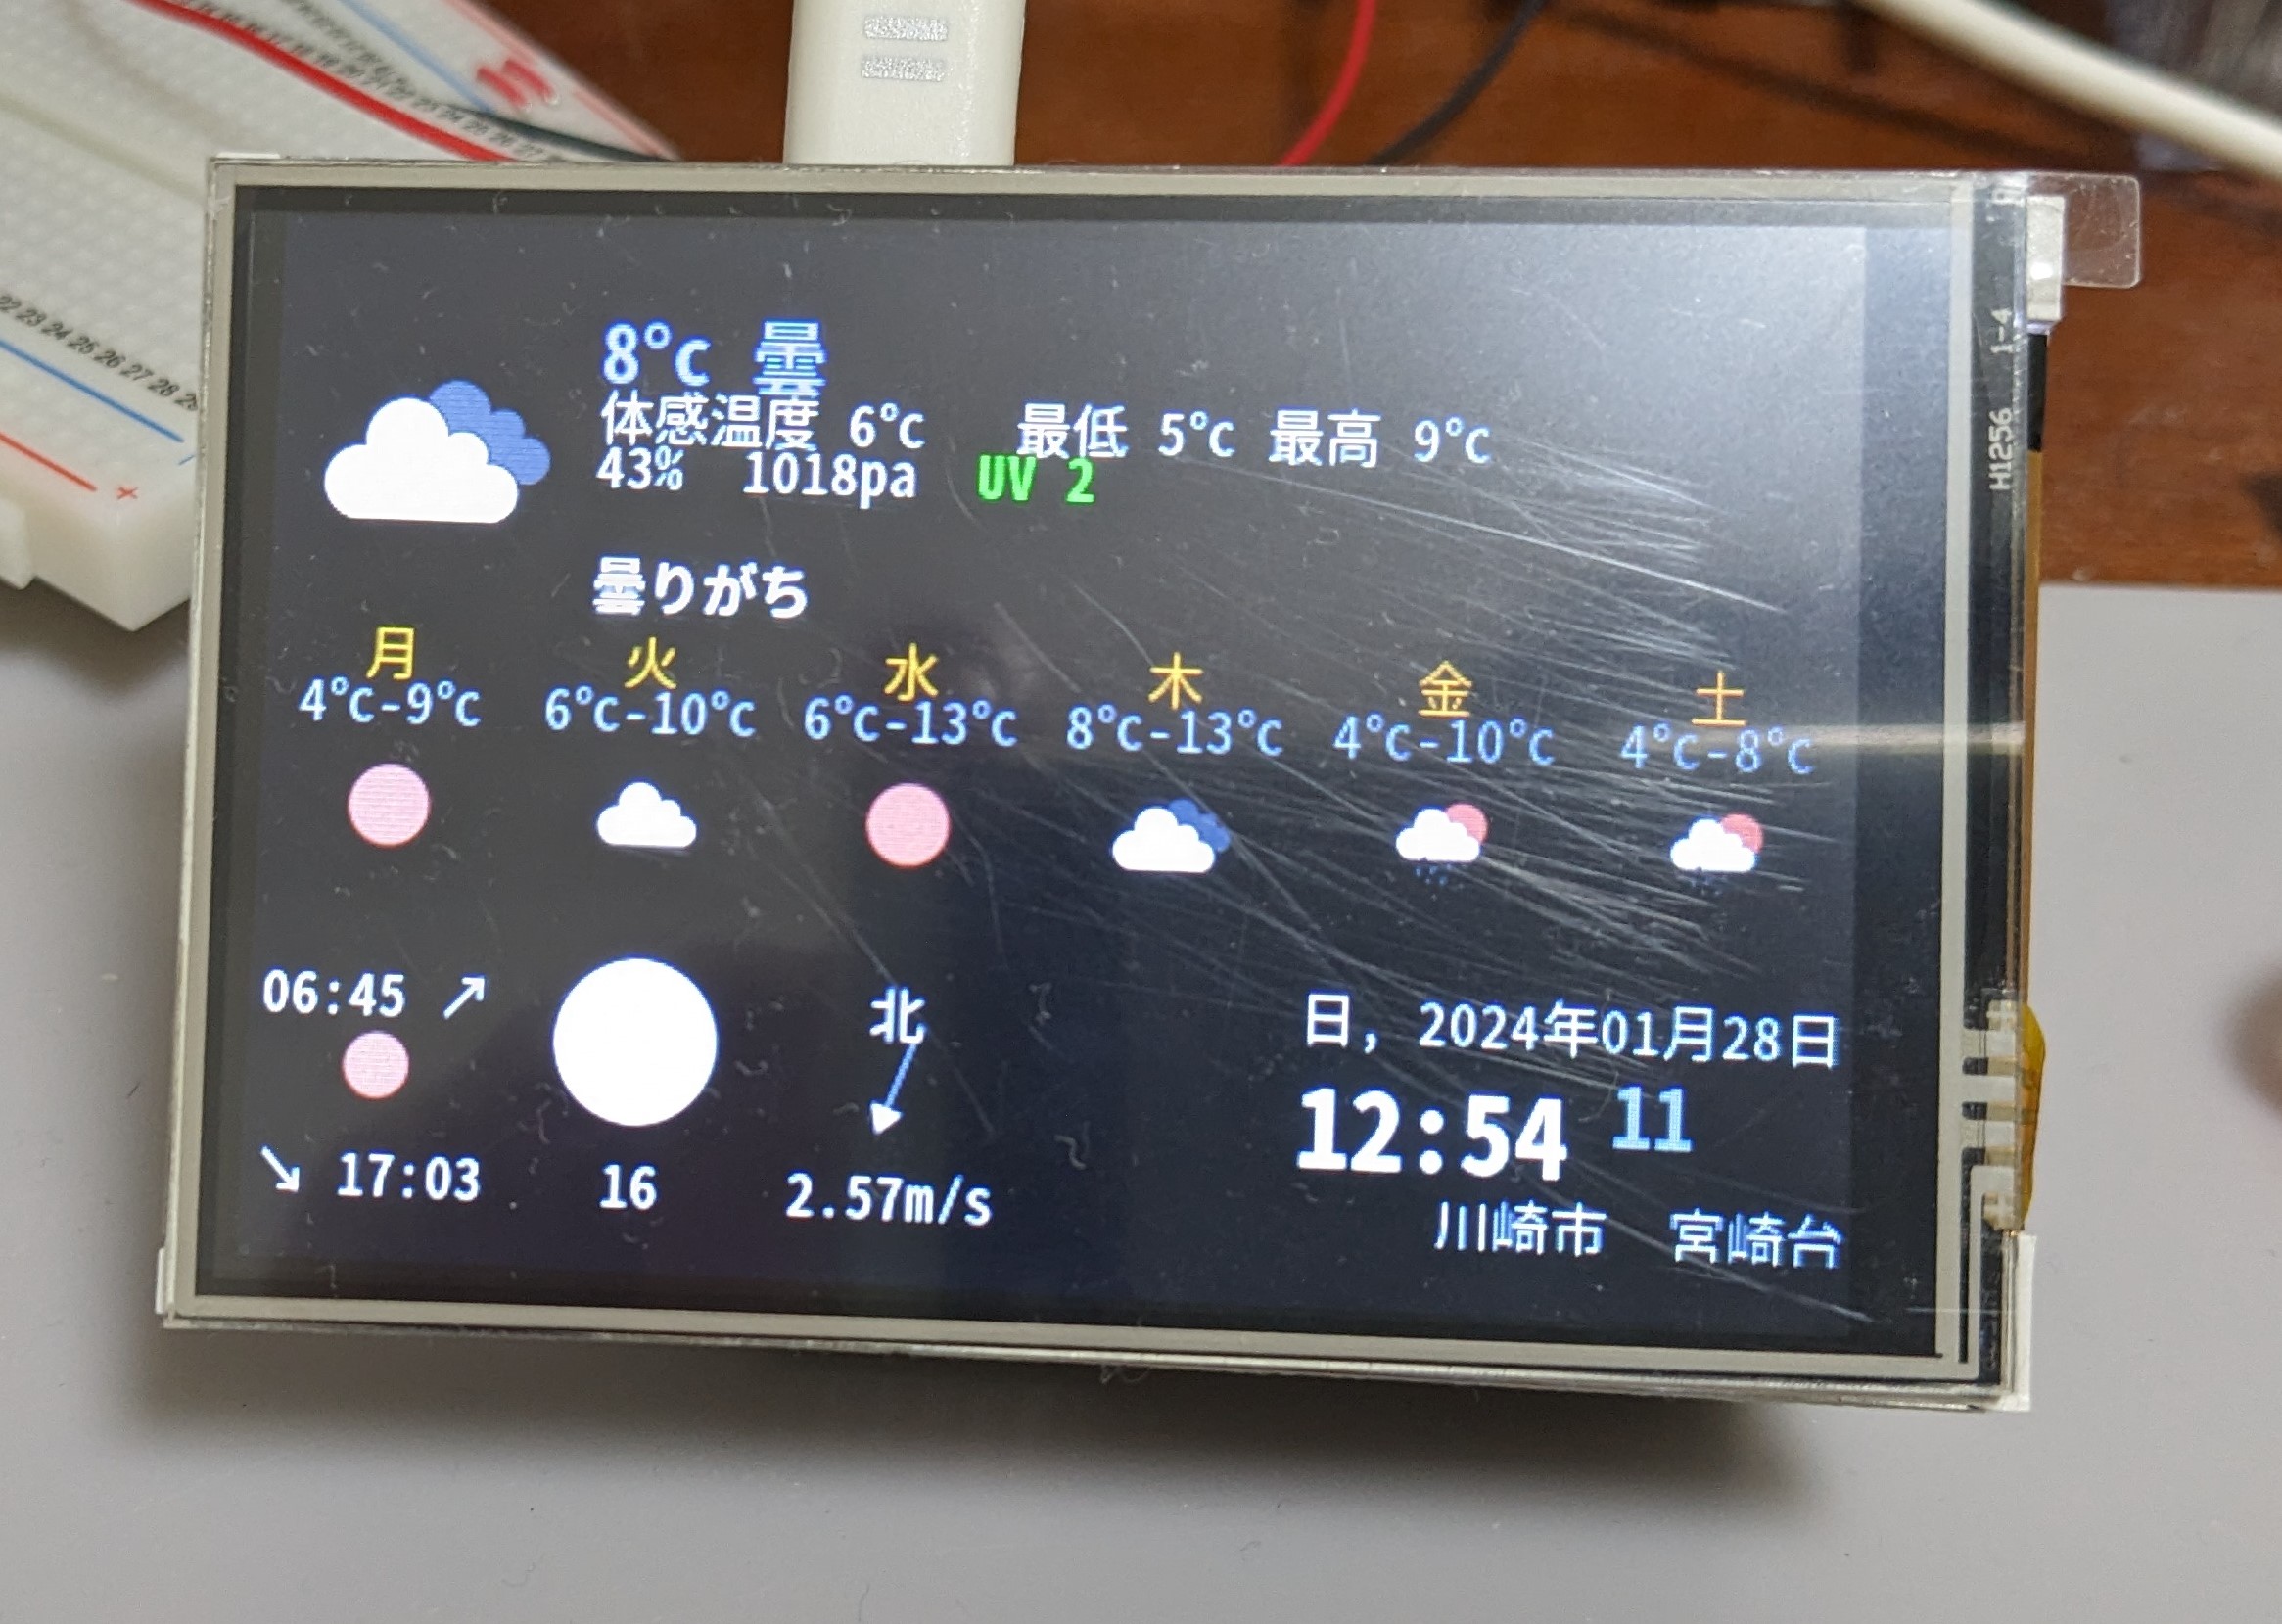 天気のアイコンを以下のサイトから入手して変更してみました。 [OpenWeahther](https://github.com/Bodmer/OpenWeather)  無線LANのパワーセーブのタイミングとバッティングするのか、起動直後にwaiting dataで天気情報が表示されないことがありました。 一旦以下ファイルを開き ``` sudo nano /etc/initi.d/WeatherPi ``` 変更前 ``` do_start () { log_daemon_msg "Starting system $DAEMON_NAME daemon" start-stop-daemon --start --background --pidfile ${PIDFILE} --make-pidfile --user ${DAEMON_USER} --chuid ${DAEMON_USER} --startas ${DAEMON} -- ${DAEMON_OPTS} log_end_msg $? } ``` 変更後(Sleepを入れました) ``` do_start () { sleep 20 log_daemon_msg "Starting system $DAEMON_NAME daemon" start-stop-daemon --start --background --pidfile ${PIDFILE} --make-pidfile --user ${DAEMON_USER} --chuid ${DAEMON_USER} --startas ${DAEMON} -- ${DAEMON_OPTS} log_end_msg $? } ``` として様子を見ています。 # 参考リンク こちらが、元祖のウエザーステーションソフトウエアです。 [WeatherPi_TFT](https://github.com/LoveBootCaptain/WeatherPi_TFT) こちらは、上記のフォークで独自に改良をされた方の物です。日本語対応もされているので、今回はこちらを利用致しました。 [WeatherPi](https://github.com/miyaichi/WeatherPi) 日本語フォントのインストール方法 [ゴシックも明朝もラズパイのフォントはNoto CJK jpでスッキリ統一!](https://www.fabshop.jp/%E3%82%B4%E3%82%B7%E3%83%83%E3%82%AF%E3%82%82%E6%98%8E%E6%9C%9D%E3%82%82%E3%83%A9%E3%82%BA%E3%83%91%E3%82%A4%E3%81%AE%E3%83%95%E3%82%A9%E3%83%B3%E3%83%88%E3%81%AFnoto-cjk-jp%E3%81%A7%E3%82%B9%E3%83%83/) 無線LANのパワーセーブ無効化 [PC/RaspberryPi/Linuxを動かしてみる/オンボードWiFiが切れないようにする](https://yueno.net/xoops/modules/xpwiki/?PC%2FRaspberryPi%2FLinux%E3%82%92%E5%8B%95%E3%81%8B%E3%81%97%E3%81%A6%E3%81%BF%E3%82%8B%2F%E3%82%AA%E3%83%B3%E3%83%9C%E3%83%BC%E3%83%89WiFi%E3%81%8C%E5%88%87%E3%82%8C%E3%81%AA%E3%81%84%E3%82%88%E3%81%86%E3%81%AB%E3%81%99%E3%82%8B) # 最後に 一旦はフリーで公開されているウエザーステーションを利用させていただき、動作確認もかねて構築しました。 今後の予定としては、BLEセンサーからのIoTデータ取り込み(&クラウドへのゲートウエイー)と表示機能を持たせる予定です。