taputapufk が 2021年02月22日13時17分38秒 に編集
初版
タイトルの変更
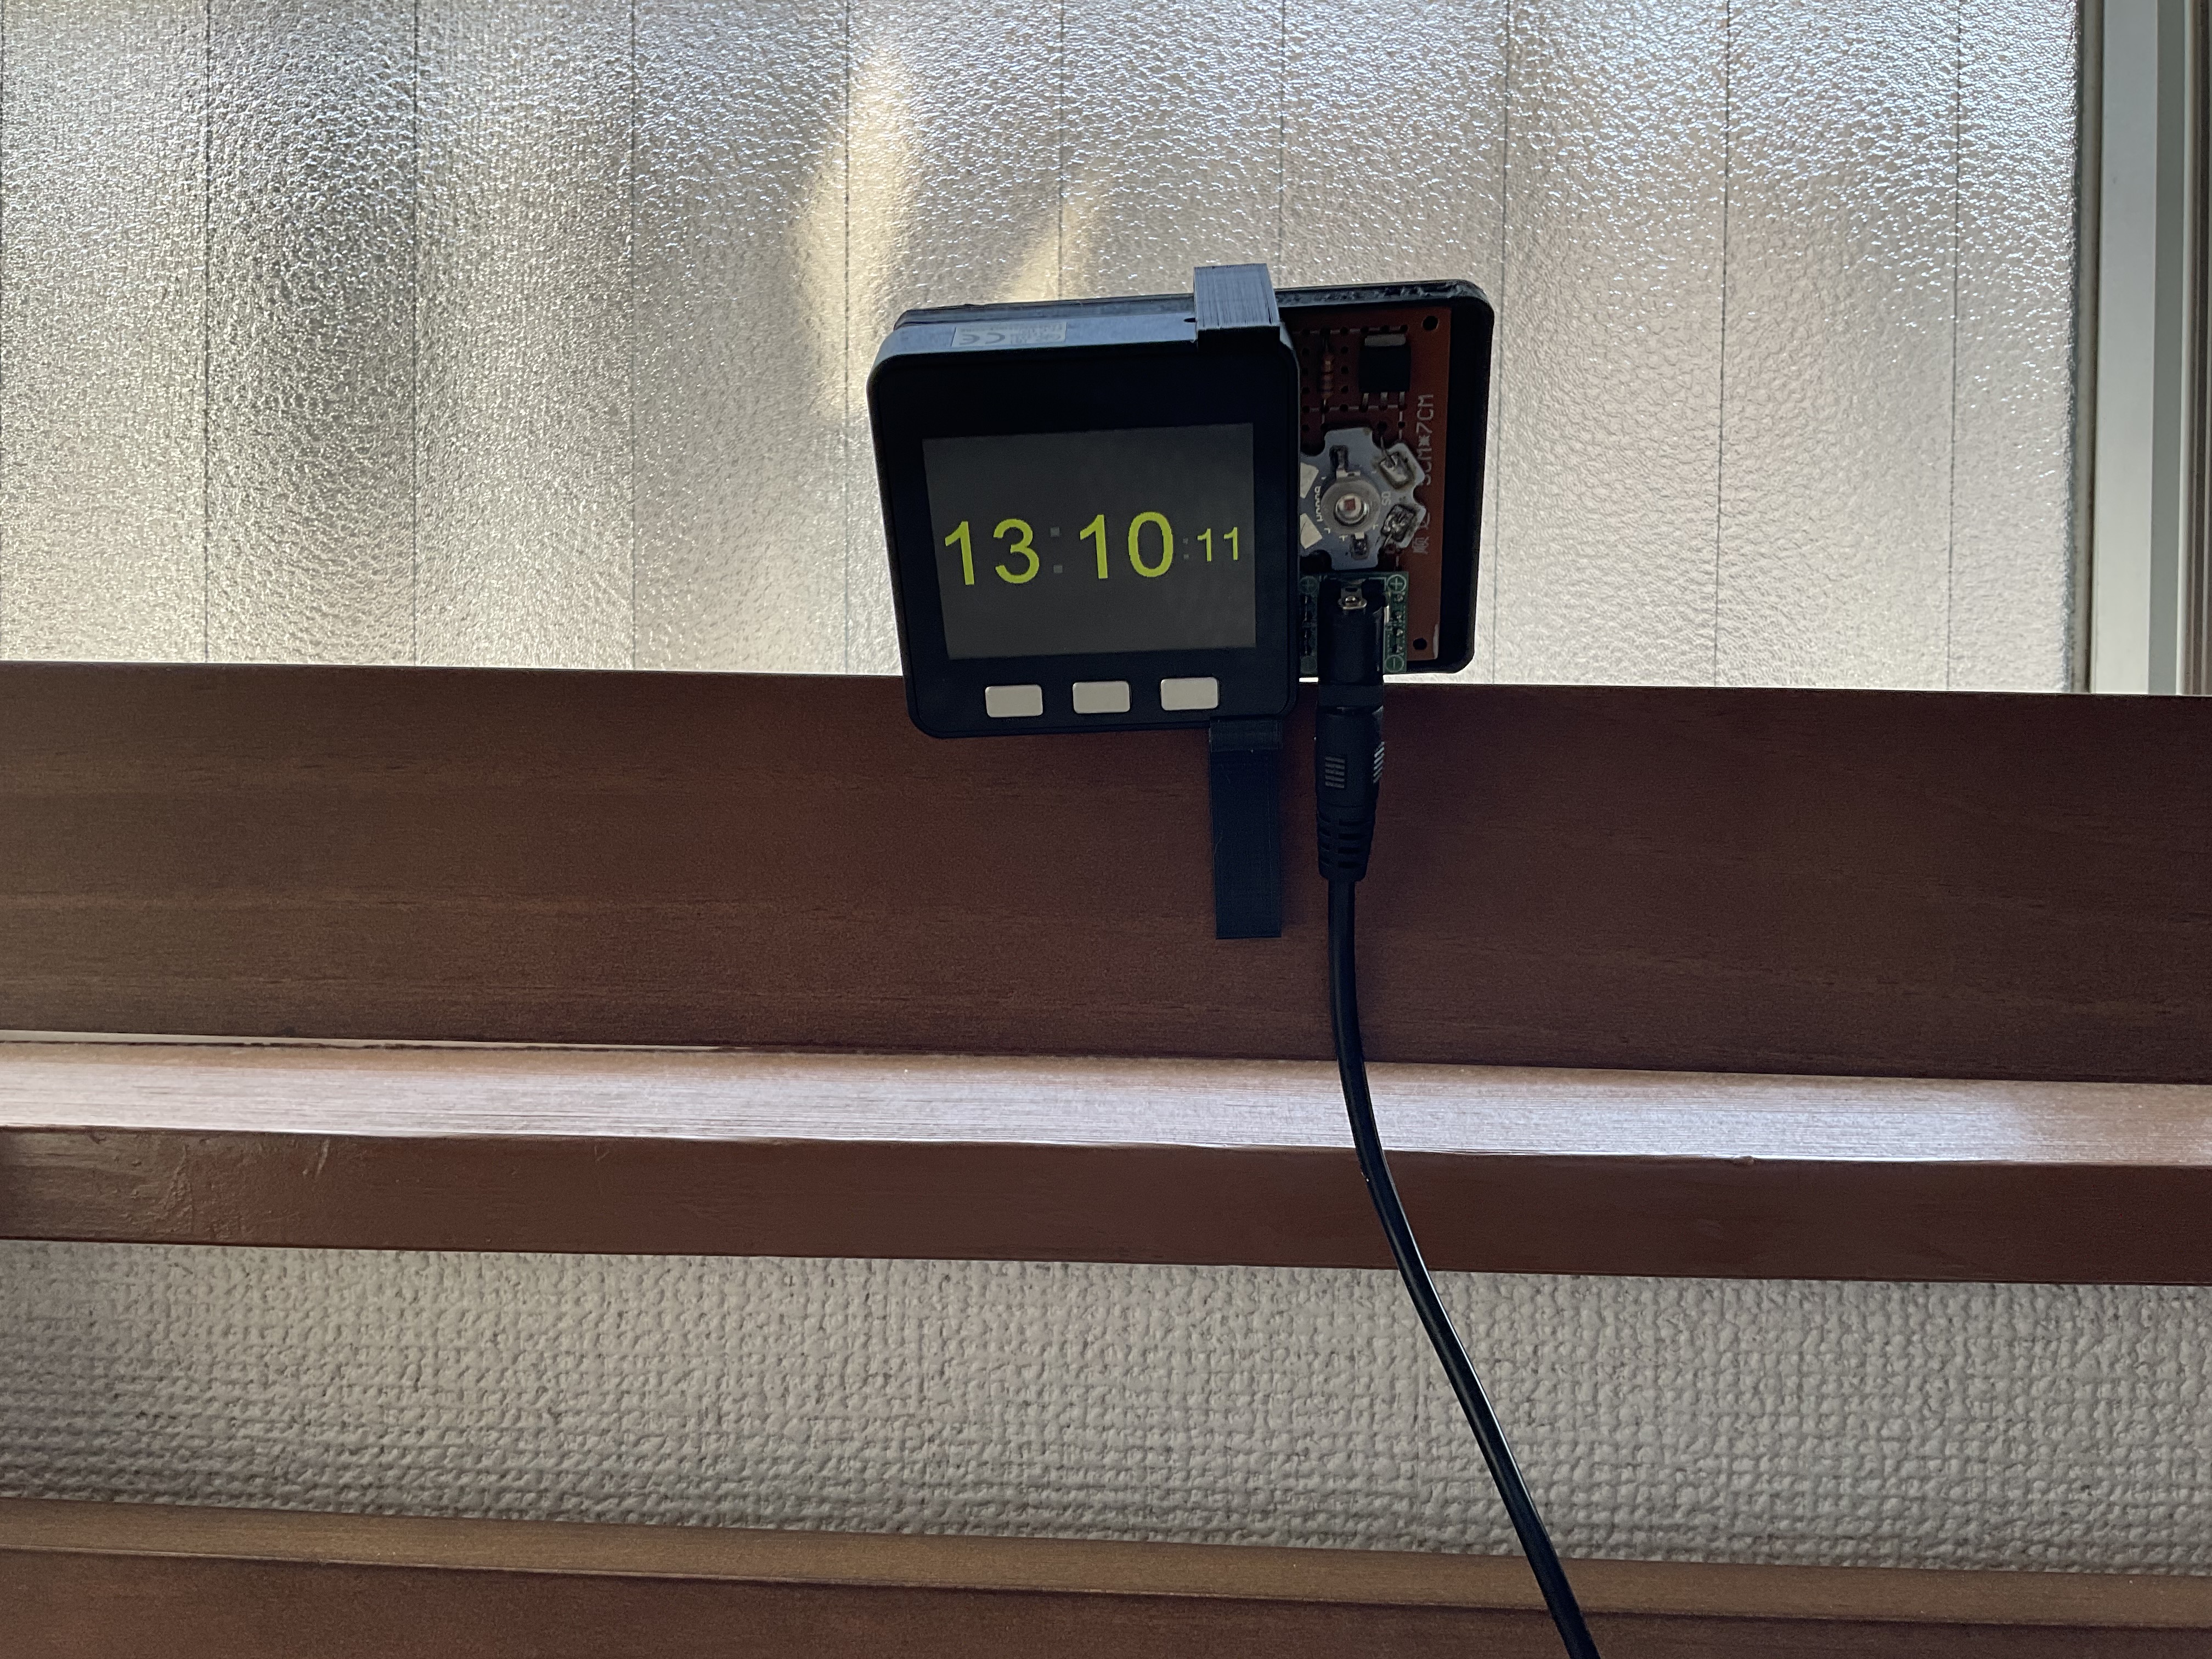
光を使った目覚まし時計を作る!
タグの変更
秋葉原2021
M5Stack
Arduino
メイン画像の変更
記事種類の変更
製作品
本文の変更
光を使った目覚まし時計を作る == M5Stackを使って、光で起こしてくれる目覚まし時計を作ります。 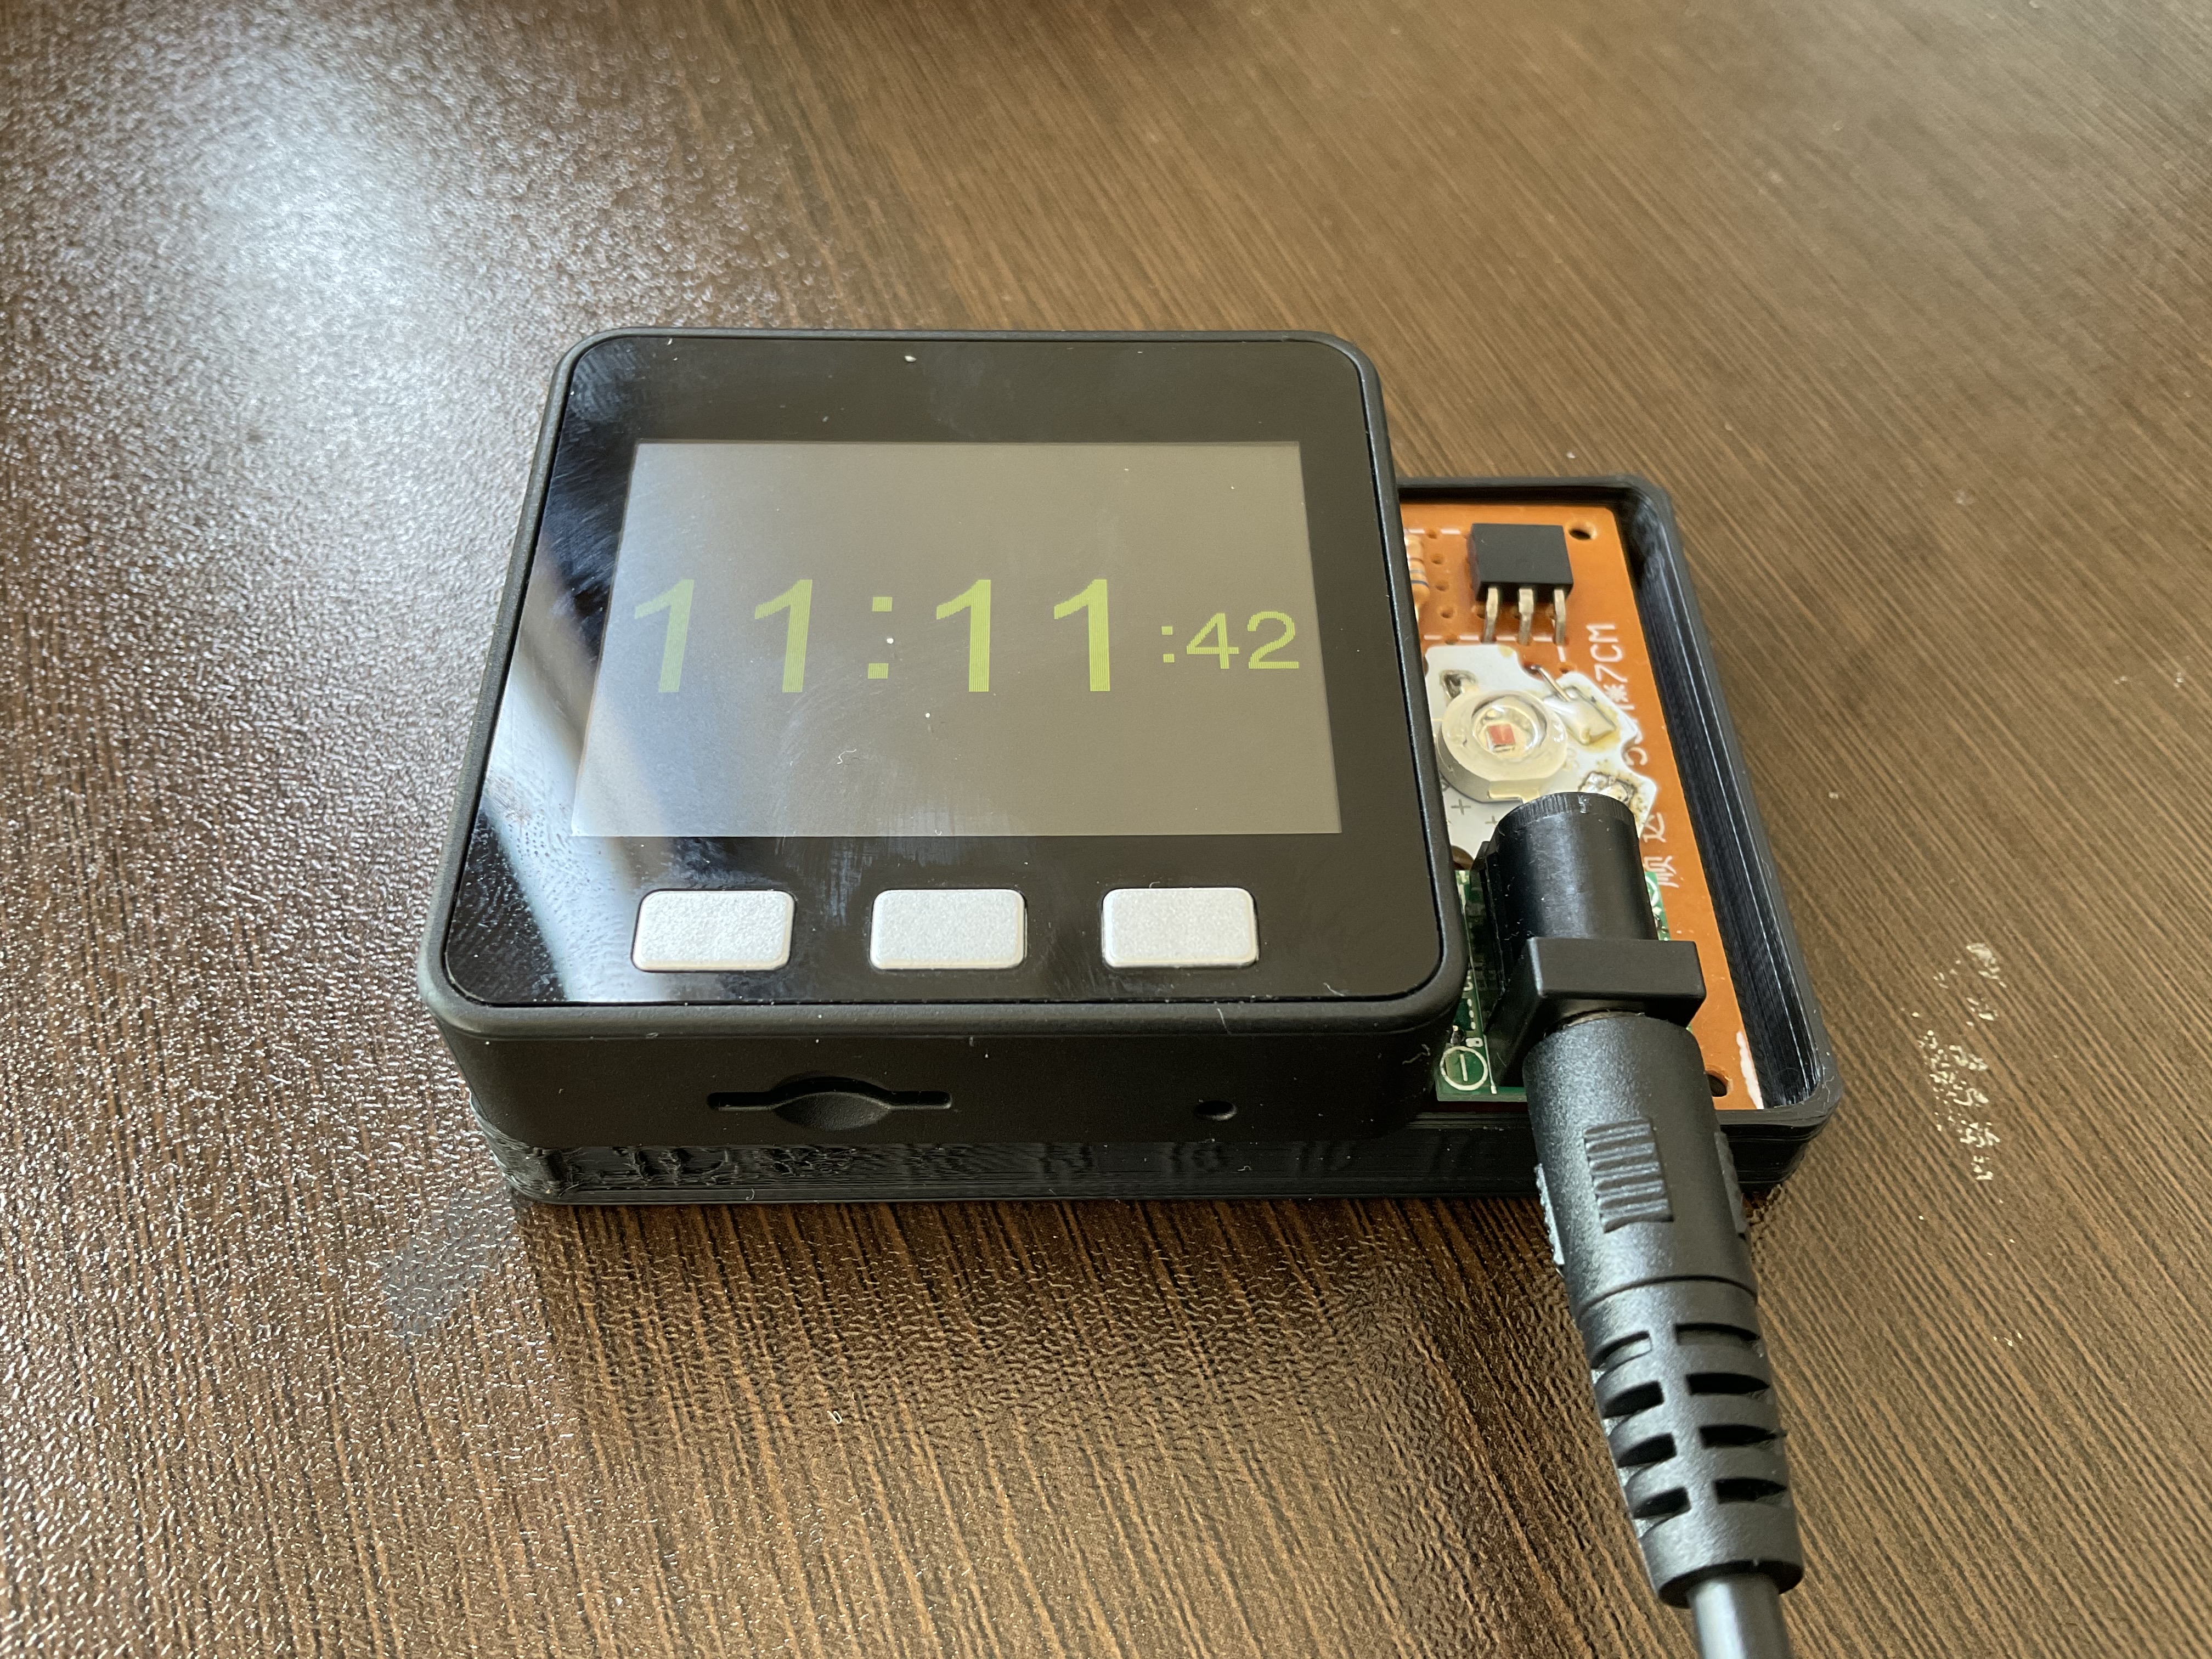* 必要な材料 == 土のご家庭にもあるM5Stack Basic  パワーLED OSR5XNE3C1S https://akizukidenshi.com/catalog/g/gI-07485/  MOSFET 2SK4017(Q) https://akizukidenshi.com/catalog/g/gI-07597/ 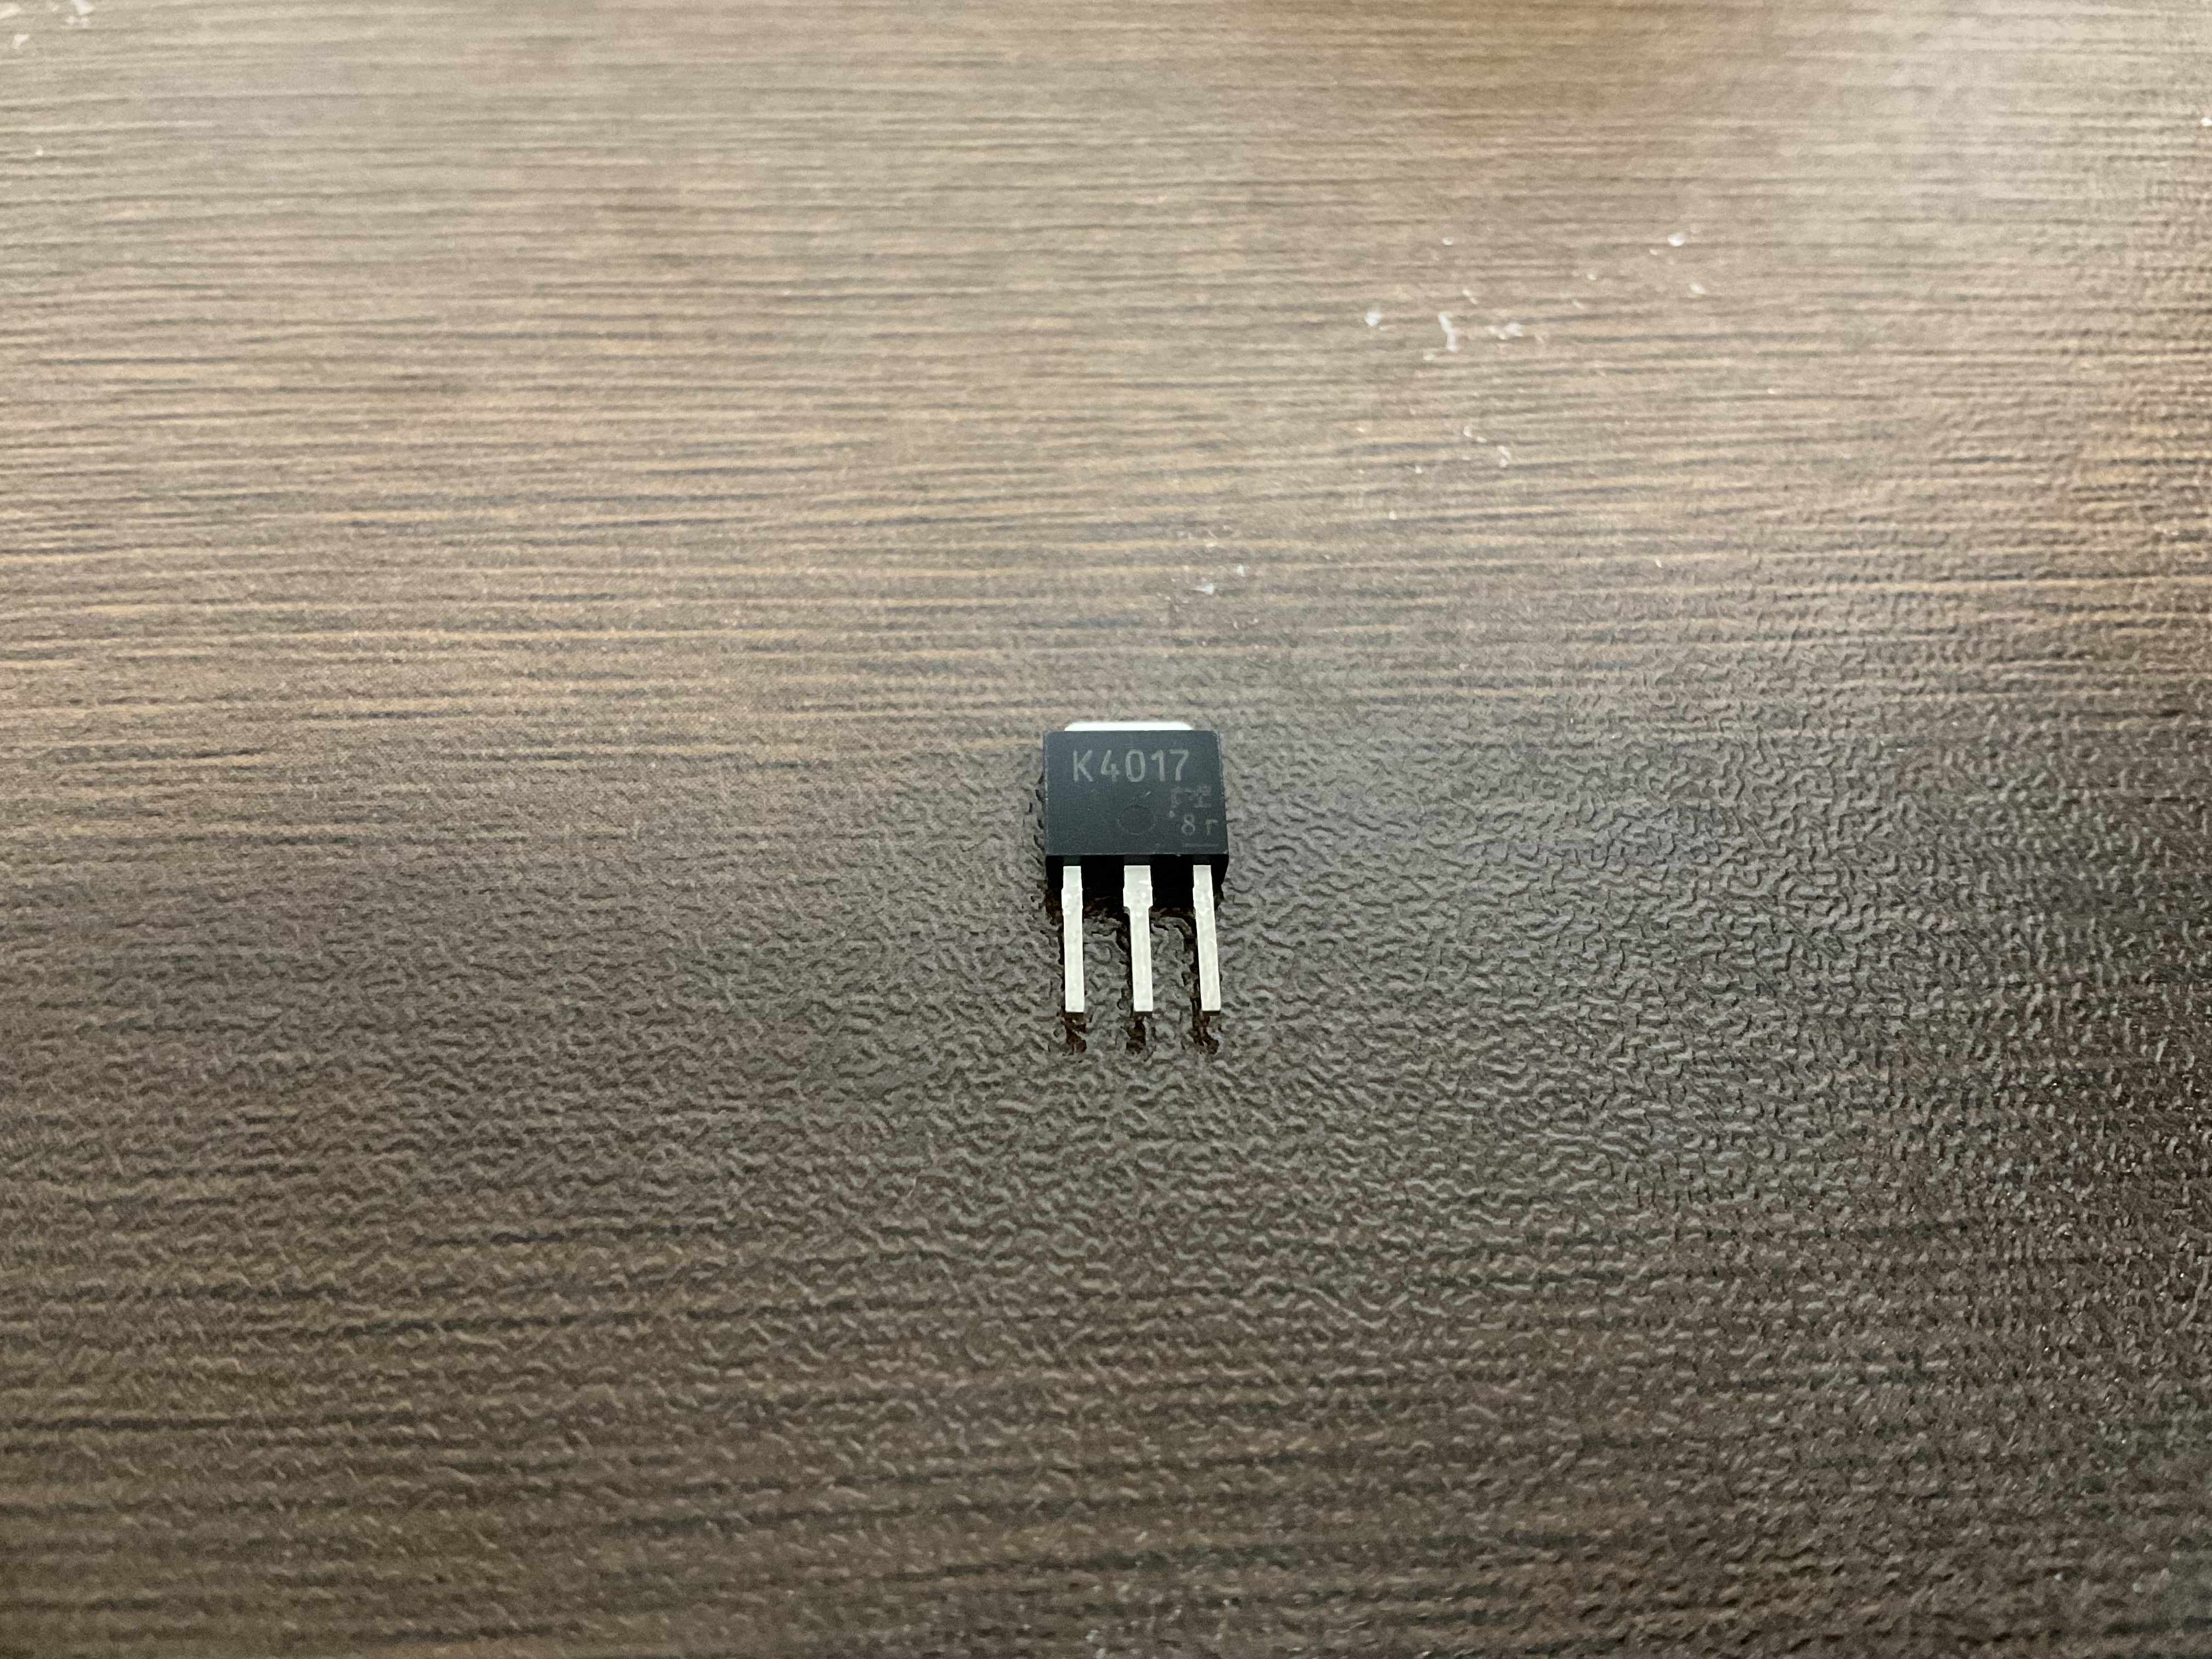 そのほかに ブレッドボード用2.1mmDCジャック、DC電源5V2A 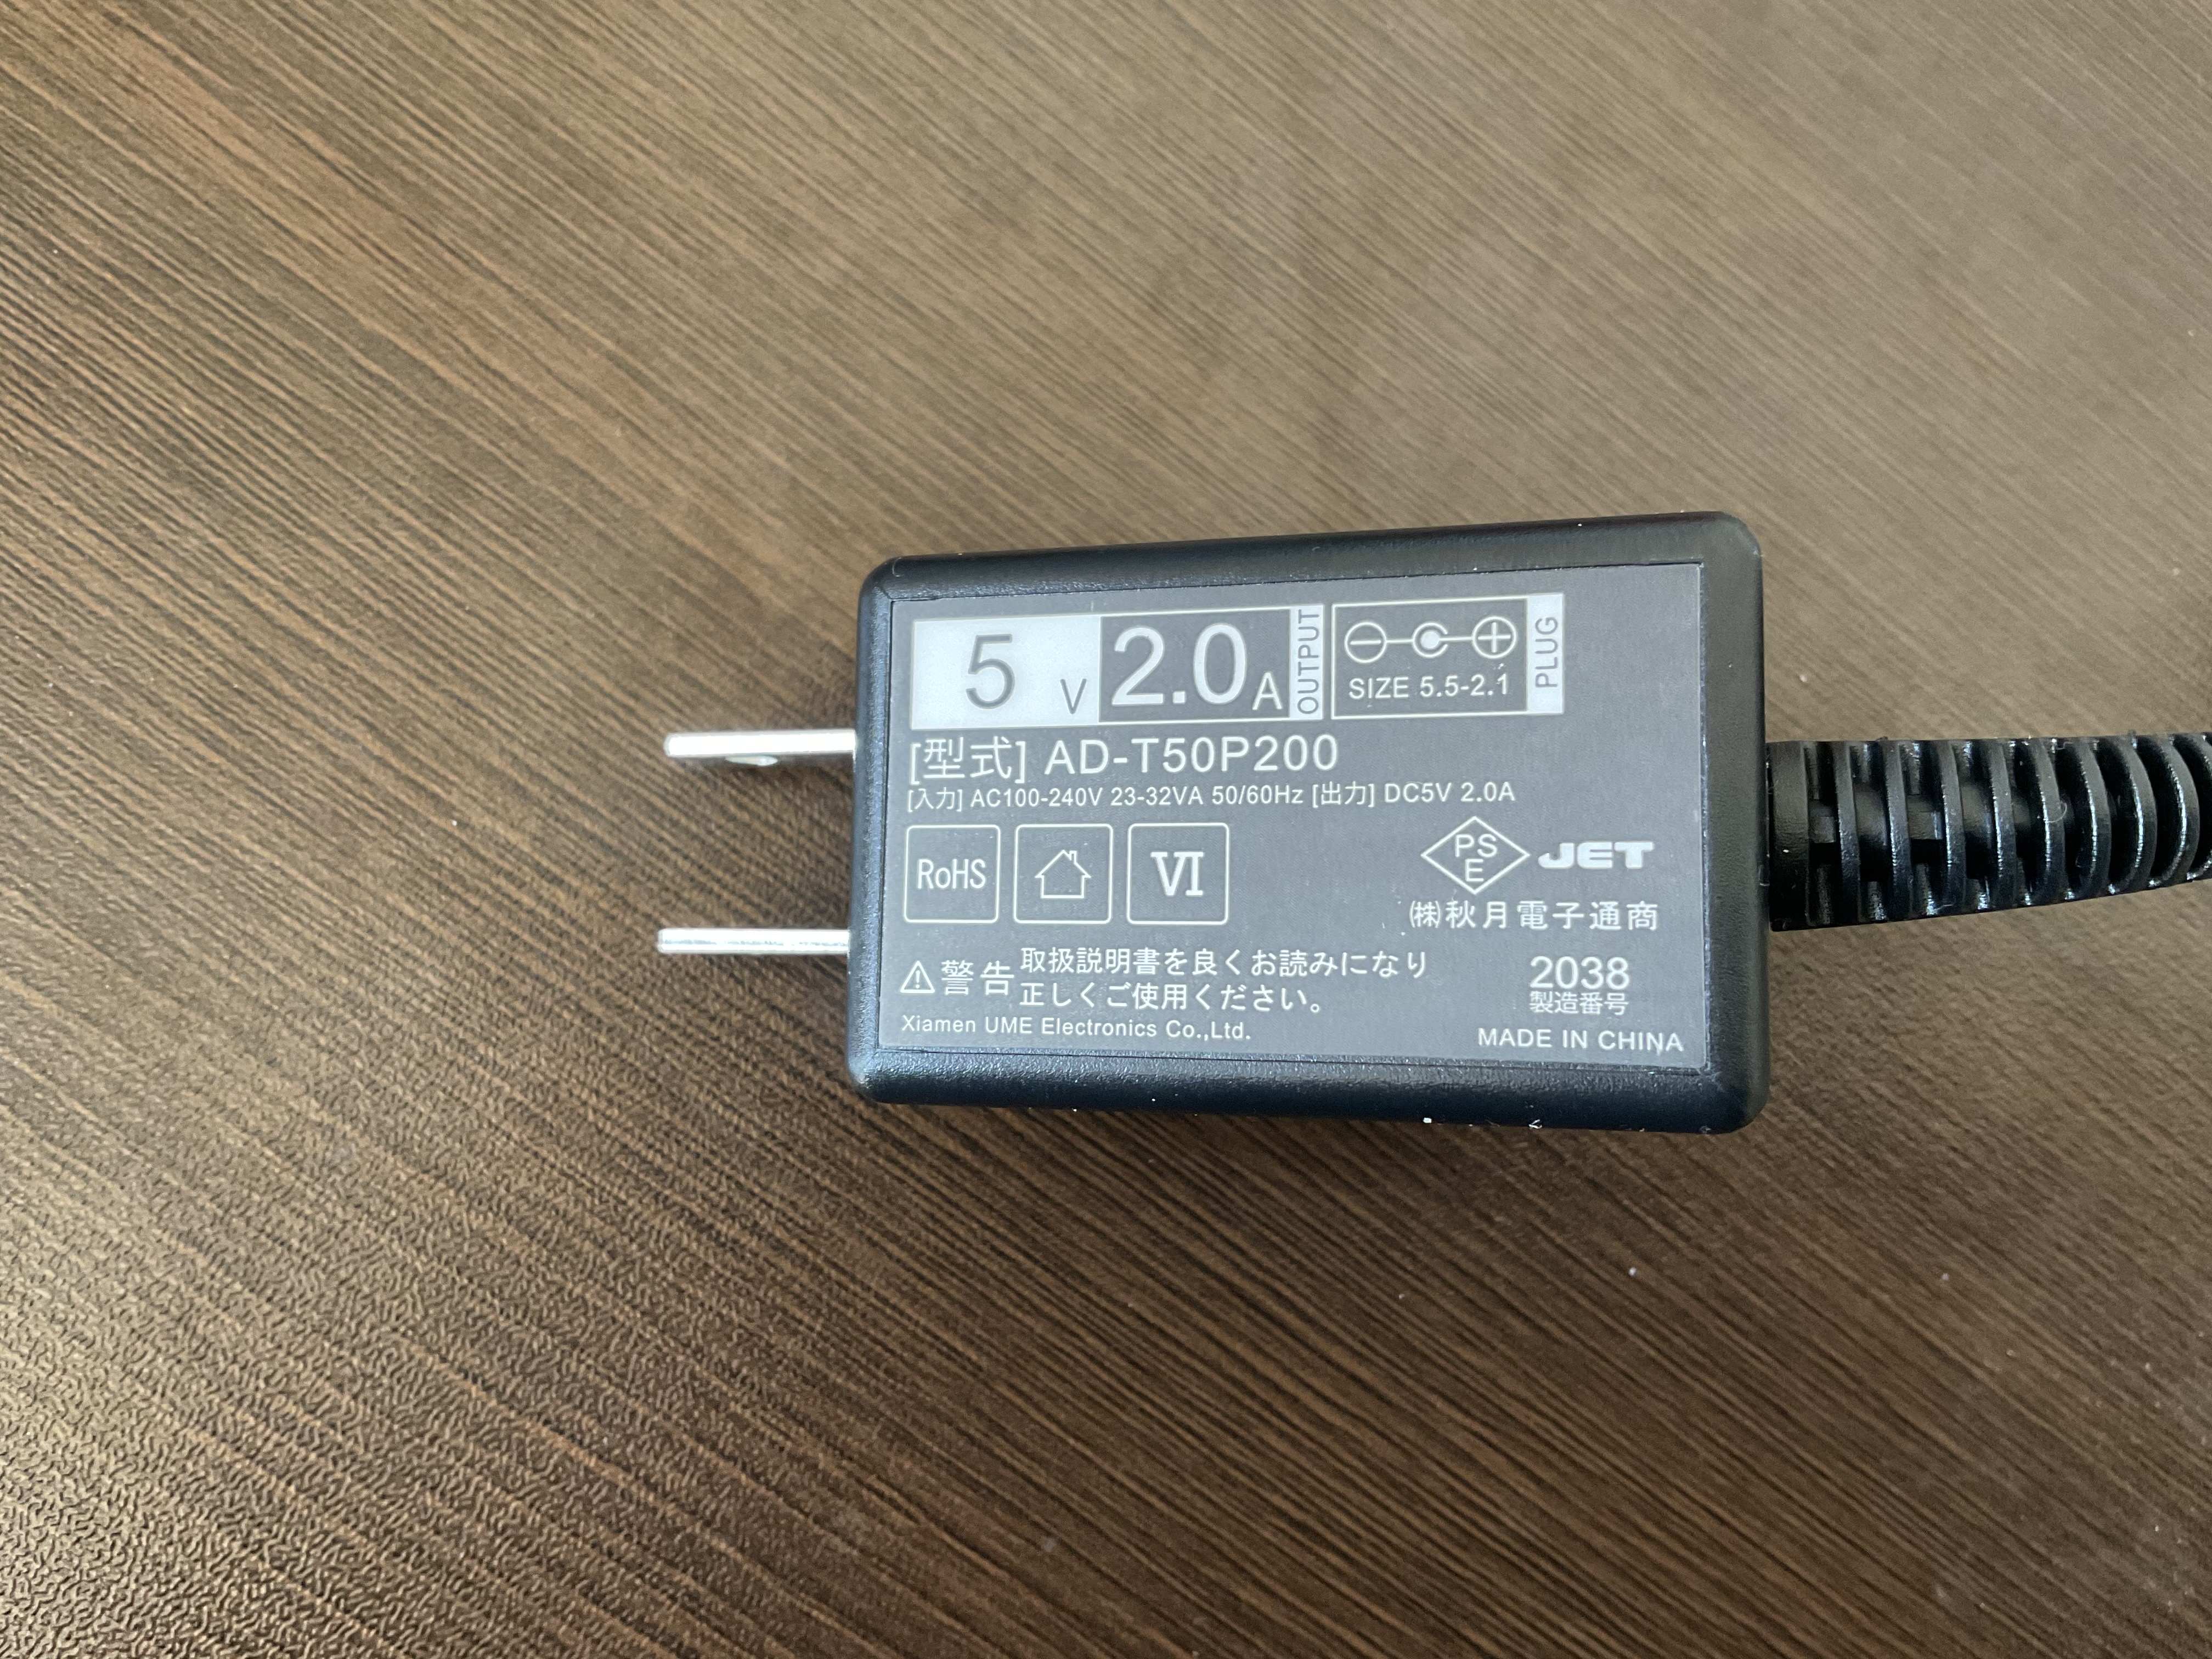 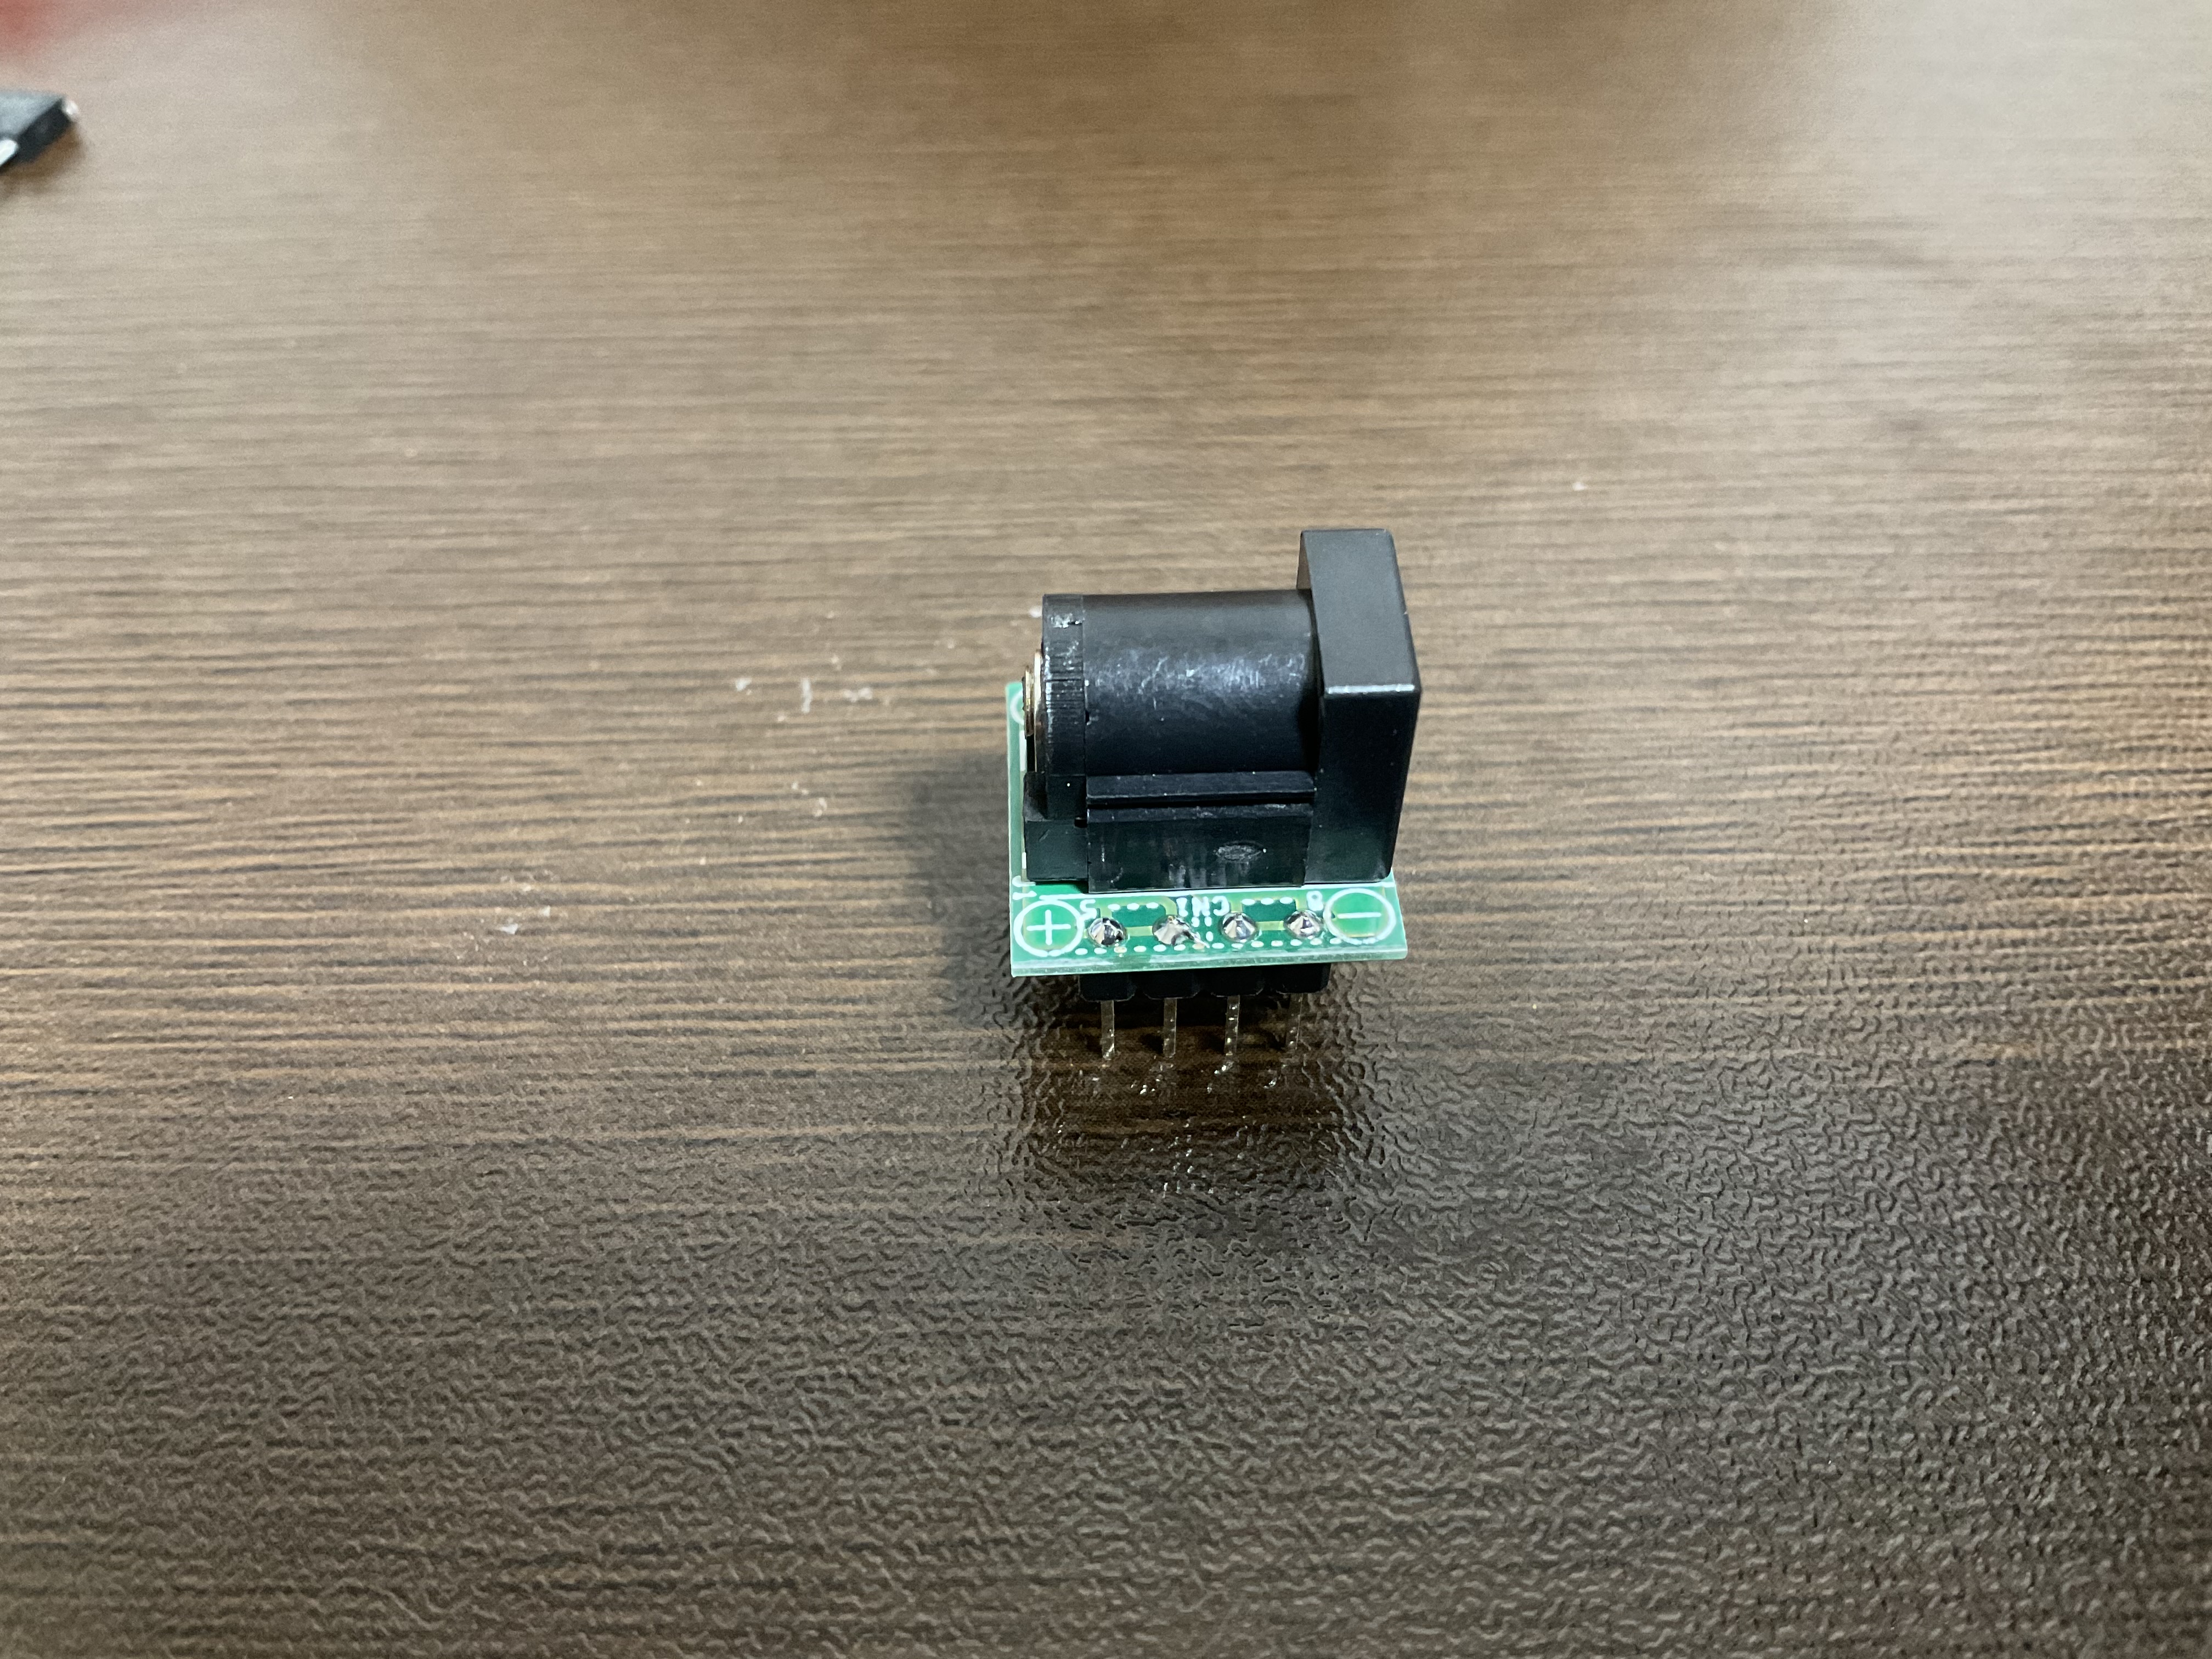 あと、ユニバーサル基板と抵抗を少々 まずは光らせてみる! == 回路図 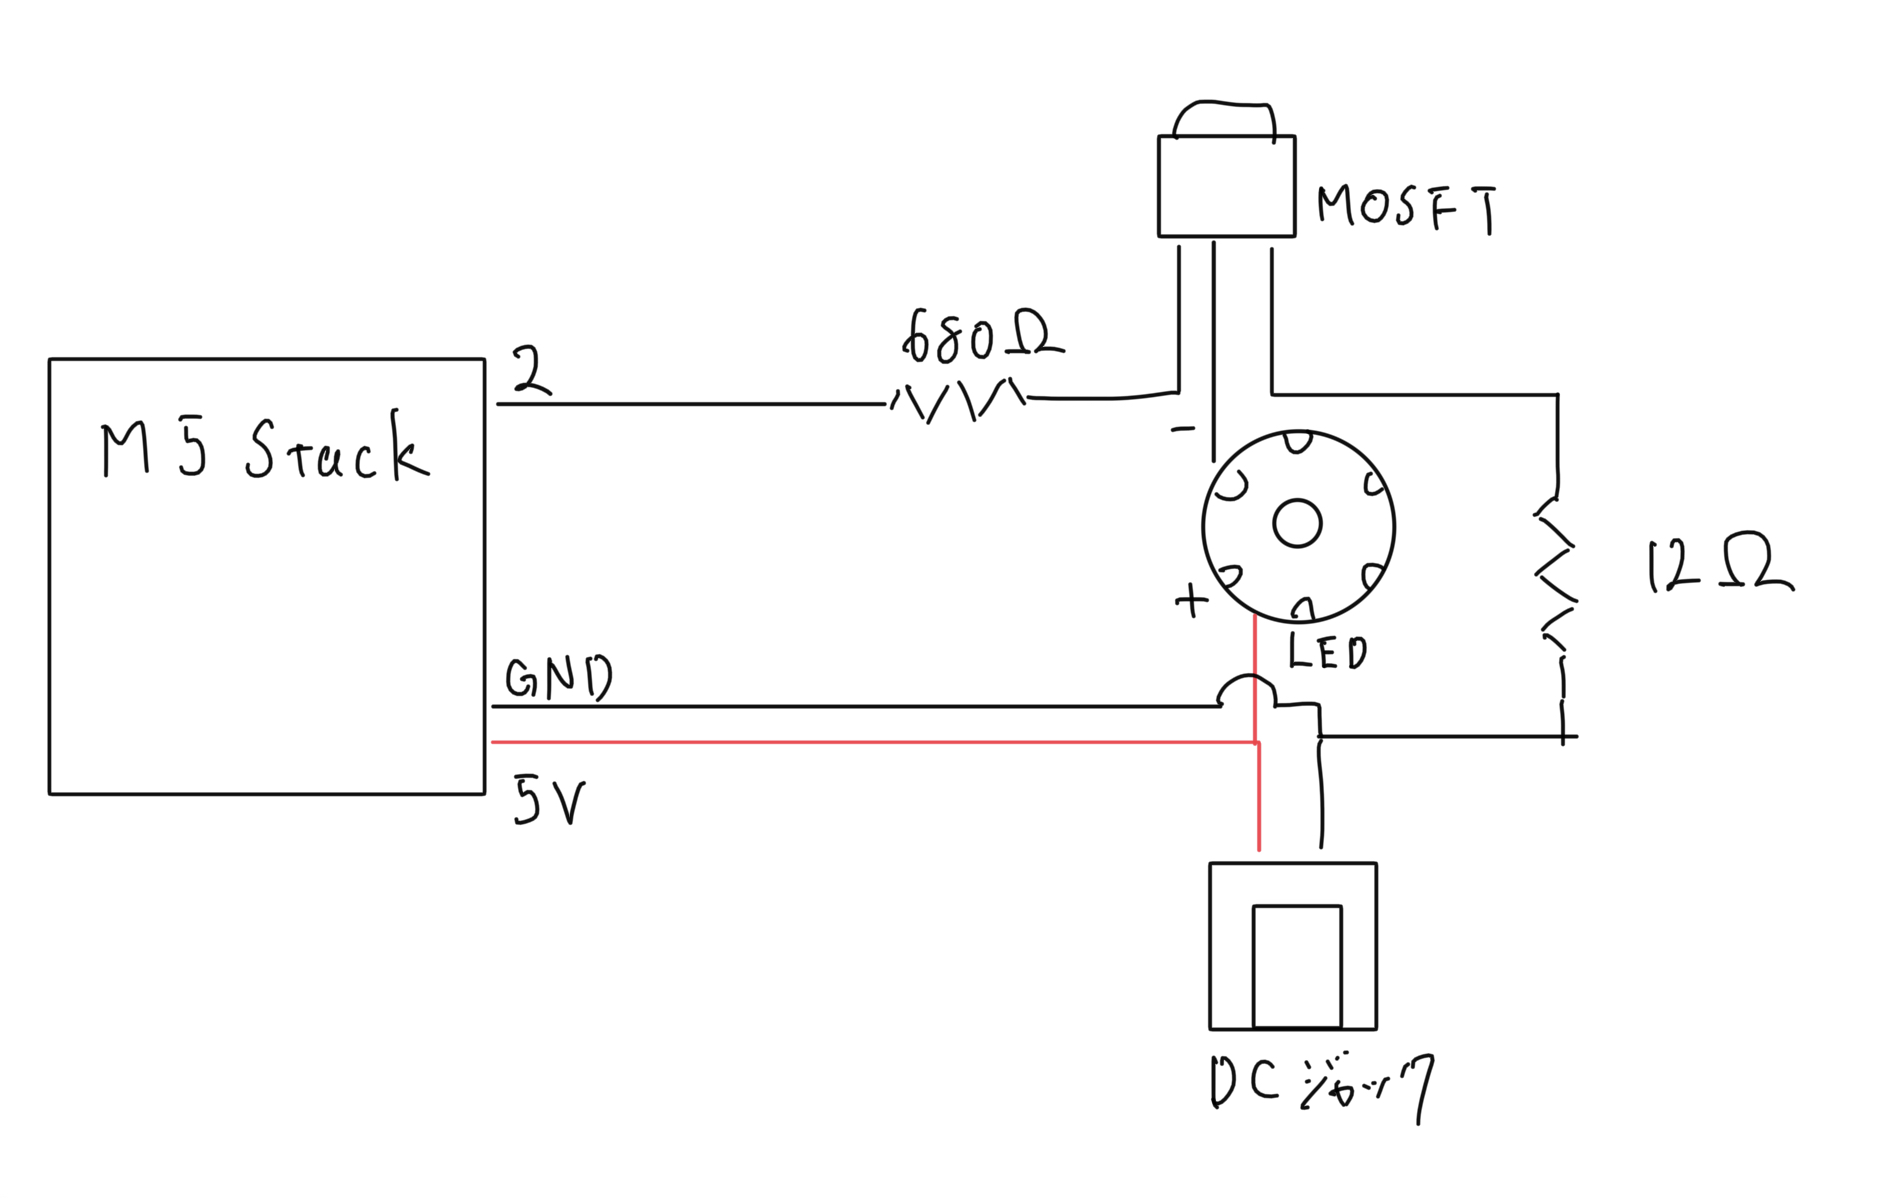 プログラム ```arduino:Lチカ void setup() { pinMode(2,OUTPUT); } void loop() { digitalWrite(2,HIGH); delay(1000); digitalWrite(2,LOW); delay(1000); } ``` 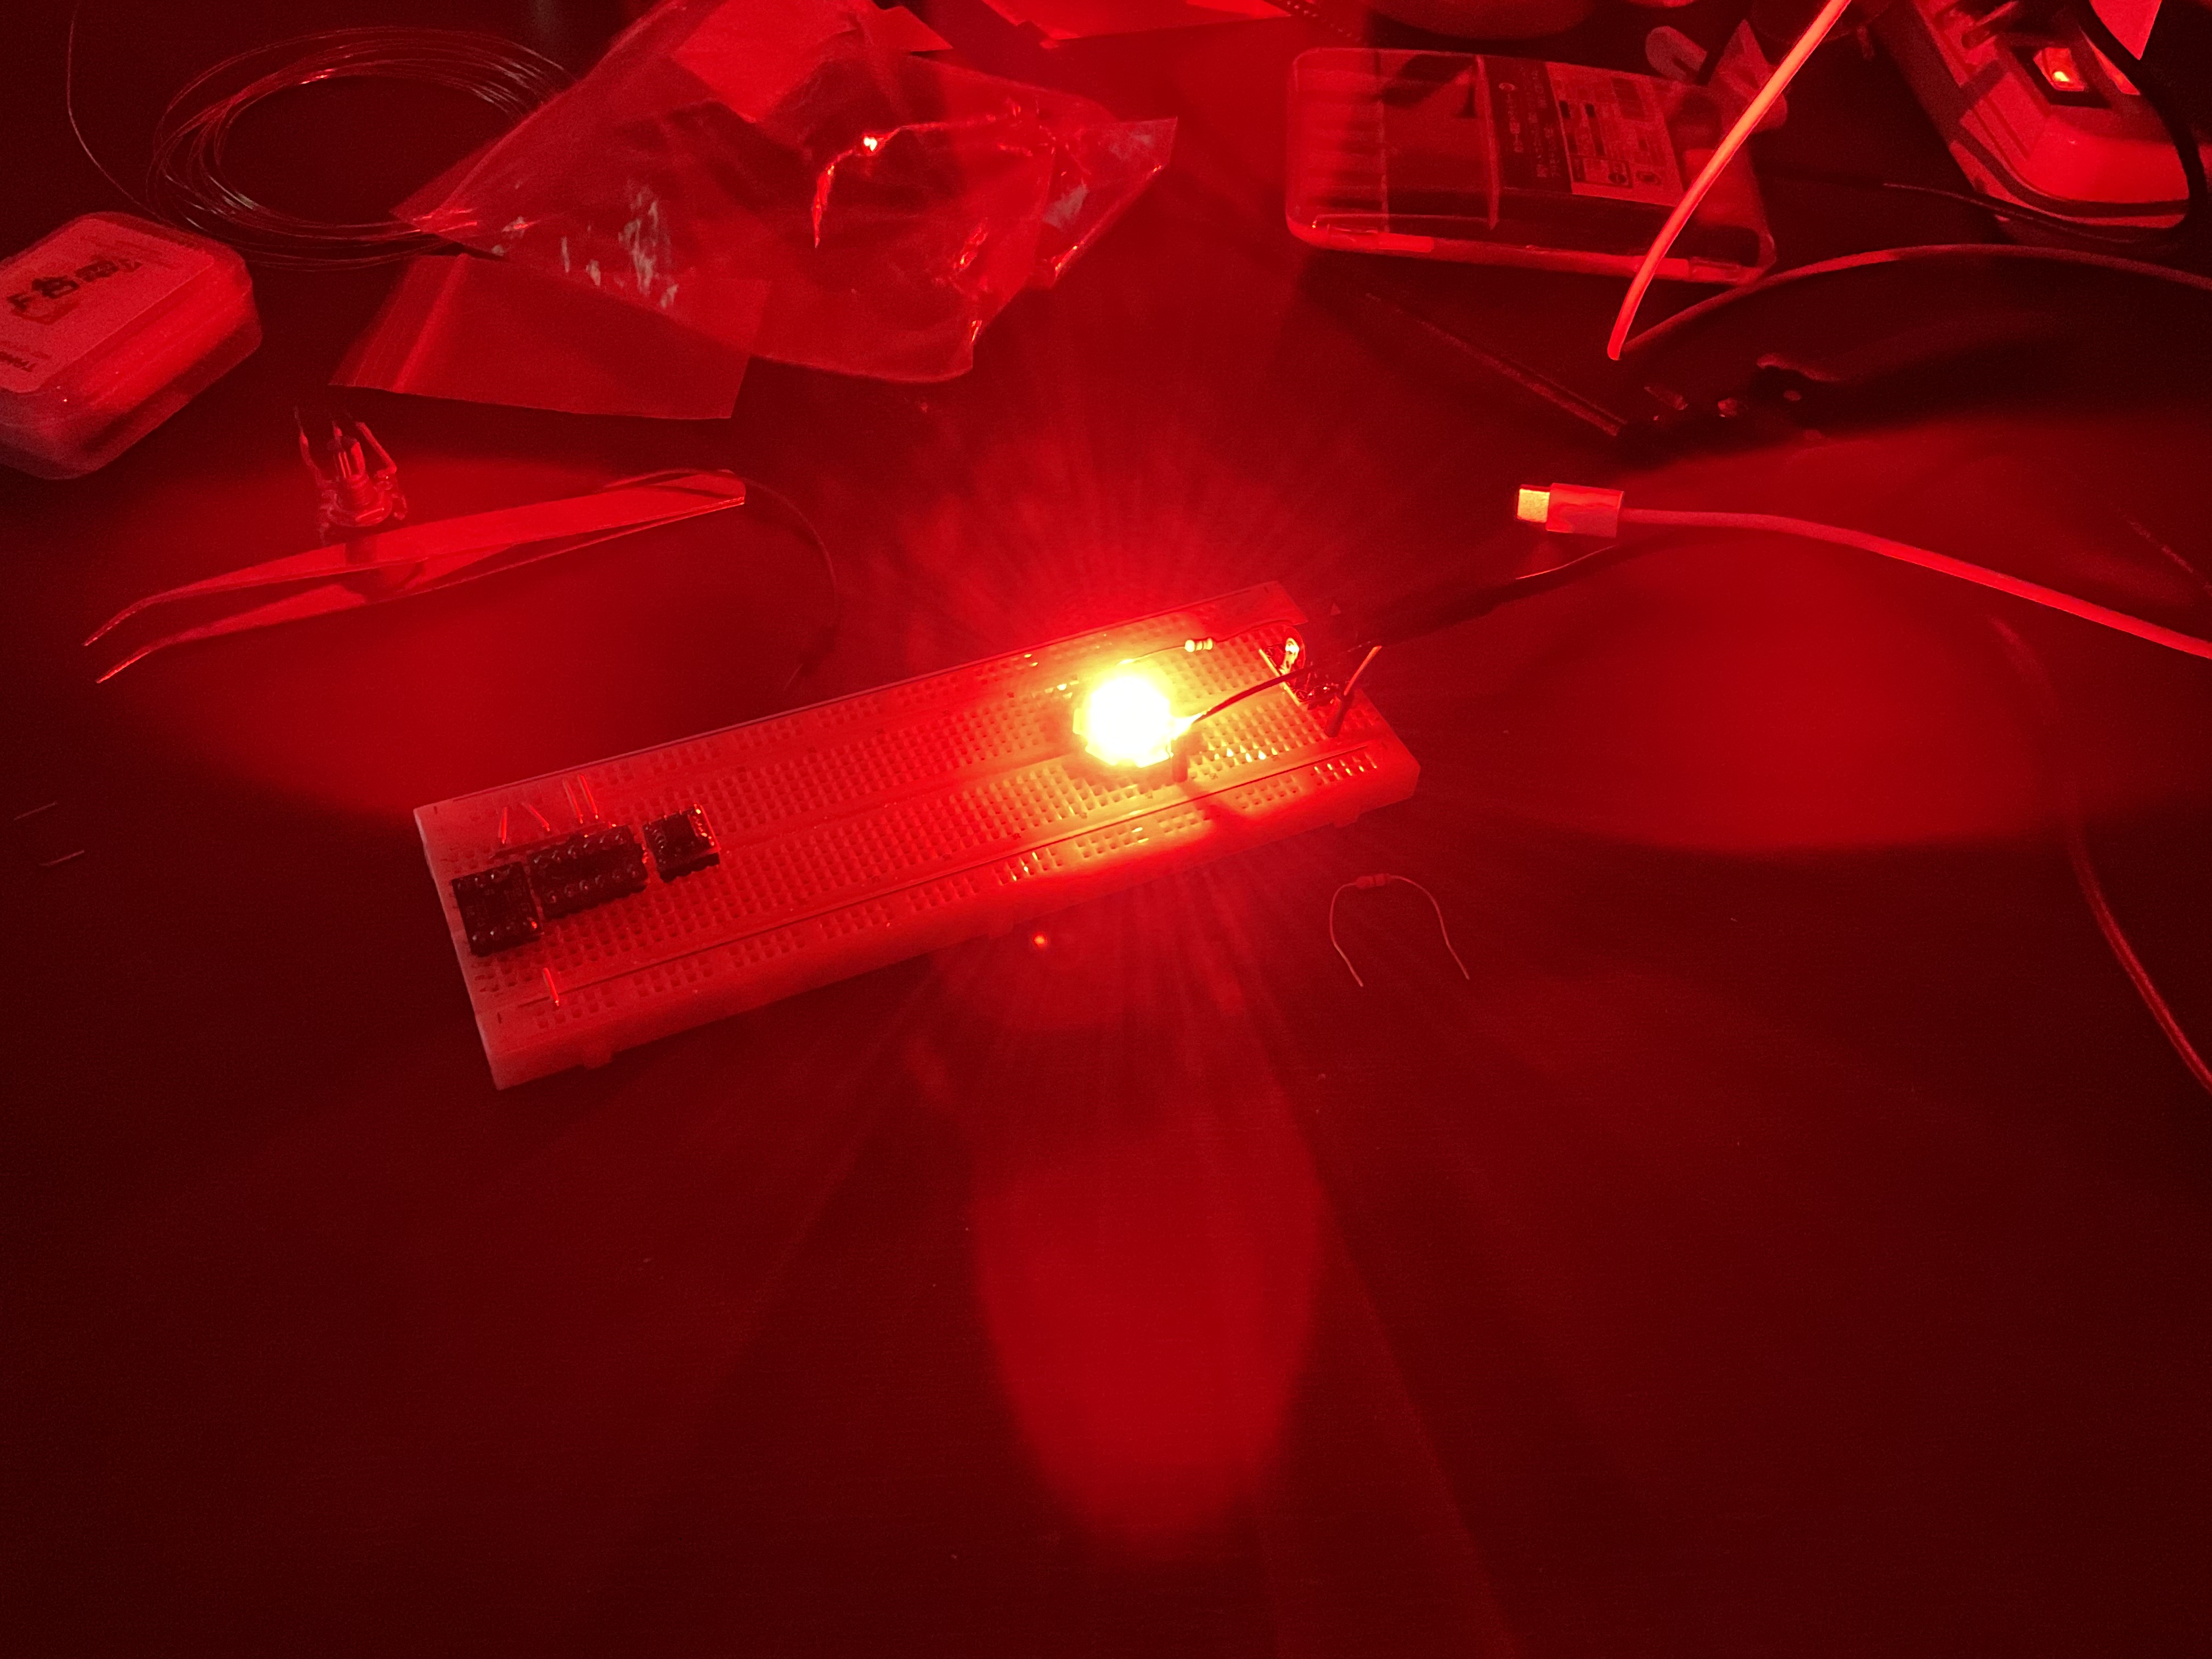 まぶしぃっっっ! これはちゃんと起きれそう.. ユニバーサル基板にはんだ付けする == さてここまでで、ハードの動作確認はすべて終了しました。 次に、M5Stackに取り付けられるようにユニバーサル基板にはんだ付けしましょう! 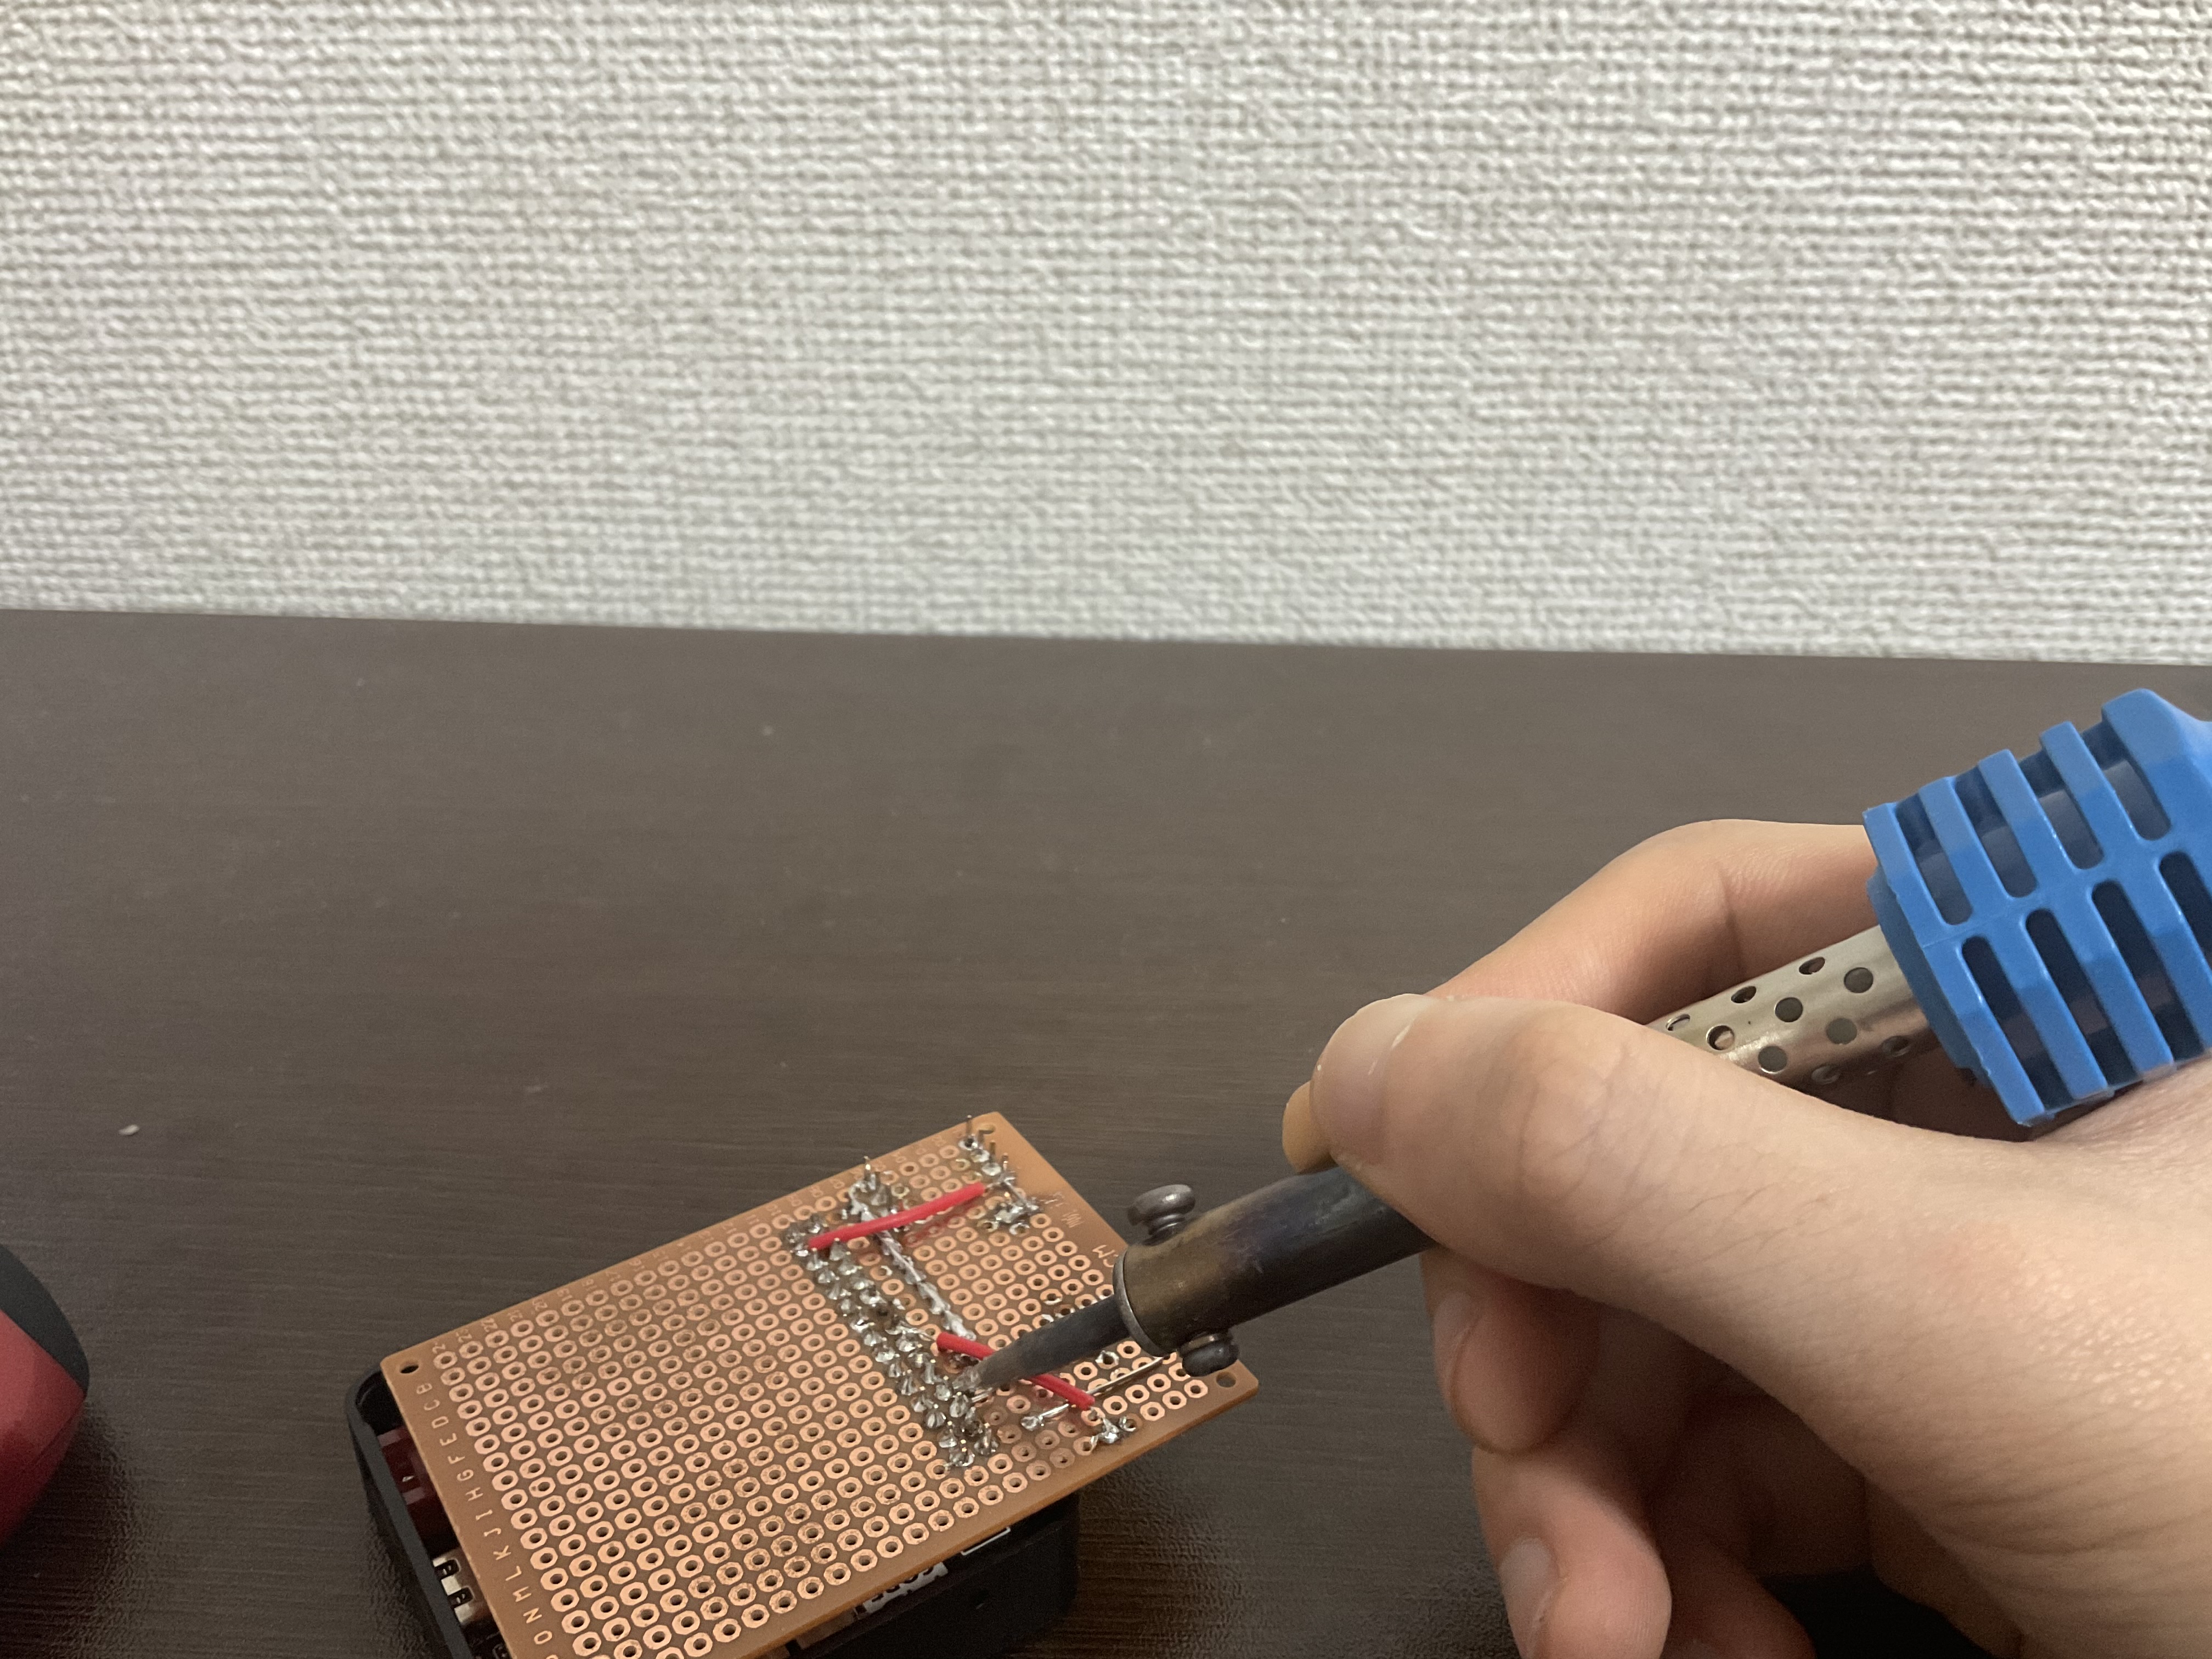 絶対にマネしないでください 完成図です 回路はさっきと同じです。M5Stackに取り付けられるようピンヘッダを付けました。 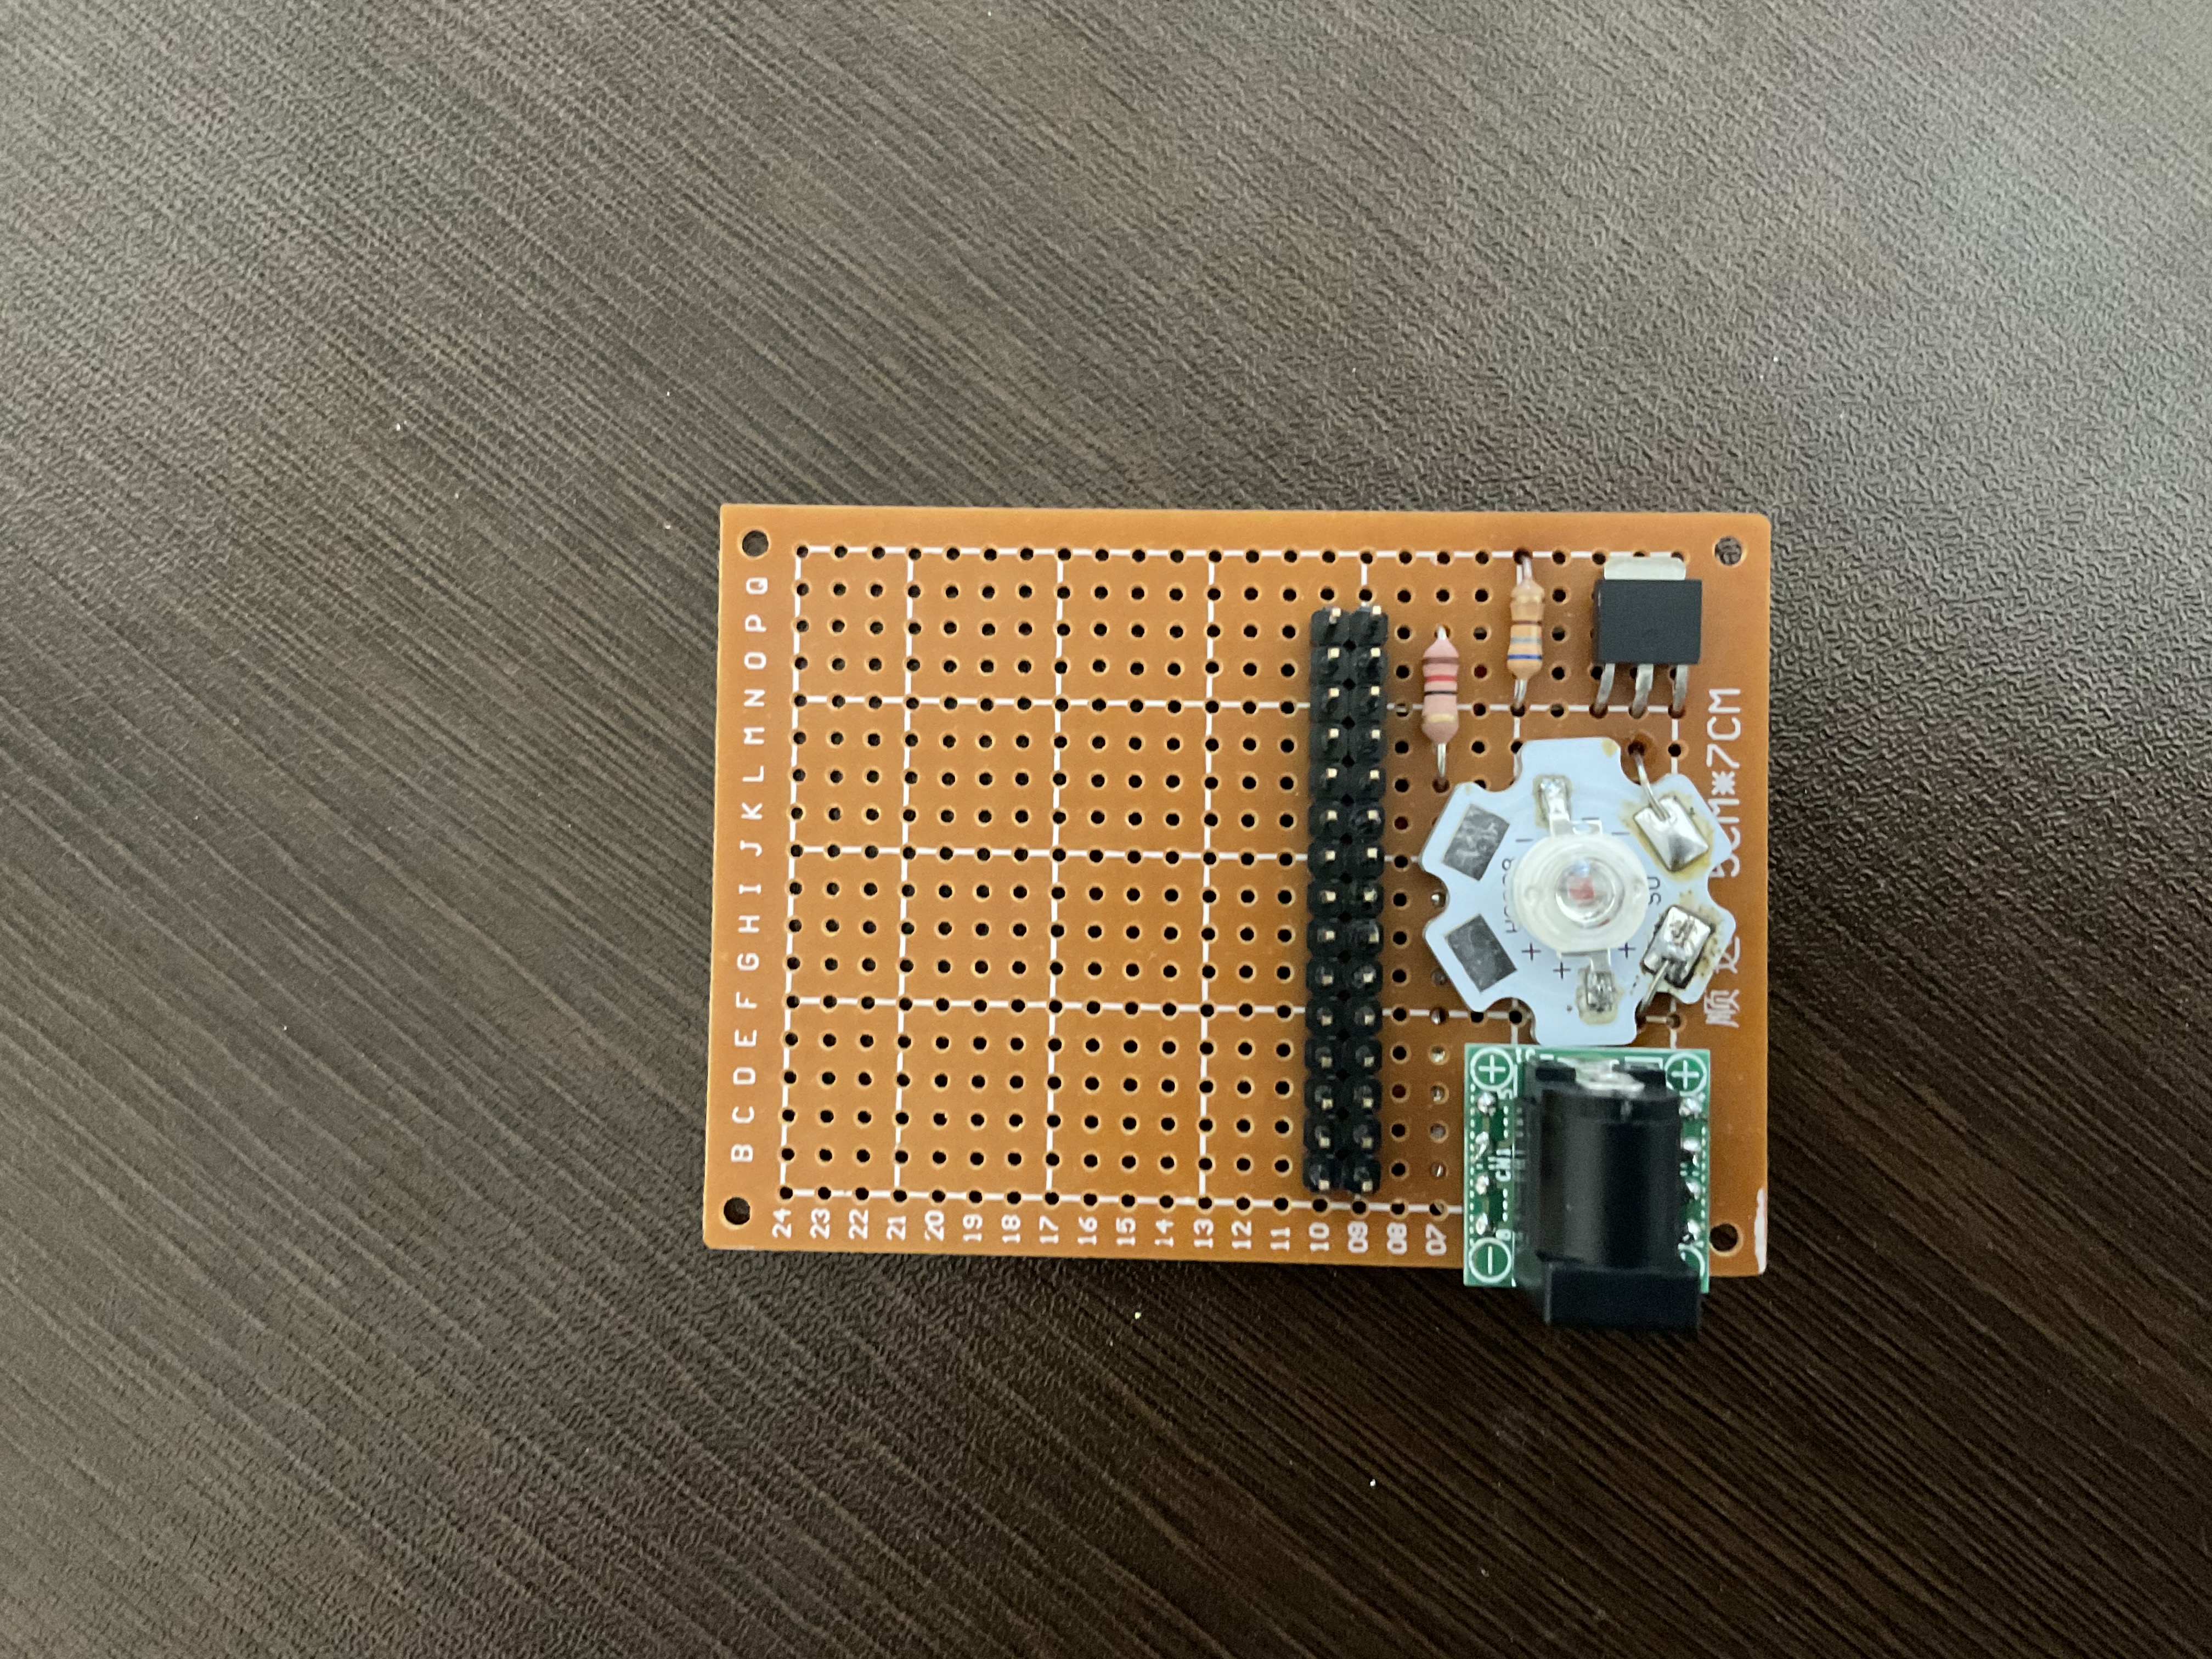 つぎにプログラムを仕込んでいきます。 M5Stackに、いいスケッチ例があったのでそれを改造して使いました。 また、Wifiから時間を取得できるように改造してあります。SSID,Passと時刻を設定して書き込みましょう! ```arduino #include <M5Stack.h> #include <WiFi.h> #define TFT_GREY 0x5AEB #include "time.h" const char* ssid = ""; const char* password = ""; const uint8_t thh = 13;//設定したい時刻 時 const uint8_t tmm = 3;//設定したい時刻 分 const char* ntpServer = "ntp.nict.jp"; const long gmtOffset_sec = 3600 * 9; const int daylightOffset_sec = 0; uint32_t targetTime = 0; // for next 1 second timeout static uint8_t conv2d(const char* p); // Forward declaration needed for IDE 1.6.x uint8_t hh = conv2d(__TIME__), mm = conv2d(__TIME__ + 3), ss = conv2d(__TIME__ + 6); // Get H, M, S from compile time byte omm = 99, oss = 99; byte xcolon = 0, xsecs = 0; unsigned int colour = 0; void setup() { M5.begin(); // put your setup code here, to run once: WiFi.begin(ssid, password); while (WiFi.status() != WL_CONNECTED) { delay(500); M5.Lcd.print("."); } M5.Lcd.println(" CONNECTED"); configTime(gmtOffset_sec, daylightOffset_sec, ntpServer); printLocalTime(); delay(10000); pinMode(2, OUTPUT); M5.Lcd.fillScreen(TFT_BLACK); M5.Lcd.setTextSize(1); M5.Lcd.setTextColor(TFT_YELLOW, TFT_BLACK); targetTime = millis() + 1000; WiFi.disconnect(true); WiFi.mode(WIFI_OFF); } void loop() { M5.update(); if (M5.BtnB.wasReleased()) { digitalWrite(2,LOW); } if (targetTime < millis()) { // Set next update for 1 second later targetTime = millis() + 1000; // Adjust the time values by adding 1 second ss++; // Advance second if (ss == 60) { // Check for roll-over ss = 0; // Reset seconds to zero omm = mm; // Save last minute time for display update mm++; // Advance minute if (mm > 59) { // Check for roll-over mm = 0; hh++; // Advance hour if (hh > 23) { // Check for 24hr roll-over (could roll-over on 13) hh = 0; // 0 for 24 hour clock, set to 1 for 12 hour clock } } } // Update digital time int xpos = 0; int ypos = 85; // Top left corner ot clock text, about half way down int ysecs = ypos + 24; if (omm != mm) { // Redraw hours and minutes time every minute omm = mm; // Draw hours and minutes if (hh < 10) xpos += M5.Lcd.drawChar('0', xpos, ypos, 8); // Add hours leading zero for 24 hr clock xpos += M5.Lcd.drawNumber(hh, xpos, ypos, 8); // Draw hours xcolon = xpos; // Save colon coord for later to flash on/off later xpos += M5.Lcd.drawChar(':', xpos, ypos - 8, 8); if (mm < 10) xpos += M5.Lcd.drawChar('0', xpos, ypos, 8); // Add minutes leading zero xpos += M5.Lcd.drawNumber(mm, xpos, ypos, 8); // Draw minutes xsecs = xpos; // Sae seconds 'x' position for later display updates } if (oss != ss) { // Redraw seconds time every second oss = ss; xpos = xsecs; if (ss % 2) { // Flash the colons on/off M5.Lcd.setTextColor(0x39C4, TFT_BLACK); // Set colour to grey to dim colon M5.Lcd.drawChar(':', xcolon, ypos - 8, 8); // Hour:minute colon xpos += M5.Lcd.drawChar(':', xsecs, ysecs, 6); // Seconds colon M5.Lcd.setTextColor(TFT_YELLOW, TFT_BLACK); // Set colour back to yellow } else { M5.Lcd.drawChar(':', xcolon, ypos - 8, 8); // Hour:minute colon xpos += M5.Lcd.drawChar(':', xsecs, ysecs, 6); // Seconds colon } //Draw seconds if (ss < 10) xpos += M5.Lcd.drawChar('0', xpos, ysecs, 6); // Add leading zero M5.Lcd.drawNumber(ss, xpos, ysecs, 6); // Draw seconds } } if(thh == hh && tmm == mm && ss == 0){ digitalWrite(2,HIGH); } } static uint8_t conv2d(const char* p) { uint8_t v = 0; if ('0' <= *p && *p <= '9') v = *p - '0'; return 10 * v + *++p - '0'; } void printLocalTime() { struct tm timeinfo; if (!getLocalTime(&timeinfo)) { M5.Lcd.println("Failed to obtain time"); return; } // テキストサイズ指定 M5.Lcd.setTextSize(2); // カーソル位置を設定 M5.Lcd.setCursor(40, 100); ss = timeinfo.tm_sec; mm = timeinfo.tm_min; hh = timeinfo.tm_hour; M5.Lcd.printf("%04d-%02d-%02d %02d:%02d:%02d" , timeinfo.tm_year + 1900 , timeinfo.tm_mon , timeinfo.tm_mday , timeinfo.tm_hour , timeinfo.tm_min , timeinfo.tm_sec ); } ``` ケースを作る == 今回はFusion360を使って設計しました 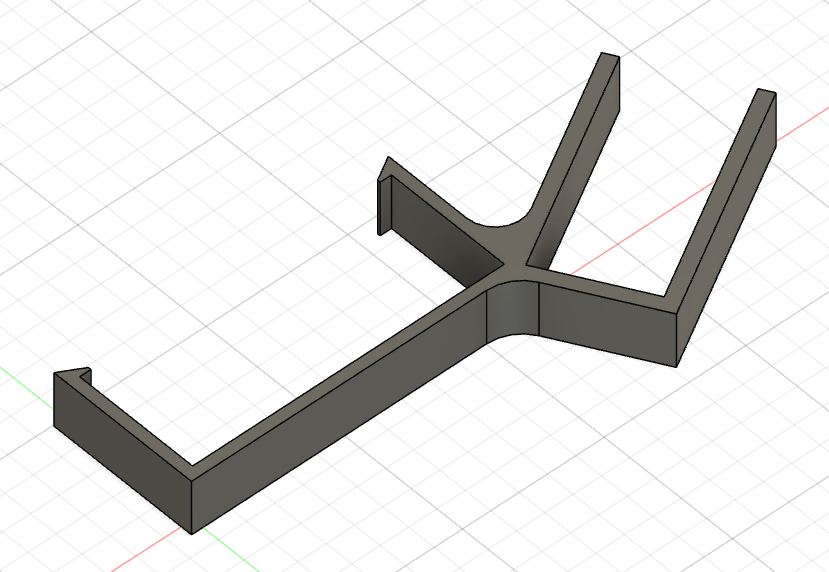 3Dプリンターで出力! 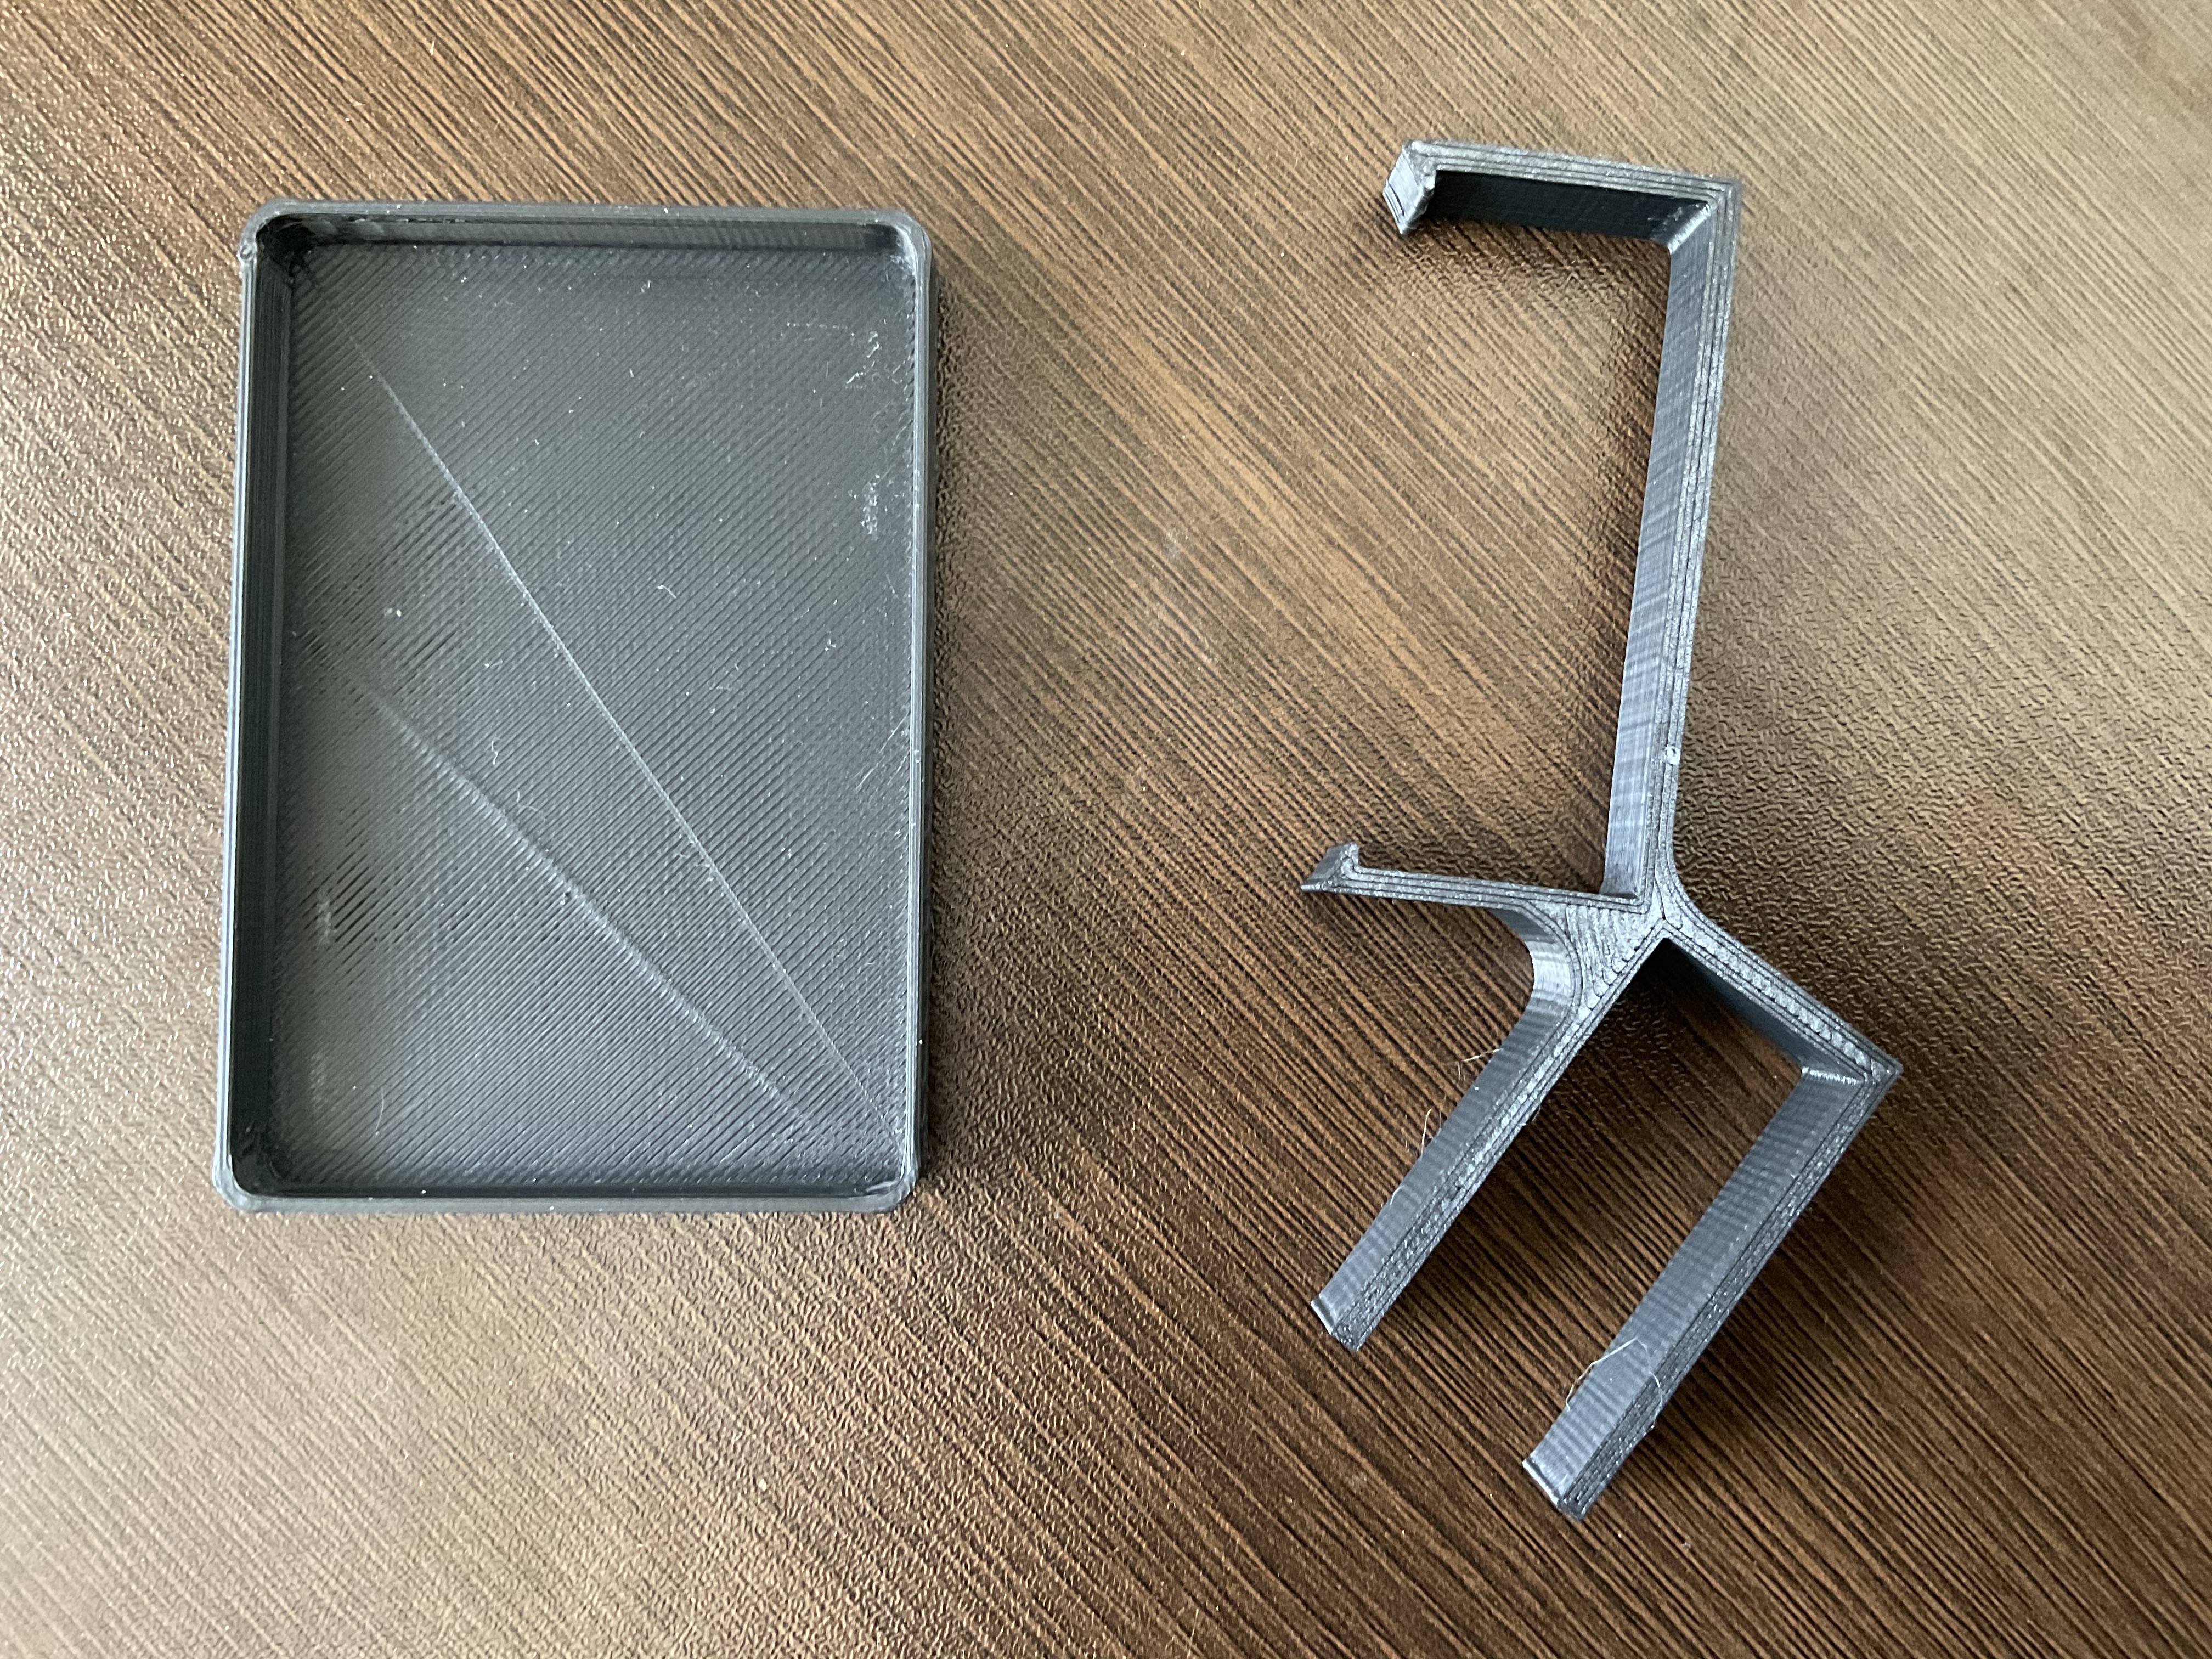 最後に組み立てて完成!