HakoHiro が 2020年05月03日19時07分56秒 に編集
初版
タイトルの変更
PSoCで7seg LED表示(HP Bubble Display - 7-Segment )
タグの変更
PSoC
LED
7segment
Leafonyプレゼントキャンペーン
本文の変更
# 概要 PSoCを使用して、7segLEDを表示します。 キャンペーンに応募したいが為に、しばらく使用していなかったWindows10とPSoCを立ち上げましたが、Updateに時間のかかること・・・ 7segLED自体は、PSoCでは簡単に実現できます。ただ、今回はディスコンになって久しい、HPのBubble Displayを使用しています。 # 構成 - PC:Windows10(Mac miniからMicroSoft Remote Desktopで接続) - PSoC: PSoC5LP CY8CKIT-050 開発キット(基板上にブレッドボードエリアが - 7segLED: HP Bubble Display QDSP-6064 # Bubble Displayとは - HPの極小サイズの7segLEDです。但し、ディスコンです。 基本的には、通常の7segLEDと同じです。 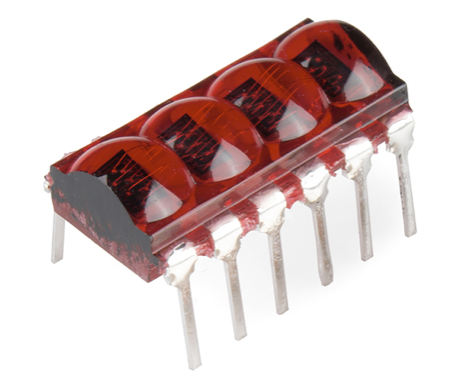 # PSoC Creator PSoCは、デジタル、アナログ回路を自由に組み合わせ、半田付けをせずに回路を組むことが出来ます。 回路作成用ツールが、PSoC Creatorです。細かい使い方は割愛いたします。 ## LEDドライバー PSoC内蔵の、LEDドライバーを回路エディターにドラッグドロップします。 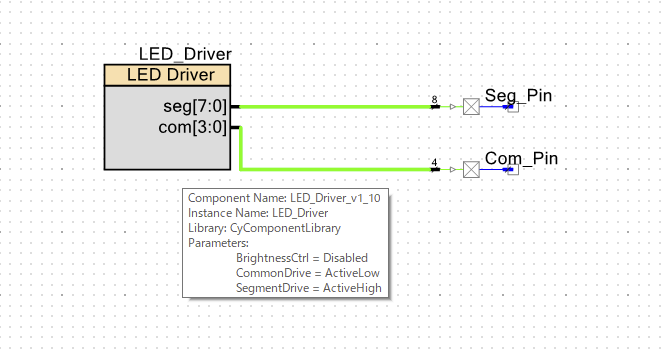 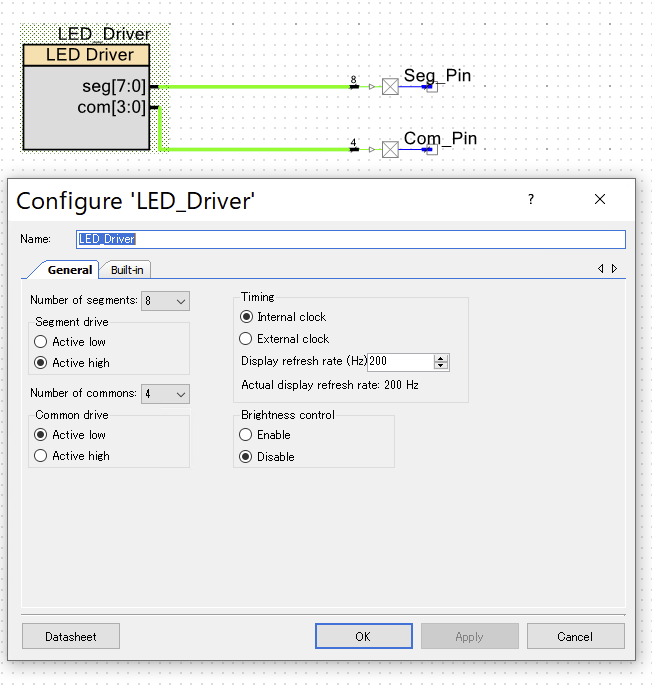  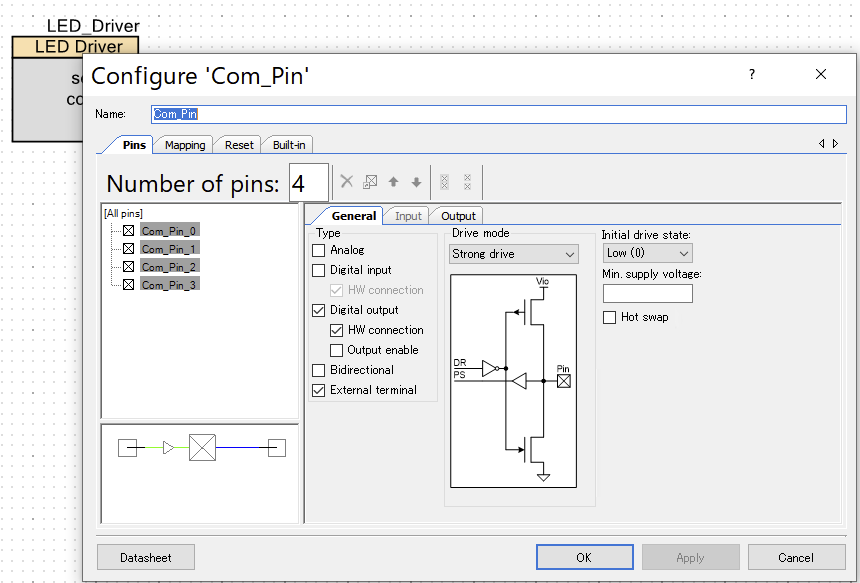 これで回路上の設定は済みました。 # 回路をスタートするために、main.cを修正します。 - ただ LEDドライバーをStartし、数値を書き込むだけです。 ハードウェアがLEDの表示をコントロールしていますので、CPUはほとんどなにもしていない状態です。 ```/******************************************************************************* * File Name: main.c * Version 1.0 * * Description: * Prints "- PSoC -" on an external x8 7-segment active high common and * active high segment display at a refresh rate of 250 Hz per common. * The brightness of the "-" symbols are varied such that they gradually * increase in brightness and then fades at a rate of approximately 2 Hz. * ******************************************************************************* * Copyright 2013, Cypress Semiconductor Corporation. All rights reserved. * You may use this file only in accordance with the license, terms, conditions, * disclaimers, and limitations in the end user license agreement accompanying * the software package with which this file was provided. ********************************************************************************/ #include <project.h> uint8 InterruptCnt; int main() { LED_Driver_Start(); // LED_Driver_WriteString7Seg("PSoC",0); LED_Driver_Write7SegDigitDec(1,0); LED_Driver_Write7SegDigitDec(2,3); LED_Driver_Write7SegDigitDec(3,1); LED_Driver_Write7SegDigitDec(8,2); for(;;) { } } /* [] END OF FILE */ ``` # 動作状況 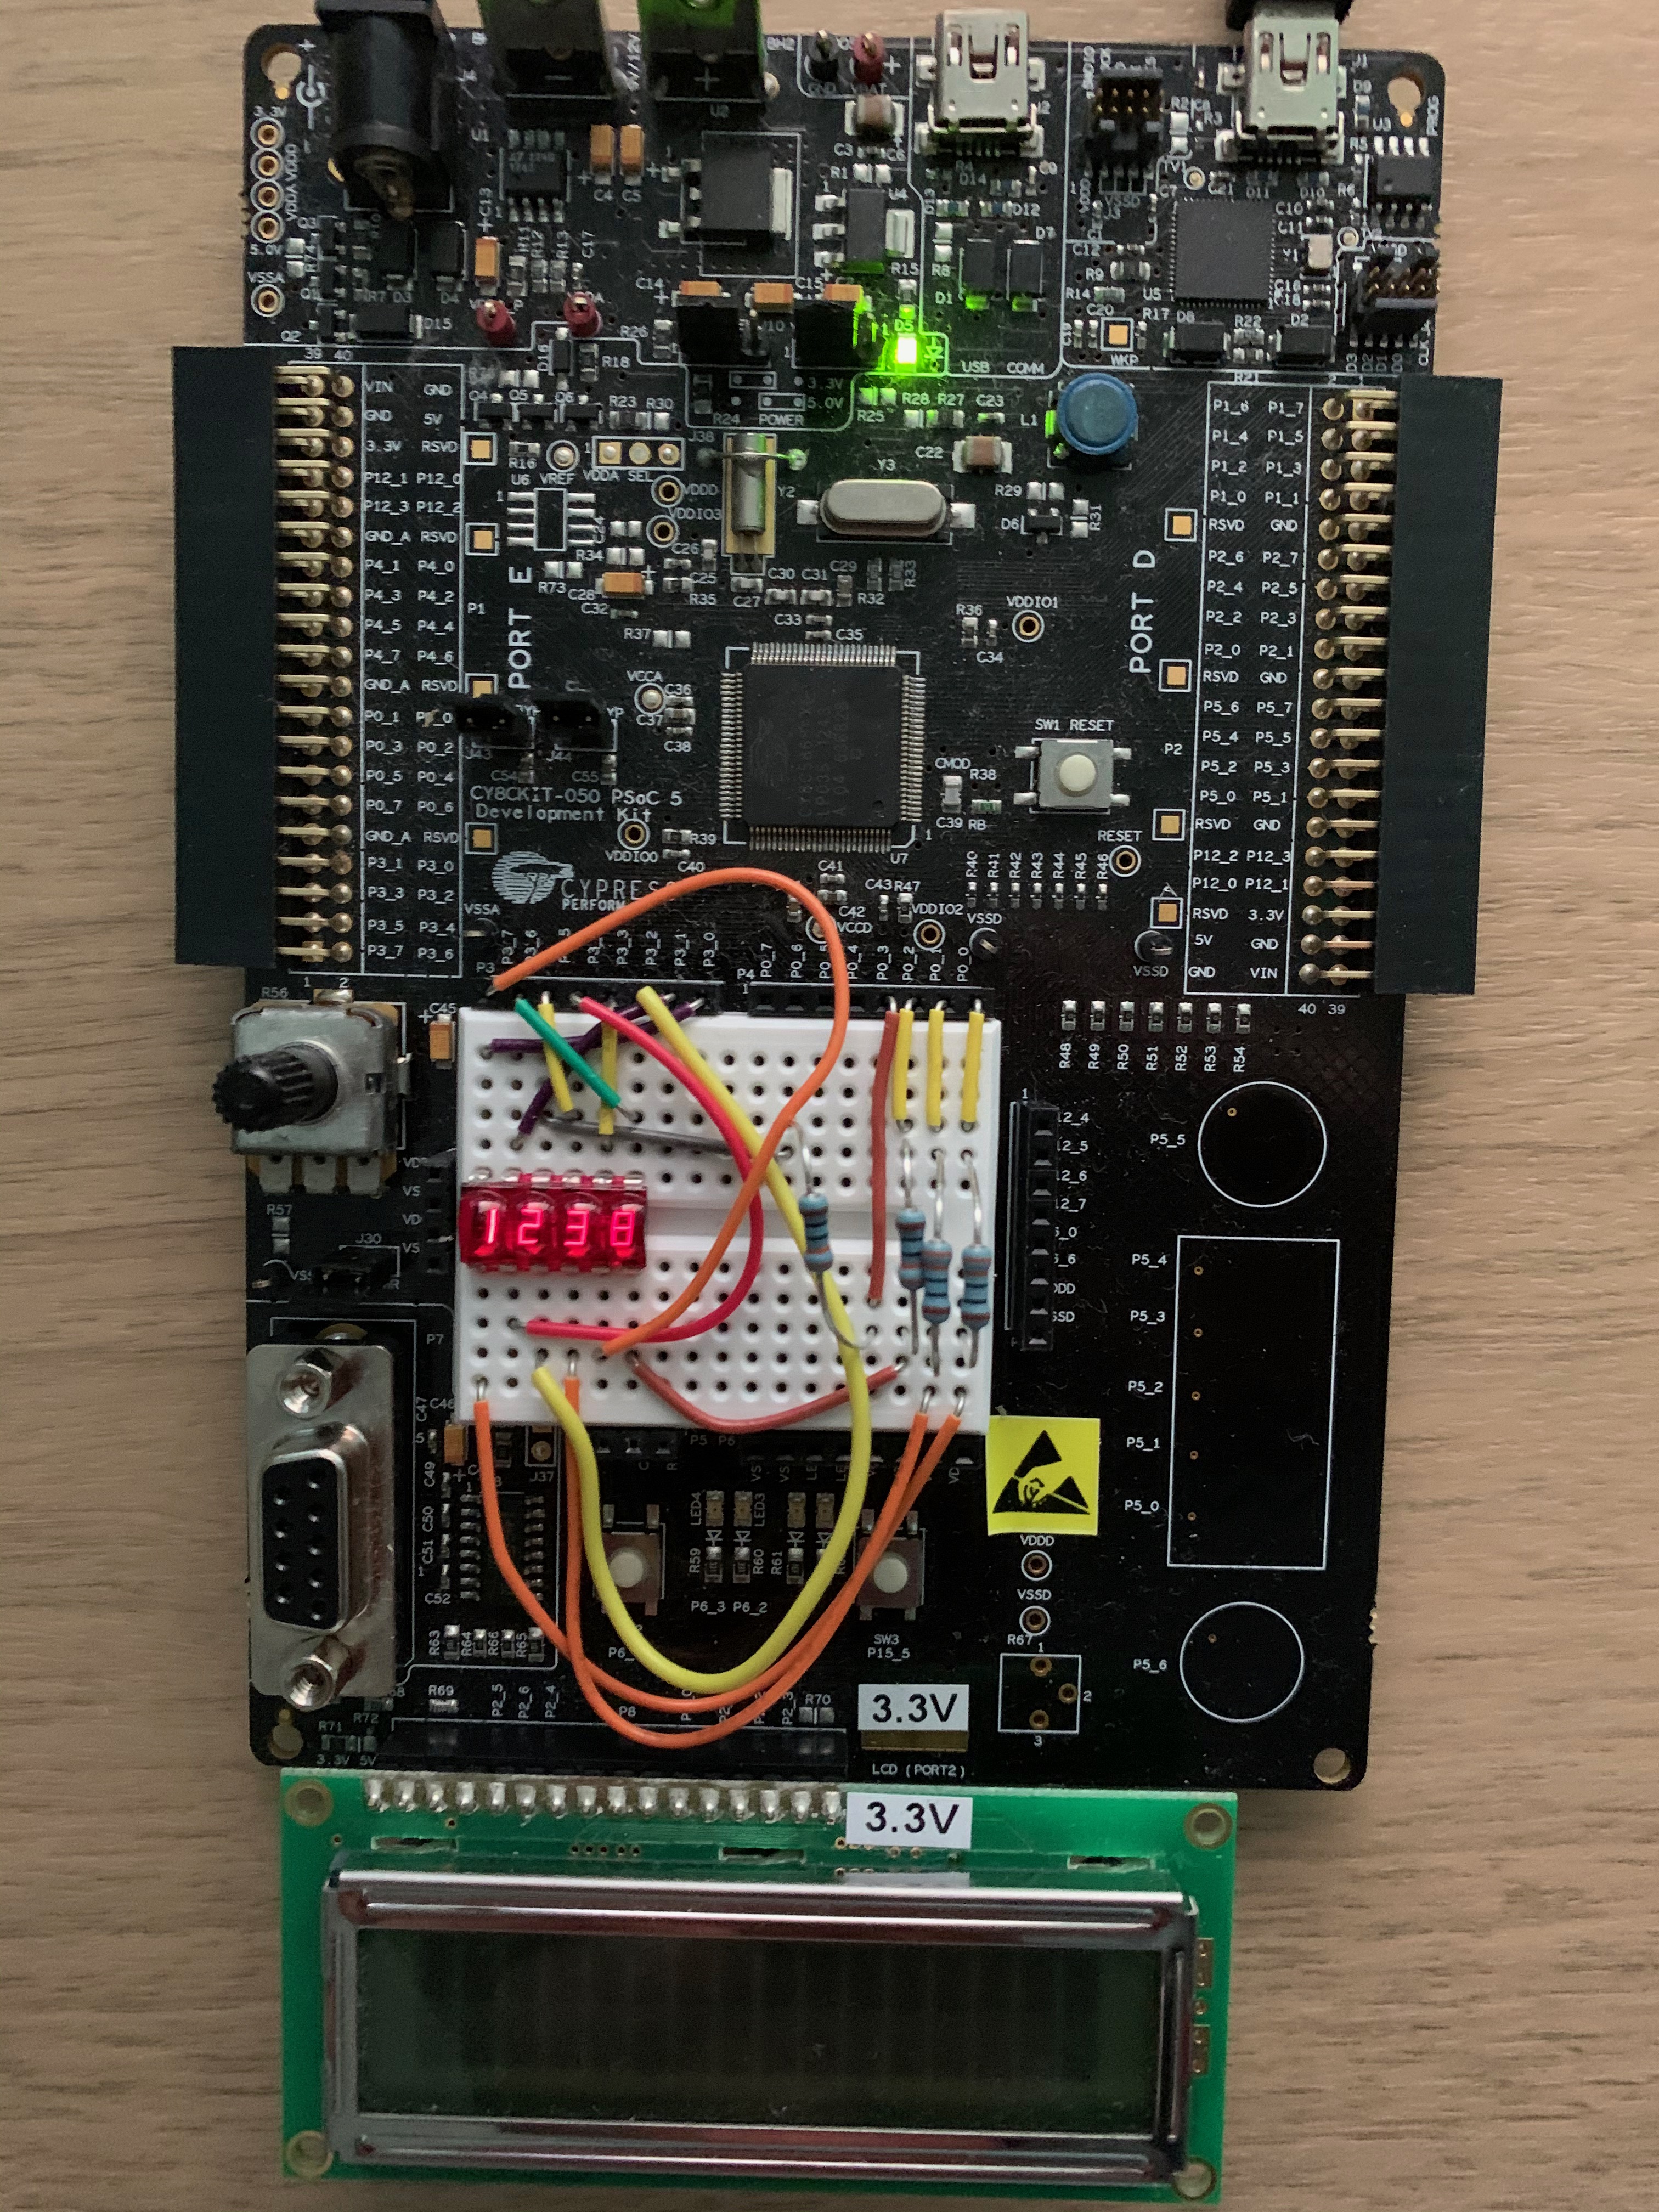 # 感想 PSoCは、豊富なデジタル、アナログ回路コンポーネントを有していて、かつそのデーターシートもすぐに引き出せるので、プロトタイピングには最適だと思っています。特にアナログは、DA,AD,オペアンプ等とずらりと揃っています。他のボードでアナログ、オペアンプを使おうと思うと、ICの選定、Pin配置の確認等延々とやることがありますが、それらが一切不要です。 但し、今回はしばらく使用していなかったWindows10のアップデートに延々と時間を取られ、挫折しそうになりました。 昔の動画ですが、タイマーを組み込んだ時刻表示の例を紹介いたします。 [https://www.youtube.com/watch?v=HHBGO0JmAu8]